
August 19
14 min. to read
How To Take Product Photos With Phone That Grab Attention
With phone cameras becoming more advanced and capable of producing professional-quality photos, more people are reaching for their mobiles to take product shots. Essential qualities such as sharpness, detail, and clarity can now be achieved with a phone, and we are going to show you exactly how. From the set-up, to the shot, to the edit, we will guide you every step of the way to help you create eye-catching photos that drive sales. These steps will work regardless of what phone you use, so let’s get started.
It All Starts With a Good Plan
 Planning a product photo shoot goes a long way towards ensuring success. Even the most experienced studios take time to draft ideas and focus on how to make the product look as eye-catching as possible.
After all, the aim of any product photo is to sell the product. You need to draw attention to it, make it look desirable, and show enough detail to encourage a potential customer to click the purchase button or want to learn more.
Here’s a brief guide on how to plan your shoot:
Step 1: Define your goal. Is your photo intended for social media or an e-commerce site? Social media shots may require decorative elements to grab attention in a news feed, whereas an e-commerce image will typically work best on a plain white background.
Crucial Tip: In product photography, details such as branding and lettering must be clearly visible. Make sure glare, props, or any other elements do not obscure or distract from the product.
Step 2: Prepare the equipment. Based on your goal, gather the essentials:
Lights (more on this in the next section)
Background material
Props
Step 3: Choose framing and styling. These will make your shot stand out. We will cover styling tips later, but it’s worth considering them now as part of your planning.
It can be helpful to sketch ideas in a notebook or create a Pinterest board for inspiration. This preparation saves time during the shoot and gives you a clear direction when testing ideas. Once your plan is set, it’s time to start shooting.
Learn more: How to Get Professional Product Photos?
Before Getting Started
Let’s begin the set-up with three key areas to consider alongside scene preparation: lighting, camera settings, and an important step that beginners often overlook.
Lighting Options
 There are two main approaches:
Artificial Lighting | Natural Lighting |
This refers to electric light set-ups. Professionals favour artificial lighting as it offers greater control over how the scene is illuminated. While it can feel intimidating for beginners, you only need one light to start. Position it at a 45-degree angle to your product and use a bounce board to fill in any shadowed areas. | This involves using daylight, either by shooting outside or next to a window. Many professionals still rely on natural light, and it can produce excellent results. However, you have less control, and the quality changes with the weather as sunlight produces a harsher look, while clouds give a softer, diffused effect. Again, a bounce board can help to fill in shadows. |
For anything you can’t control on set, you can always get rid of shadows in pictures later using editing tools.
Phone Camera Settings
 Modern phones often come with advanced features like Pro Mode and RAW shooting. Be sure to check your settings to maximize image quality.
Here are the best phone camera settings for product photography:
Maximum Resolution: Many modern phones allow you to adjust the resolution of your photos. The default setting is often standard quality to save storage space, so increase this to the maximum resolution for the best results.
RAW Mode: Captures a wider dynamic range, making it easier to recover details in both highlights and shadows.
White Balance: Check your phone settings for white balance, which is often set to auto by default. This can affect the colour temperature of your shots, especially when shooting with LED lighting, making them appear warmer or cooler than desired.
Grid: Enables better framing and composition, making techniques like the rule of thirds easier to apply.
Camera Zoom: Many phones offer preset focal lengths such as 2x. Use these rather than manually zooming to preserve image quality.
Level: Some phones include a level guide to help keep images straight.
Cleaning & Product Prep
 This is a step professionals never skip. There’s nothing worse than finishing a shoot and discovering fingerprints or dust on the product during editing. Use cotton gloves to prevent smudges and a small brush to clear away debris from the set.
Setting Up Your Scene
The fun part of product photography is creating different scenes that bring life and personality to your image. There’s no best camera phone for product photography. Your choice of camera is less important than your placement, lighting, and how the set relates to your product.
Here are some set-ups you can try when shooting product photography using phone:
1. E-Commerce Basics
 The classic product-on-white background is a staple for online stores. It may look simple, but it requires precision:
Ensure the product is evenly lit
Keep it perfectly centered
Make sure all details, logos, or labels are sharp and visible
2. Using Props
 Props can add context and creativity, but they should never compete with the product.
Choose props that support the product’s story (e.g., sunglasses and seashells for sunscreen, or fruit for a smoothie)
If a prop is large, keep it partially in the frame
Stick to colors that complement rather than clash with the product
3. Flat Lay
 Shooting from above creates stylish, artistic images. Fill the frame with complementary props for balance, or keep it minimal for impact. A phone tripod will help you capture a perfectly aligned, bird’s-eye view.
4. Colored Backgrounds
 Adding color to your product photography can instantly change the mood of the shot. Use a color wheel to find harmonious pairings and choose tones that complement your product without overpowering it. Bold colors can work, but only if they don’t distract from the main subject.
If you want a more minimal look, consider making a white background instead. White not only creates a clean, professional style but also helps products stand out clearly — perfect for e-commerce and catalog photography.
5. Lifestyle Scenes
 Show the product in action to make it relatable. For example, photograph someone sipping a cold drink on a hot day, or applying skincare by a window with natural light. Lifestyle setups add emotion and context that a plain background can’t.
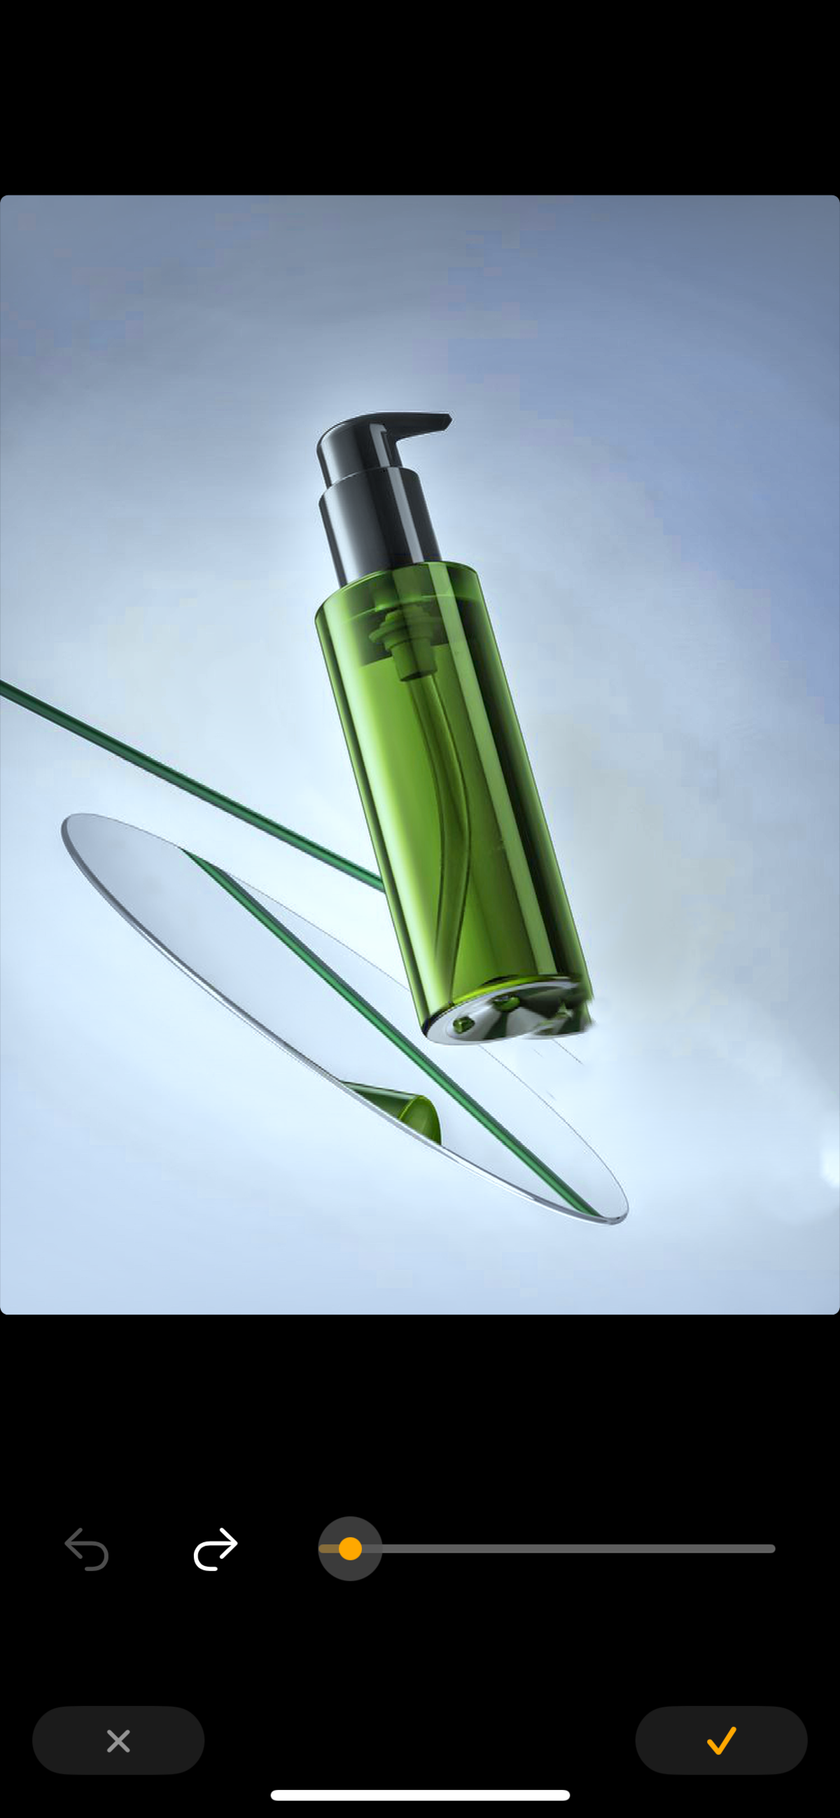
6. Floating Products
 A modern trend involves making items appear to float. This can be done with acrylic rods or other supports. Use a tripod to keep the frame steady while you position the product. The result is sleek, eye-catching, and perfect for ads or social media.
You may also like: Artistic Expression With Levitation Photography Ideas
Editing Product Photos on Phone
Now that you know how to take product photos with an Android phone or iPhone, it’s time to dive into editing. There are many apps for editing product shots, but here we’ll focus on Luminar Mobile—and for good reason.
Luminar Mobile is built on the same technology as the desktop version of Luminar, which uses powerful AI to analyze your image and make professional edits in just one click. On desktop, Luminar offers advanced features like sky replacement, portrait clean-up, and a full range of essential editing tools designed to save time while delivering high-quality results.
The mobile version brings these core tools and creative features, including sky replacement, so you can transform your images while on the go.
Learn more: How to Edit Product Photos to Turn Them Into Sales Magnets
Luminar Mobile for Product Photography
This android photo editor is designed for speed, helping you create professional-looking images quickly. Here are some features that work especially well for product photography:
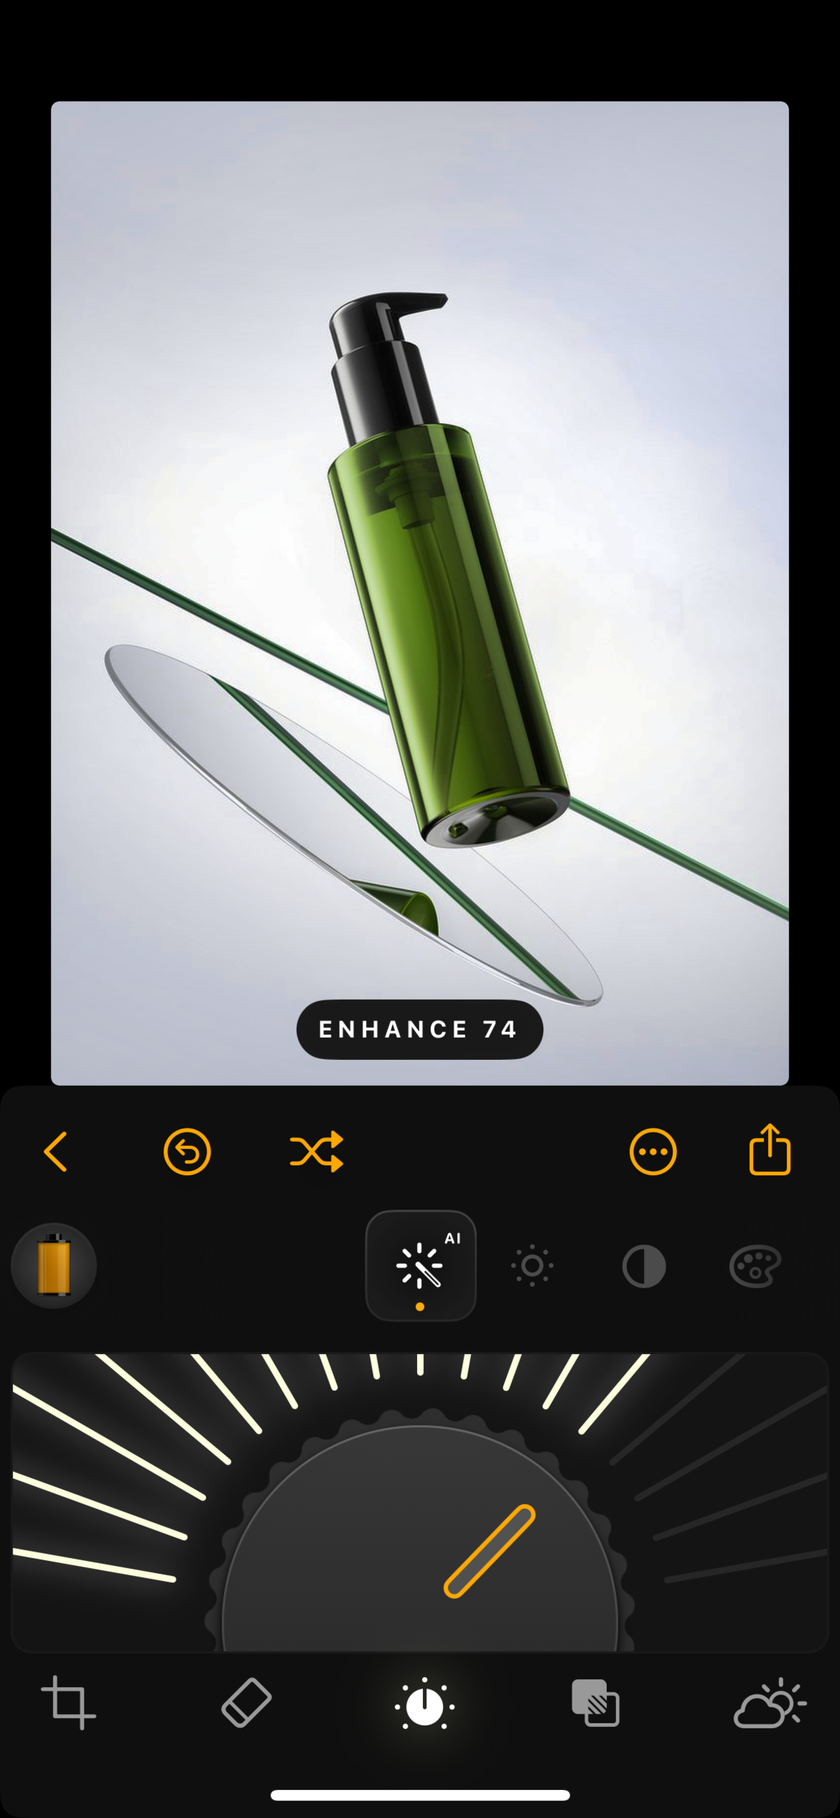
Enhance AI: Adjusts brightness, contrast, and exposure balance in one go. Enhance AI analyses your image to see where it needs a boost, bringing it to life quickly and effectively.
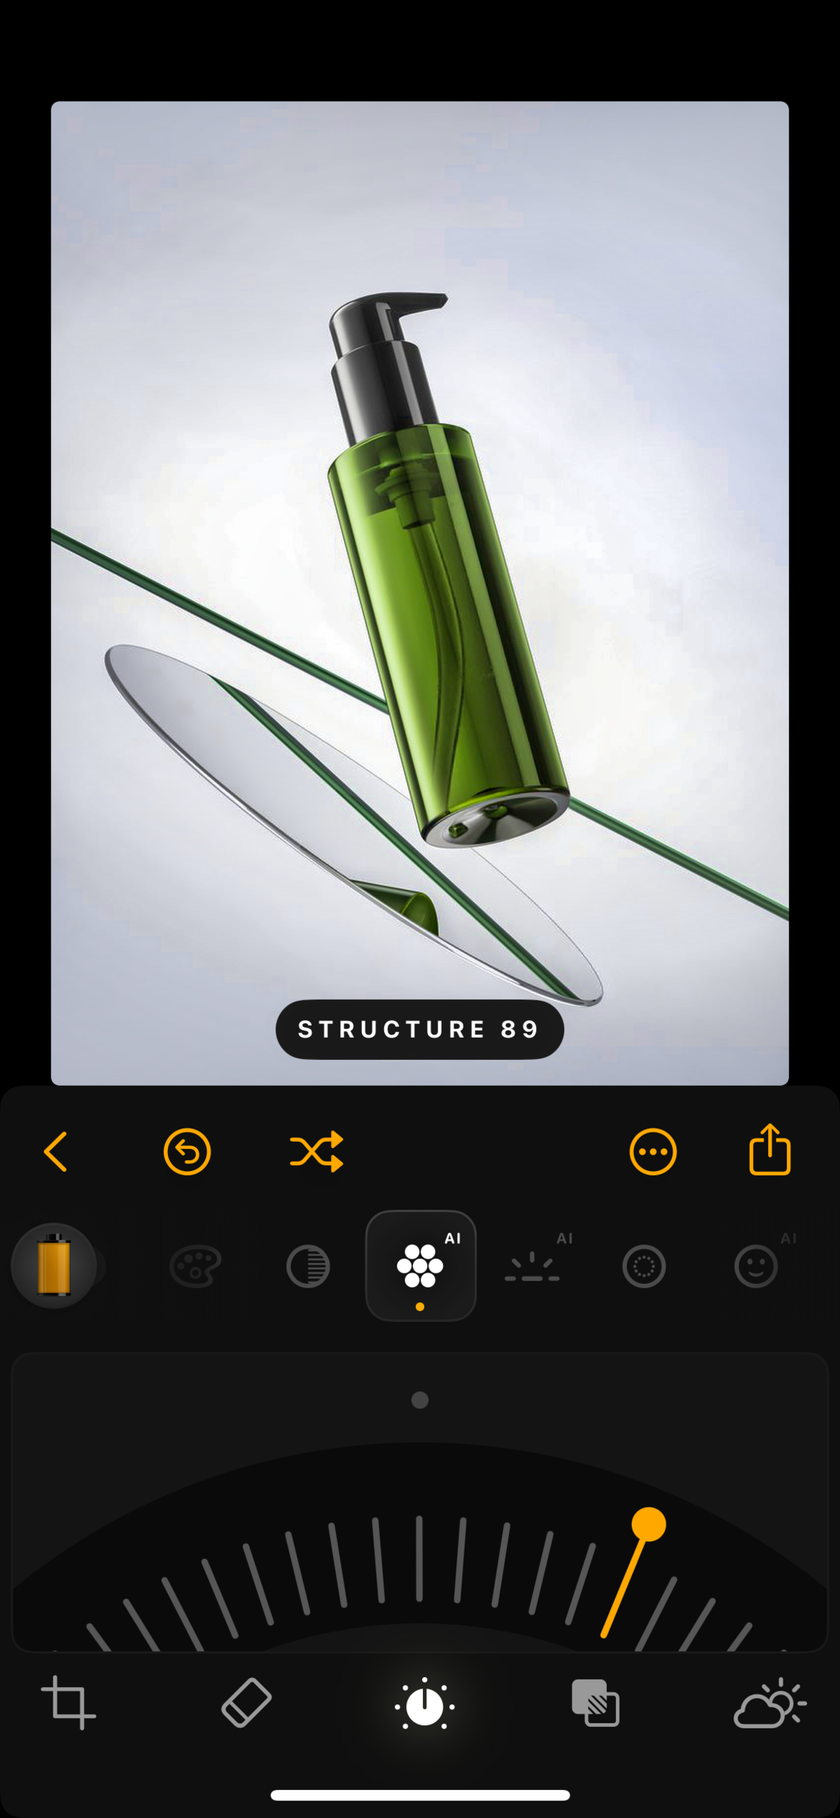
Structure AI: Adds clarity and detail to your product photo, making textures stand out. Combine it with Enhance AI for strong results in just two clicks.
Relight AI: Adds depth to your image by allowing you to darken the foreground and brighten the background. The tool does all the detection for you, removing the need for manual brushes or path drawing.

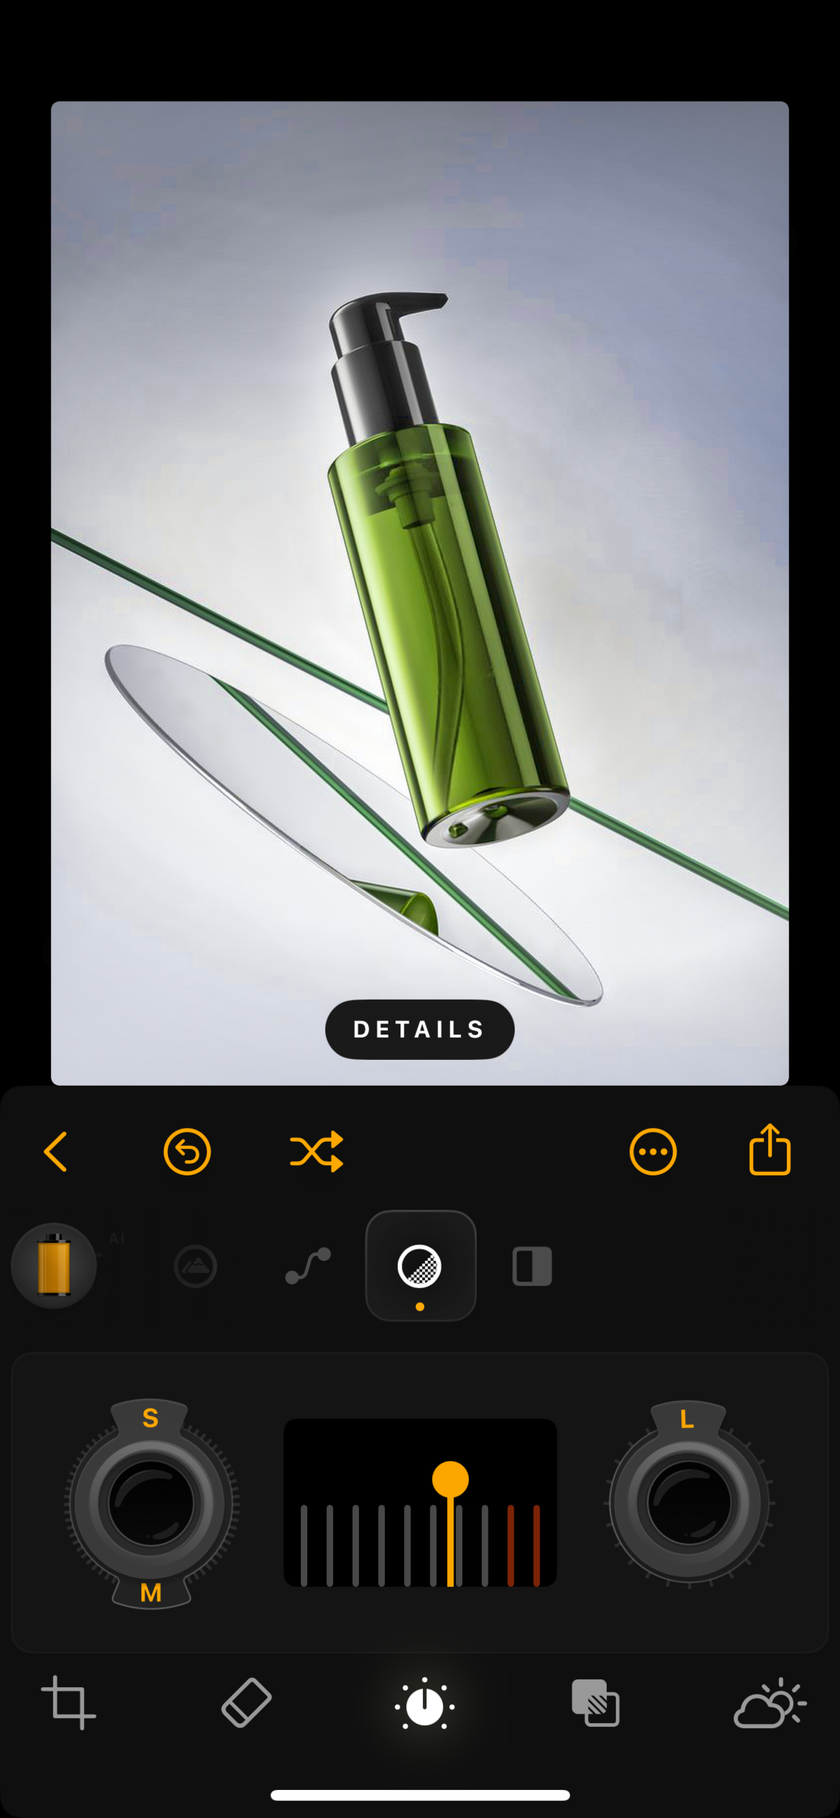
Details: Splits sharpening into small, medium, and large detail levels. This makes it perfect for enhancing the fine details of your product, such as logos and lettering, so they stand out.
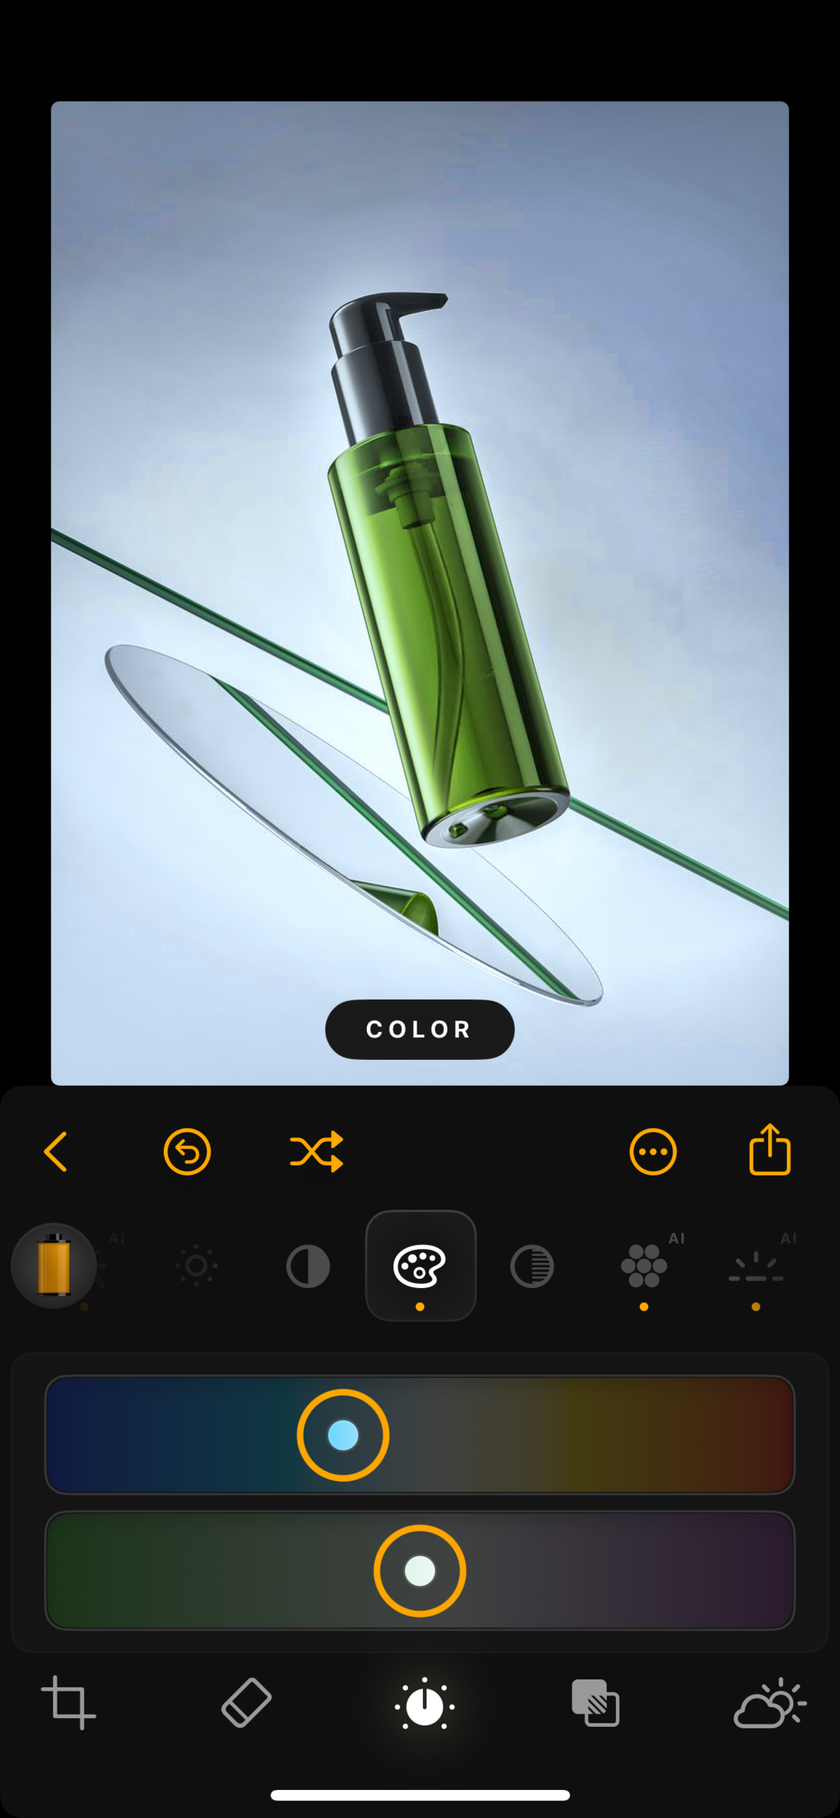
Colour Grade: Boost colours using the colour grading tools and tone curve, giving your images extra punch and vibrancy to catch the viewer’s attention.
Erase Tool: One of Luminar Mobile’s most useful features for product work. It allows you to remove elements such as acrylic rods so they disappear completely. It is also ideal for cleaning up dust and debris on your set, which can easily be missed during shooting.


The Bottom Line
Phones in the modern era are perfectly capable of delivering high-quality product photos that look professional and catch the eye of followers on social media. Alongside artificial or natural lighting, you can set up scenes to complement your product or build a theme. Remember our tips on using flat lays, lifestyle shots, and even floating product setups to tell the story behind your product and show viewers exactly what it’s about.
Product photography is great fun, and you can get extremely creative with it to produce stunning imagery, so have fun!
 >
>
