How to Photograph the Northern Lights
Last Updated on June 26, 2025

Capturing the aurora isn’t as hard as it looks—here’s how to photograph northern lights the right way.
Capturing the aurora is one of the most thrilling experiences for any photographer. But unlike sunsets or cityscapes, the northern lights require special planning, the right gear, and specific techniques. If you’ve always wanted to learn how to photograph the lights of the north, this guide will help you every step of the way.
The Magic of Northern Lights Photography
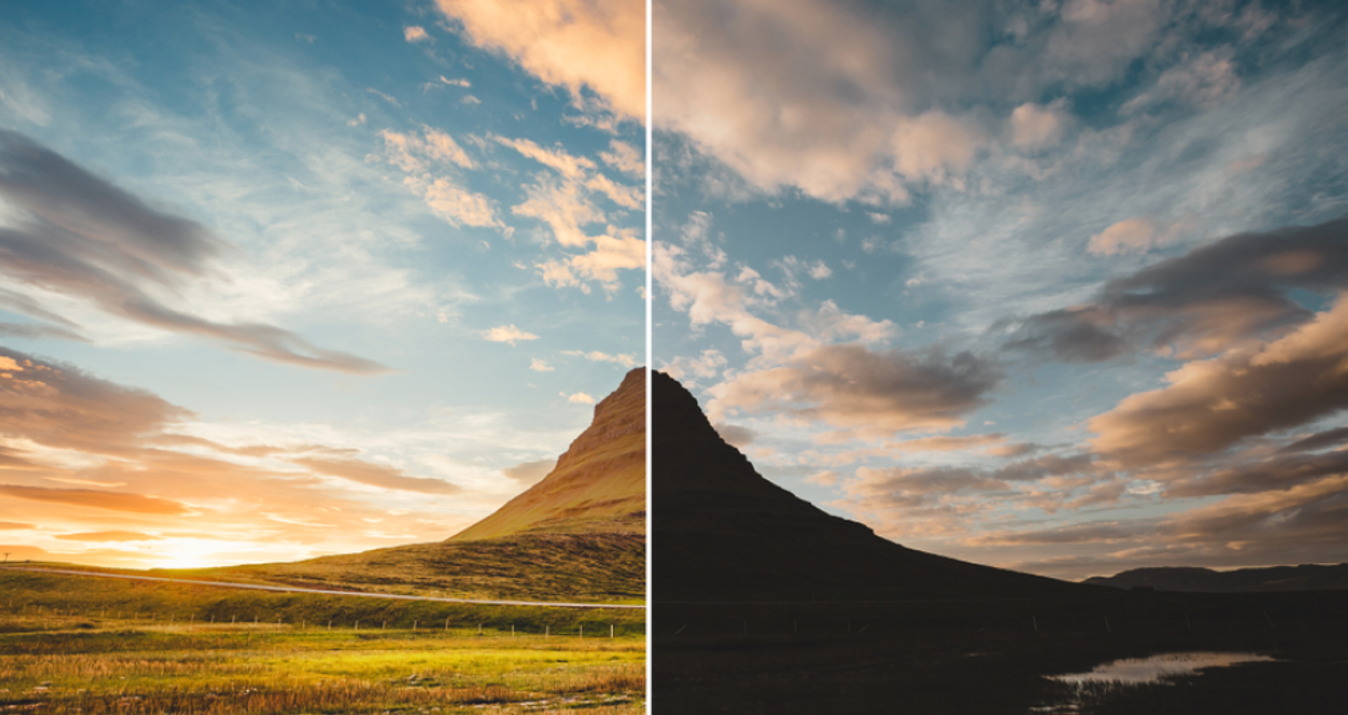
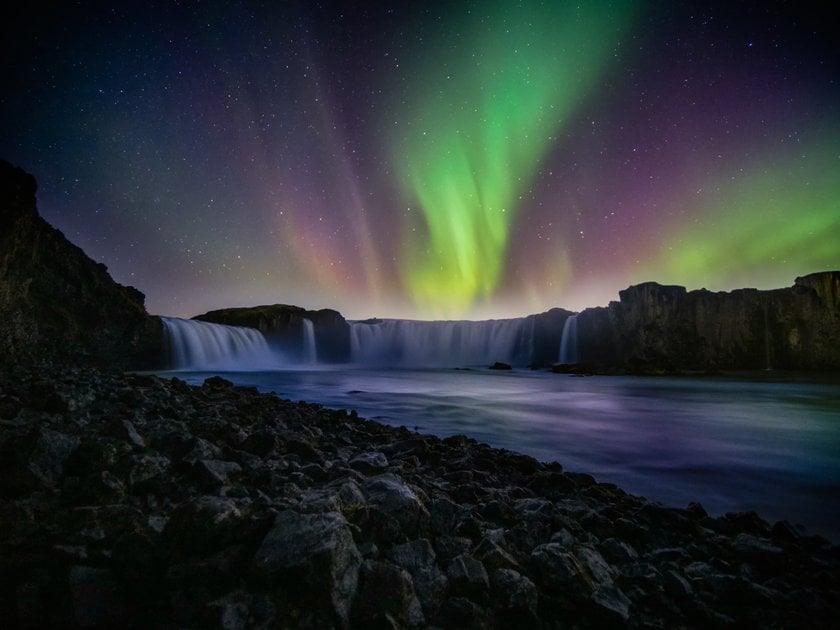
There’s something truly otherworldly about standing under a glowing sky of green, purple, and pink light. The northern lights—also known as the aurora borealis—are one of Earth’s most stunning natural phenomena. Seeing them dance in the night sky is unforgettable.
No wonder so many people want to capture this spectacle through a camera lens. Understanding how to photograph the aurora borealis starts with knowing a little about the science behind it.
The aurora is caused by charged solar particles colliding with gases in Earth’s atmosphere. This creates colorful lights that move and shift like a living painting. To capture this display, you need patience, timing, and a bit of technical know-how.
When and Where to See the Northern Lights
Before you can shoot the aurora, you need to know when and where it appears. Planning is everything when it comes to photographing the northern lights.
Exclusive Tools of Endless Possibilities in One AI Editor
Explore Now!Best Time to Photograph the Aurora Borealis
The best time to catch the northern lights is during winter months, especially from late September to early April. Long, dark nights and clear skies give you the highest chances. Avoid full moon nights, as moonlight can wash out the aurora.
Peak viewing hours are usually between 10 p.m. and 2 a.m. It’s cold and late, but the beauty you’ll witness makes it worthwhile.
Top Destinations for Northern Lights Photography
Some top places for northern light photography include:
Tromsø, Norway
Fairbanks, Alaska
Yellowknife, Canada
Iceland
Northern Finland
These regions lie within or near the auroral oval—the area where auroras are most frequent.
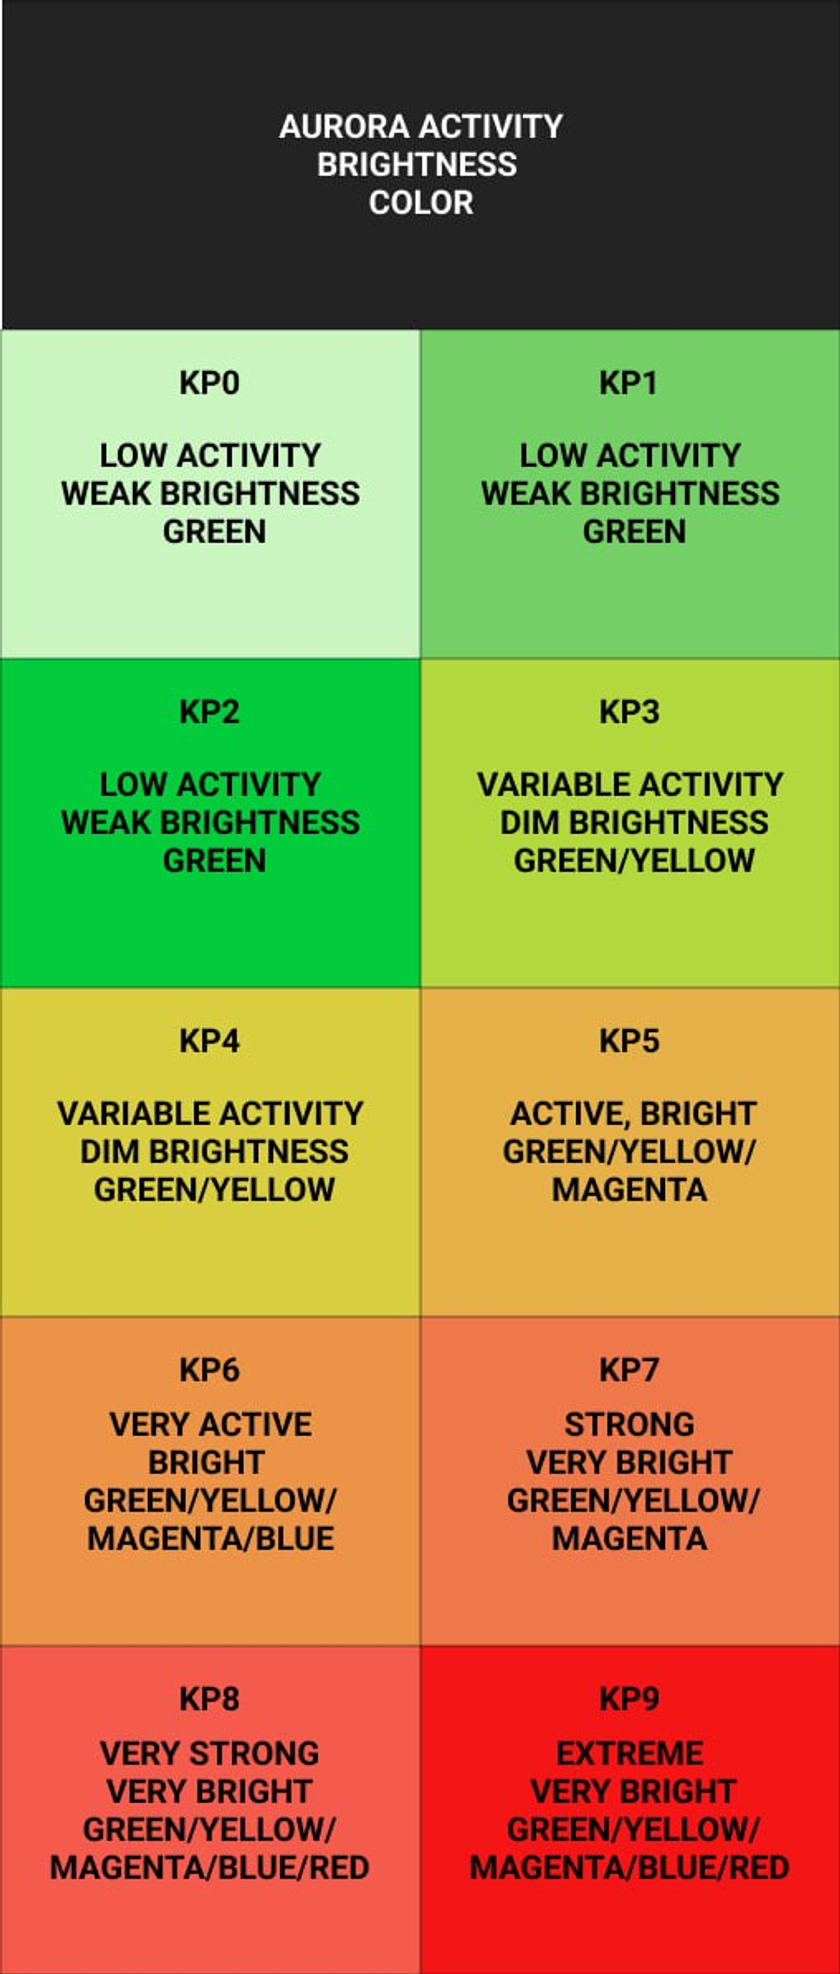
How to Read the KP Index for Aurora Forecasts
The KP index measures geomagnetic activity, predicting the strength of the aurora. A KP of 0–2 is weak; KP 5 and above means there are high chances of strong lights. Apps like My Aurora Forecast help you track it easily.
Cloud cover is just as important as KP. Even a high index is pointless if the sky is cloudy. Check local weather forecasts and plan accordingly.
What You Need for Northern Lights Photography
Now that you know where and when to go, let’s talk about gear. Good equipment makes a huge difference when photographing the aurora borealis.
Essential Camera Gear for Photographing Northern Lights
Here’s what you’ll need:
DSLR or mirrorless camera with manual mode
Wide-angle lens (14–24mm) with f/2.8 or faster
Memory cards with lots of storage
Extra batteries (the cold drains them fast)
While some people wonder how to take photos of northern lights with automatic settings, manual mode is key for getting quality results.
Tripod, Lenses, and Batteries: What Not to Forget
A sturdy tripod is non-negotiable for taking pictures of the northern lights. Long exposures without one will result in blur. Also, bring lens wipes, as frost can fog up your gear.
Cold-weather gloves with touchscreen capability will let you adjust settings without freezing your fingers.
Can You Photograph Northern Lights with a Phone?
Yes, you can! Many modern phones offer manual camera apps. Set long exposures, use night mode, and mount your phone on a tripod.
While phone images may not rival pro gear, you can still photograph northern lights impressively with the right technique.
Best Camera Settings for Northern Lights Photography
Learning how to take pictures of the aurora borealis involves experimenting with your camera settings. Here’s how to get started.
Manual Mode, Focus, and ISO Explained
Switch your camera to full manual mode (M). Use manual focus and set it to infinity, then slightly dial back for sharpness.
Start with an ISO between 800 and 3200. Higher ISOs let in more light but add noise. Balance is key.
Shutter Speed and Aperture for Aurora Photos
Aperture should be as wide as your lens allows (e.g., f/2.8). This lets in maximum light. Shutter speed depends on how fast the aurora moves:
Slow-moving aurora: 10–25 seconds
Fast-moving aurora: 5–10 seconds
Too long, and you’ll blur the light’s shape.
White Balance Tips for Natural-Looking Colors
Set the white balance to daylight (around 5000K) or experiment with 3500K–4000 K. Auto-white balance often makes auroras too blue or green.
Test, Adjust, and Lock In Your Settings
Take a few test shots and zoom in to check sharpness. Once you find what works, lock it in. Don’t change settings too often—wait and observe how the lights behave.
Composition Tips: Take Stunning Aurora Borealis Photos
Getting the technical part right is only half the journey. Composition helps your shots stand out. Learning how to take a picture of the northern lights creatively can elevate your images.
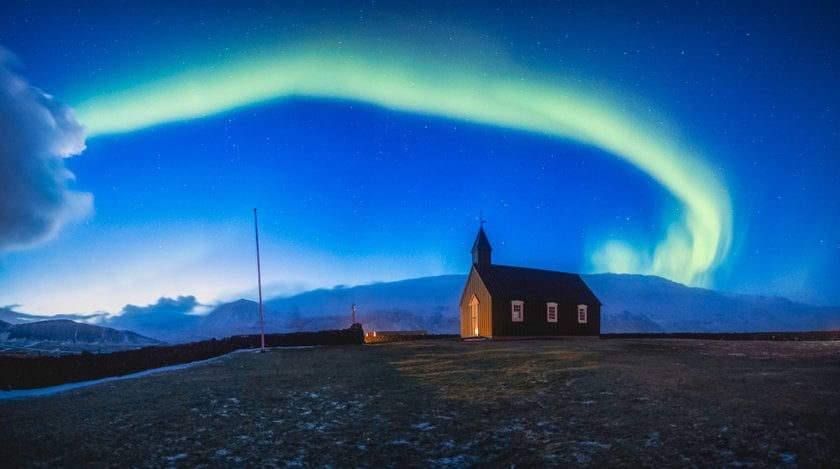
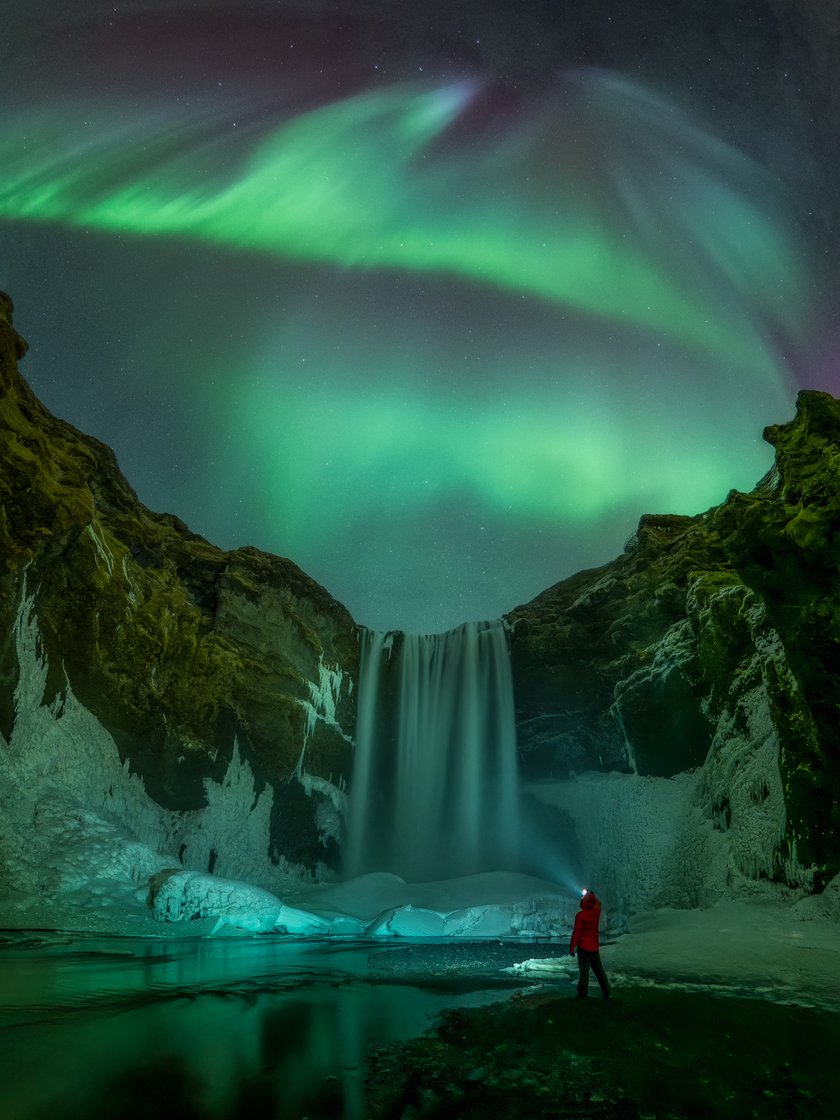
Foreground and Framing Ideas for Better Images
Think beyond the sky. Include elements like:
Snowy trees
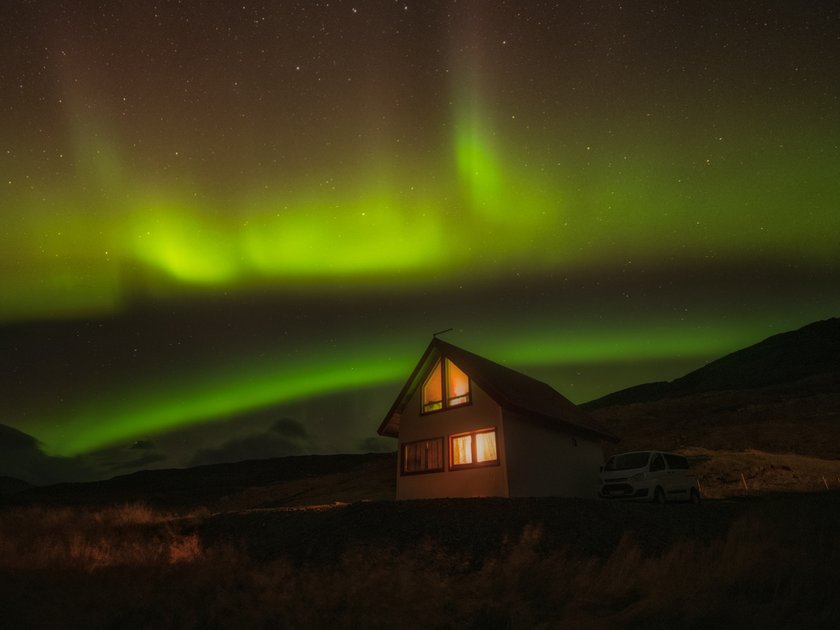
Cabins with glowing windows
Frozen lakes reflecting the sky
These add scale and mood to your shots.
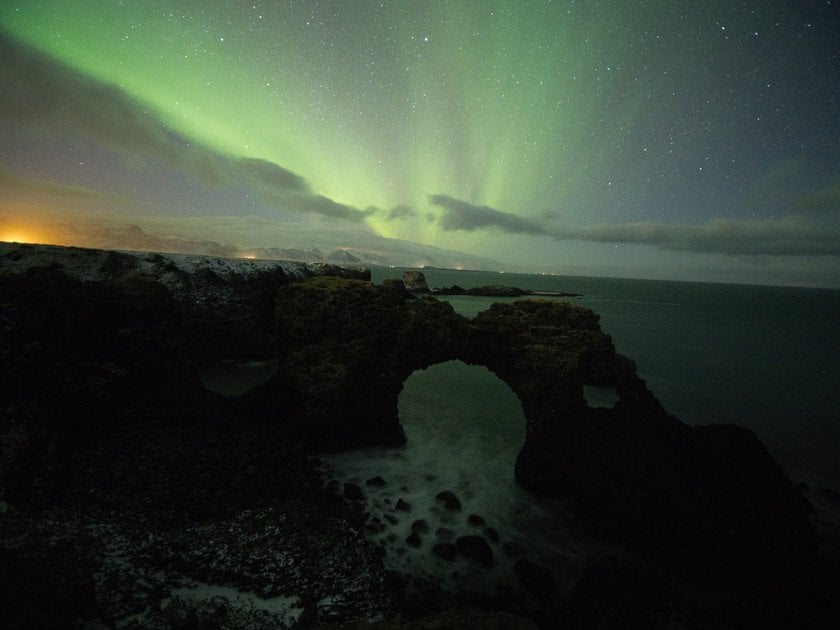
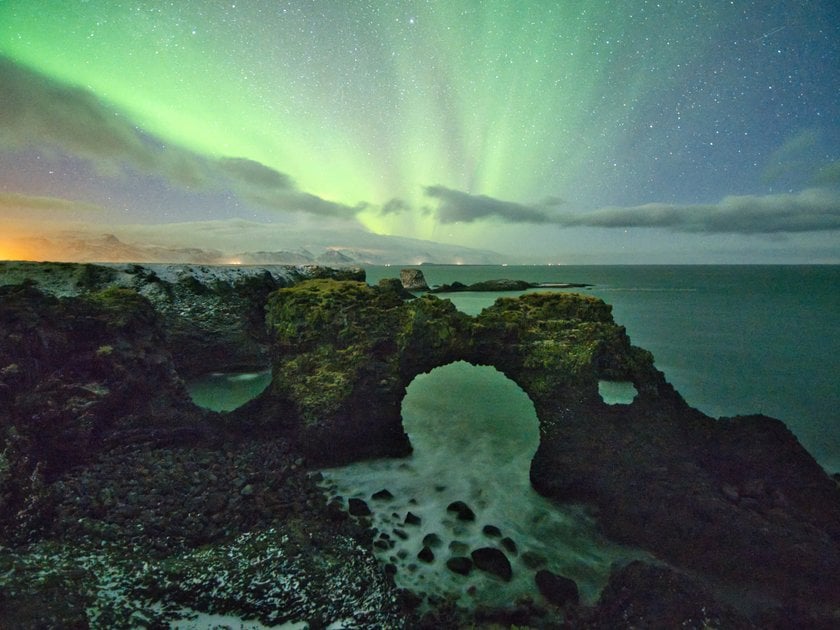
Using the Landscape to Enhance Your Shots
Frame the aurora using natural lines—mountains, treetops, or riverbanks. Play with symmetry or leading lines to guide the viewer’s eye.
Northern lights landscape photography isn’t just about the lights; it’s about how the environment works with them.
How to Take Northern Lights Photos That Stand Out
Patience and creativity go a long way. Try:
Vertical shots for tall auroras
Panoramas for wide arcs
Time-lapses to show movement
Try combining multiple exposures to balance foreground and sky if one is too dark or bright.
Using Luminar Neo for Northern Lights Photo Editing
Even perfect shots need a bit of polishing. Here’s how to enhance your aurora borealis photography using Luminar Neo.
Why Luminar Neo Is Ideal for Aurora Borealis Photography
Luminar Neo is beginner-friendly and powerful. It’s considered one of the best picture editor options for photographers who want stunning results without a steep learning curve.
AI Tools That Enhance Aurora Colors Without Overdoing It
Start with Luminar Neo’s Enhance AI tool. It boosts contrast and clarity without overprocessing. The Relight AI tool can add drama while keeping things natural.
You can also try its image color editor feature to selectively enhance greens and purples without affecting the entire image.
Post-Processing Workflow for Northern Lights in Luminar Neo
Here’s a simple step-by-step guide:
Open your photo in Luminar Neo
Use Develop RAW to tweak exposure and contrast
Adjust white balance for natural tones
Use Enhance AI and Relight AI tools
Tweak colors using photo editor features
Add a vignette for a dreamy look
Noise Reduction and Detail Recovery
High ISO images often have noise. Luminar Neo’s Noiseless AI tool works well without blurring details. You can also use sharpen pictures to bring back crisp edges lost during capture.
Final Polish and Export Settings
Once you’re happy with your edits:
Crop to improve framing
Export as high-res JPEG or TIFF
Save a backup in RAW format
If you’re still deciding on a tool, this list of free alternative to Photoshop might help you find more options.
Your AI-Powered Photo Editor for MacOS and Windows
Discover Now!Common Mistakes to Avoid in Aurora Photography
Avoid these errors, and your results will improve dramatically. Many who ask how to take photo of northern lights make the same rookie mistakes.
Overexposing the Lights
Mistake: Long exposures turn the aurora into a white blur.
Fix: Use shorter shutter speeds (5–10 seconds) for fast-moving lights. Lower your ISO slightly if needed.
Blurry Images and How to Prevent Them
Mistake: Your photos aren’t sharp.
Fix: Always use a tripod and turn off image stabilization. To avoid shaking the camera, use a remote shutter or timer.
Ignoring the Weather and Aurora Forecasts
Mistake: Wasting nights chasing the lights in bad weather.
Fix: Check the KP index and weather conditions ahead of time. Use apps or local guides for real-time forecasts.
Mastering the Art of Photographing the Northern Lights
 Learning how to photograph the northern lights takes time, but it’s one of the most rewarding photography experiences out there. From choosing the right gear to post-processing with tools like Luminar Neo, each step adds depth and magic to your shots.
So pack your camera, layer up, and head out—some of your best shots are waiting in the sky.