August 20
13 min. to read
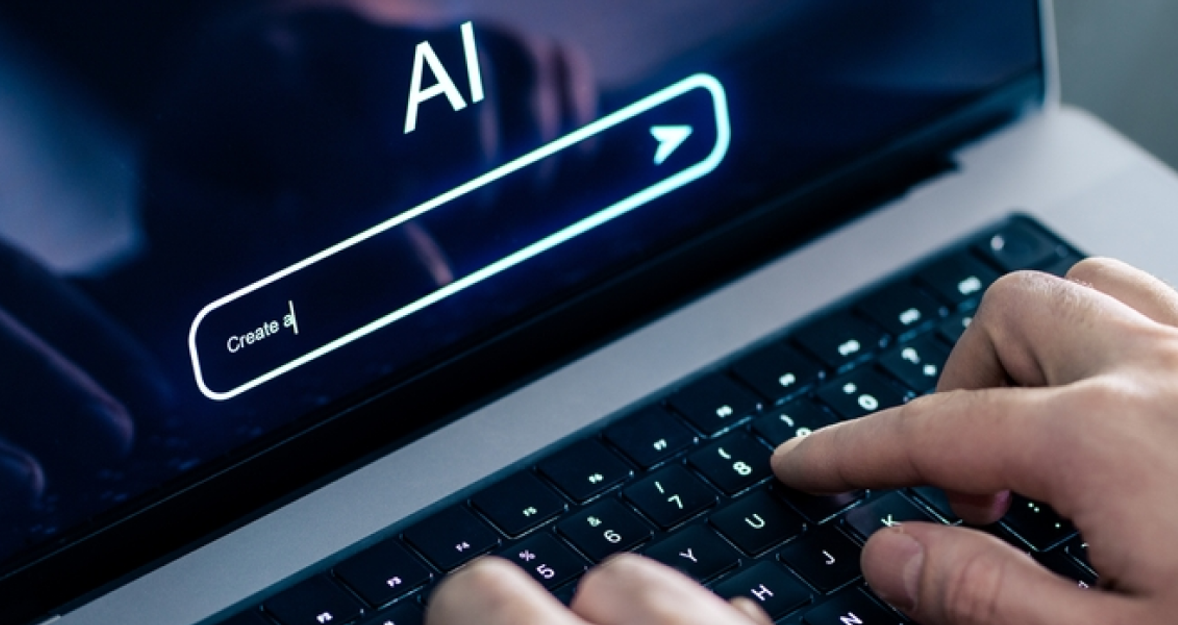
How To Make AI Photo: A Deep Dive Into AI Photography
AI photography sounds like magic until you try it. Then it becomes a series of small, repeatable choices. This guide walks you through those choices in plain language. You’ll learn what tools do, how prompts and edits shape results, and practical steps you can reuse the next time you need a crisp, believable image. No heavy theory, no vague promises—just things you can do right now to make better AI photos.
What Makes an AI Photo Different
AI photos mix two processes: generation and editing. Generation builds pixels from prompts or source images. Editing refines those pixels to match a mood, remove artifacts, or fix composition.
AI models can invent details that never existed. That’s powerful and risky. You can get striking, original images, but you must also check for oddities: mismatched hands, strange reflections, or inconsistent shadows. The craft is less about tricking the model and more about guiding it.
Your AI-Powered Photo Editor for MacOS and Windows
Discover Now!A Quick Look Under the Hood
 Generative models use pattern recognition to predict what pixels should look like. They learn from huge image sets and then generalize. That means the output depends on training data and the prompt you give. Small prompt changes can shift mood, lighting, or realism dramatically. You don’t need every app on the market. Start small and add tools as your needs grow.
Here’s a short list of what you’ll encounter:
Text-to-image generators—create images from prompts (DALL·E 3, Midjourney)
Image-to-image models—alter an existing photo based on a prompt (Stable Diffusion (img2img), ControlNet)
AI editors—improve color, remove artifacts, and retouch faces (Luminar Neo, Evoto)
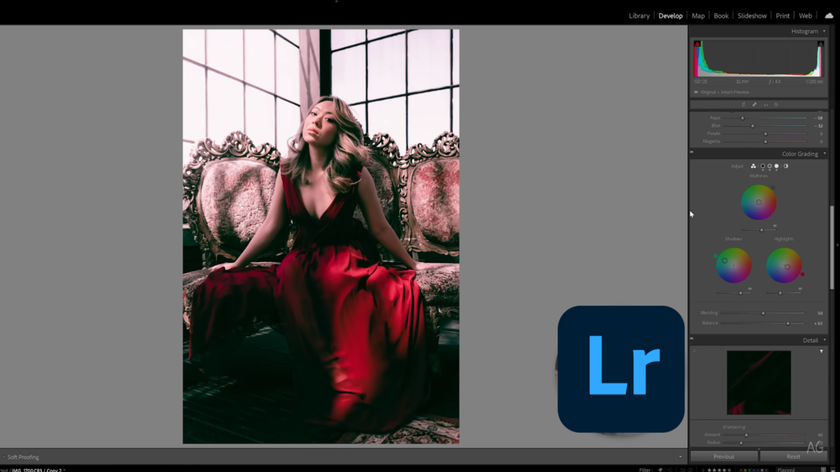
Classic editors—for final tone and grain control (Adobe Lightroom Classic, Capture One)
If you prefer a hands-on editor that blends automation with manual controls, try a tool focused on AI photo editing. Use it after generation to polish colors and fix composition.
How To Form Prompts That Work
 Prompts are instructions. Treat them like recipes. Good prompts have subject, style, lighting, and a camera or lens hint if you want realism.
A simple template to start with:
Subject (who/what)
Action or pose (what they’re doing)
Style (photorealism, film, painterly)
Lighting (golden hour, studio)
Camera specifics (wide-angle, 50mm, f/2.8)
Example prompt: “A portrait of an elderly woman knitting, soft golden-hour light, shallow depth of field, 85mm lens, photorealistic.” Put the strongest detail first. If you want more control, give negative prompts (what to avoid). That reduces strange artifacts like extra fingers or odd reflections. A fast way to learn how to generate photo with AI is to start with three short prompts, pick the closest match, and tweak from there.
You may also like: TOP 10 ChatGPT Prompts For Image Generations That Amaze
Step-By-Step: Make An AI Photo (Practical)
Follow these steps and you’ll get a reliable result.
Choose a generator or a source image. Decide if you need a fully new image or a modified photo.
Write a focused prompt. Use the template above. Limit to essential adjectives.

Generate multiple variations. Pick the closest match. Small differences matter. To get useful variety fast, batch small changes to your wording so you can see how to generate AI images that differ in lighting, pose, or color.
Edit for realism. Correct color, shadows, and tiny artifacts. Tools for AI retouching can save hours.
Final polish. Crop to composition, add film grain or sharpening as needed.


Advanced Workflows (Combining Multiple Models)
Pro photographers often chain tools. For example:
Generate a base image with a text-to-image model.
Run it through an image-to-image pass to refine face or clothing.
Use an AI editor to retouch skin and remove artifacts.
Finish in a traditional editor for output sharpening and color grading.
This modular approach keeps you flexible. Swap any step if it doesn’t behave well.
Example pipeline for a product shot:
Prompted generation for concept (composition, props).
Image-to-image to place the exact product.
AI retouching to remove label glare.
Manual final grade in Lightroom.

The secret to how to make AI generated photos that convince viewers is simple: iterate more, retouch less, and match light and shadow in the final grade.
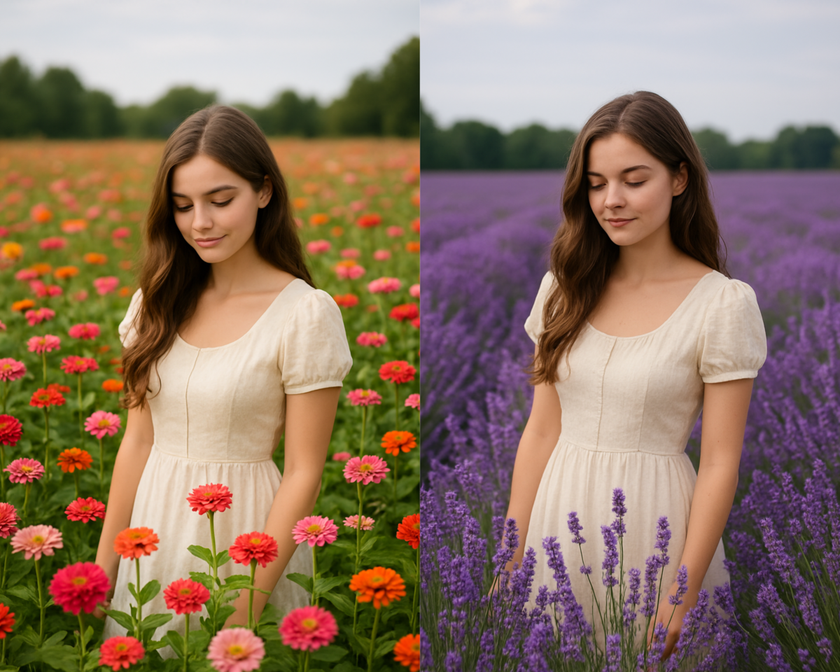
When To Use Image-to-Image Vs Pure Generation
Both approaches are useful. Use pure generation when you want something new and creative. Use image-to-image when you must preserve identity, brand elements, or specific composition.
If you want to know how to make AI image that fits a brand, begin with a reference photo and a tight prompt listing colors, props, and mood.
Goal | Best approach | Why |
Create a new character or scene | Text-to-image | Full creative freedom |
Update product photos | Image-to-image | Keeps product placement consistent |
Replace a sky or background | Image-to-image | Easier to preserve foreground |
Stylize an existing photo | Image-to-image + editor | Keeps original likeness while adding style |
If you need dramatic skies without reshooting, the Sky AI replacement tools are fast and surprisingly natural. Swap skies, then relight the foreground for believability.
Exclusive Tools of Endless Possibilities in One AI Editor
Explore Now!Common Problems And How To Fix Them
Problems are predictable. Here are practical fixes you can apply immediately.
Weird hands or extra fingers. Regenerate with negative prompts: “no extra fingers, hands realistic.” If persistent, do a small manual edit in Photoshop or a clone tool.
Unnatural skin texture. Use targeted smoothing and avoid oversmoothing—tools geared toward what is AI camera workflows can help balance detail and skin tone.
Floating objects or mismatched shadows. Add shadow instructions in the prompt (“soft shadow on the right, consistent with sun direction”) or fix shadows during editing.
Over-saturated colors. Use a curve or HSL panel to bring back natural tones.
Before you export, check for common glitches and do a light pass of cleanup—that habit will make how to make AI generated images about finishing, not fixing.
Using AI Responsibly (Ethics And Best Practice)
AI can—and often does—produce faces or scenes that look like real people, sometimes closely enough to cause harm, so treat AI-generated likenesses with the same care you’d give photographed subjects.
For commercial use, always check the generator’s license and any source-image rights before publishing; keep a simple audit record (model name, prompt, date, and a screenshot of the terms) so you can prove you cleared the legal boxes. In journalism or factual reporting, label AI-created images plainly (for example: “AI-generated image”) and, when practical, add a short note about how it was produced—that transparency prevents misunderstanding.
Watch for bias by testing prompts across genders, ages, and ethnicities, reviewing outputs manually, and tweaking prompts, changing settings, or switching models if a model repeatedly skews or stereotypes. Add a quick human-in-the-loop check for anything that will reach an audience.
How To Use AI For Commercial And Editorial Work
Check licenses. Some models forbid commercial use or require attribution. Always confirm usage rights for the generator and any base images. For editorial use, label images clearly as AI-generated. When delivering to clients, present 2–3 variations and explain which edits were manual vs automated. Transparency builds trust and avoids surprises.
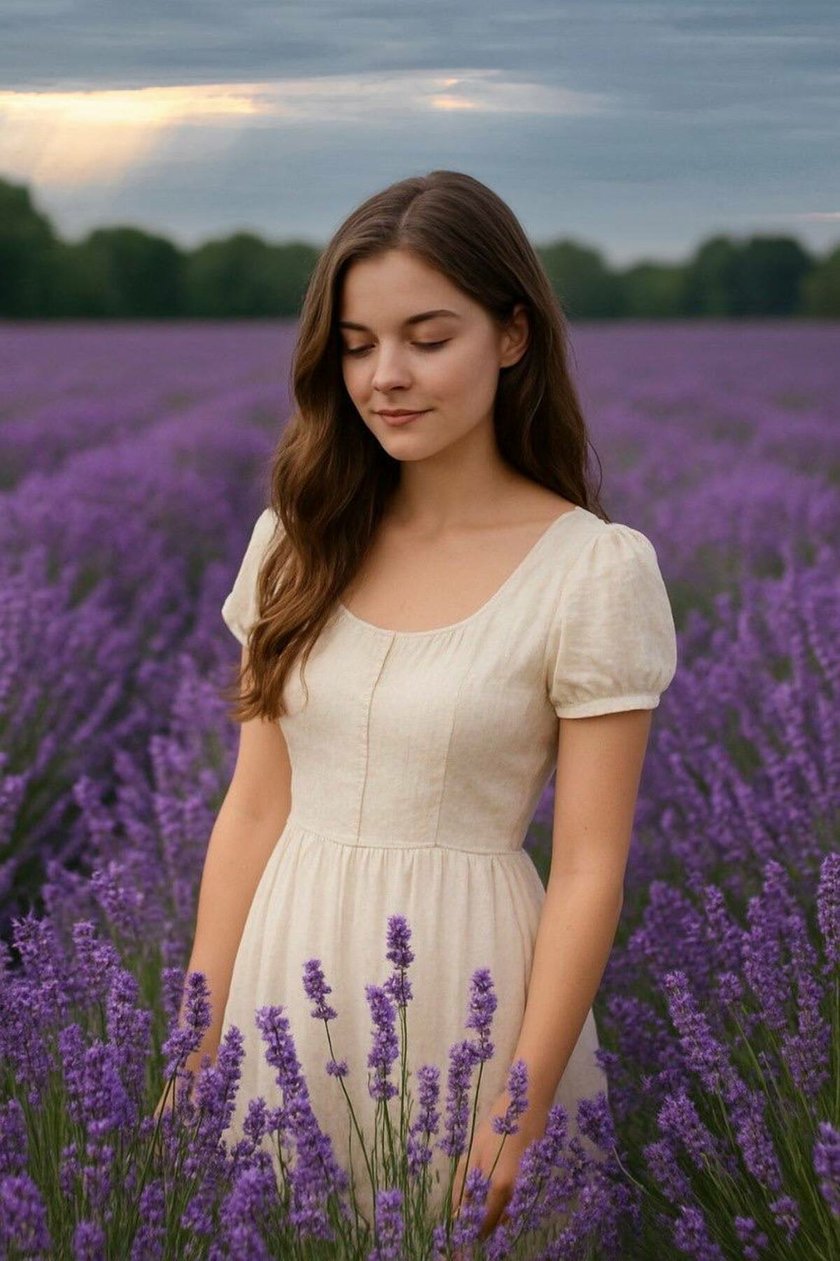
How To Make an Artificial Intelligence Photo That Feels Personal
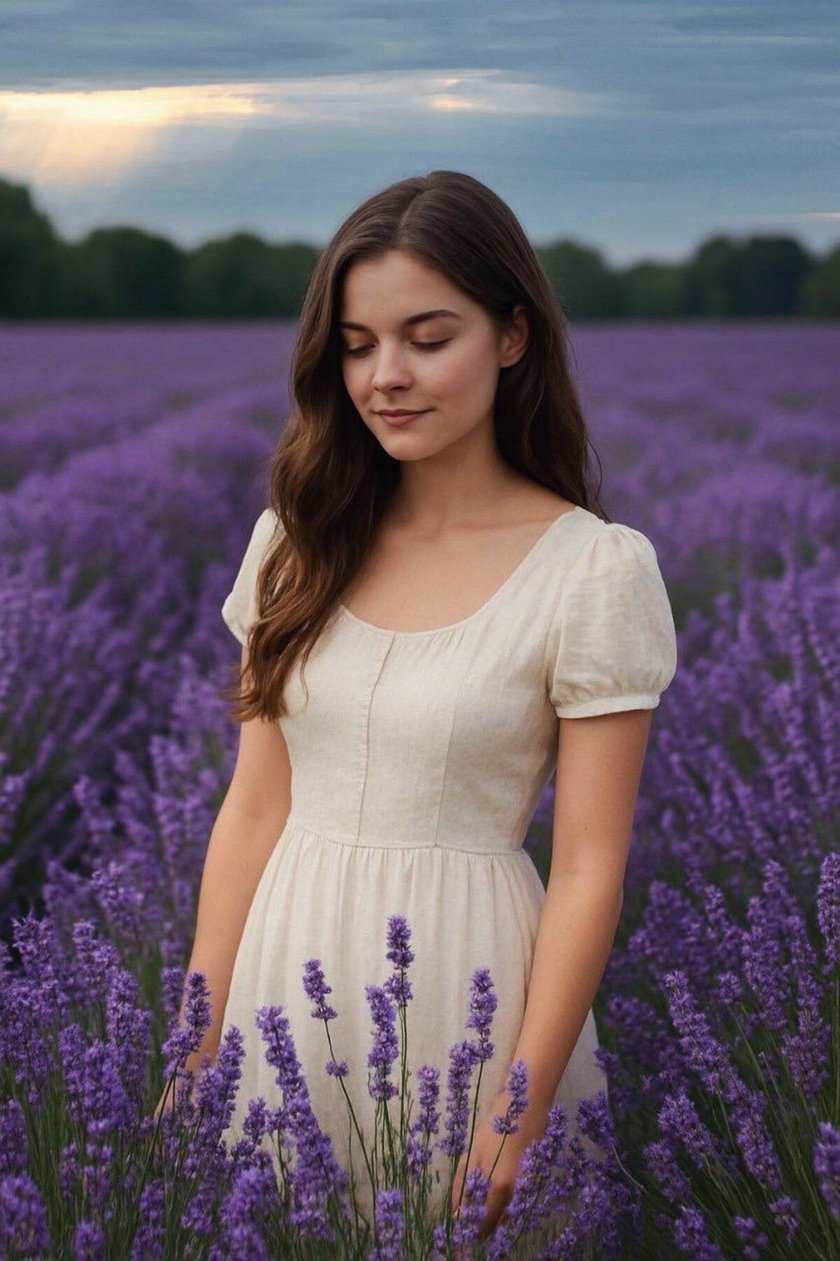
Personal photos need intimacy—small, realistic imperfections make images feel human. Ask for subtle, handheld camera cues in the prompt: “slight motion blur, shallow depth, imperfect framing.” Then add warm color casts common in family photos. When you combine these cues with targeted retouching, the final image convinces because it mimics real-world capture. If you’re working with portraits, avoid over-polishing. Keep minute skin texture and natural asymmetry. These are the cues human eyes read as authentic.
Tips For Realistic Retouching
 Realism is in small things. Here are precise edits that increase believability:
If your goal is realism, focus on camera details and lighting when you ask how to make artificial intelligence photo, then refine shadows and reflections in post
Match grain across generated and real sections. Add film grain if part of the image looks too clean.
Recreate camera blur at the edges for shallow depth-of-field shots. This avoids the “cut-out” look.
Adjust color temperature and tint globally, then micro-adjust local areas (skin, highlights, shadows).
Pay attention to reflections in eyes and glasses—they sell realism.
Comparing a generated image with a real photo taken at the same time of day can help you learn quickly. Note how shadows fall, how skin catches light, and where specular highlights appear.
Closing Thoughts
Creating great AI photos is mostly about choices, not miracles. Choose the right tool for the job. Keep prompts specific, iterate, and polish with an editor that respects real-world light and texture. If you want to go deeper into using AI in a photography workflow, read more about artificial intelligence photography and how it fits into creative practice. A good AI photo is one where the viewer stops thinking about the technology and starts noticing the mood. Do that consistently, and you’ll make images people care about.
 >
>
