What Is Vignetting in Photography: Understanding Its Effects
October 14, 2025
When people say “photo editing app”, I associate it with Adobe Photoshop. It's the most renowned and feature-packed application, recognized for its tough editing capabilities. It includes all that a photographer requires.
When I started taking photos, I kept running into this subtle, often unplanned, darkening at the corners of my images. Sometimes it added mood or drama, but other times it felt like a lens flaw or bad setting. I spent hours wondering why some photos faded at the edges while others were perfectly even. Back then, I didn’t know the definition vignetting. I just saw dark corners I couldn’t explain. That frustrating curiosity eventually led me to understand this effect.
What Is a Vignette in Photography?
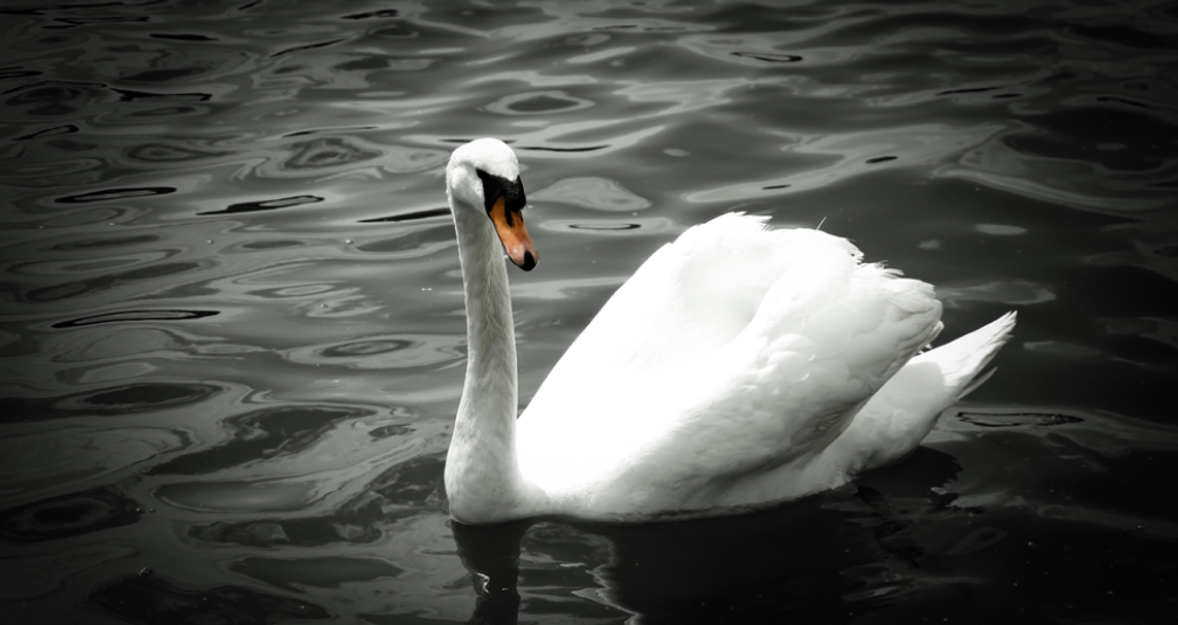
 At its core, the vignetting is a gradual reduction of an image’s brightness or saturation toward the periphery compared to the center. Think of it as a soft, sometimes circular, fading of light or color that darkens the edges of your photo. The term is derived from the French word vignette, which originally referred to a small decorative design of vine leaves and tendrils, used to frame a text or illustration. This is a great way to remember what does vignette mean: it’s essentially a frame, often a softly shaded one, that directs attention inward.
Your AI-Powered Photo Editor for MacOS and Windows
Discover Now!Main Types of Vignette
Four very different mechanisms can cause the darkness in the corners. Understanding these different types is key to controlling the final look of your image and knowing what causes vignetting.
Optical Vignette
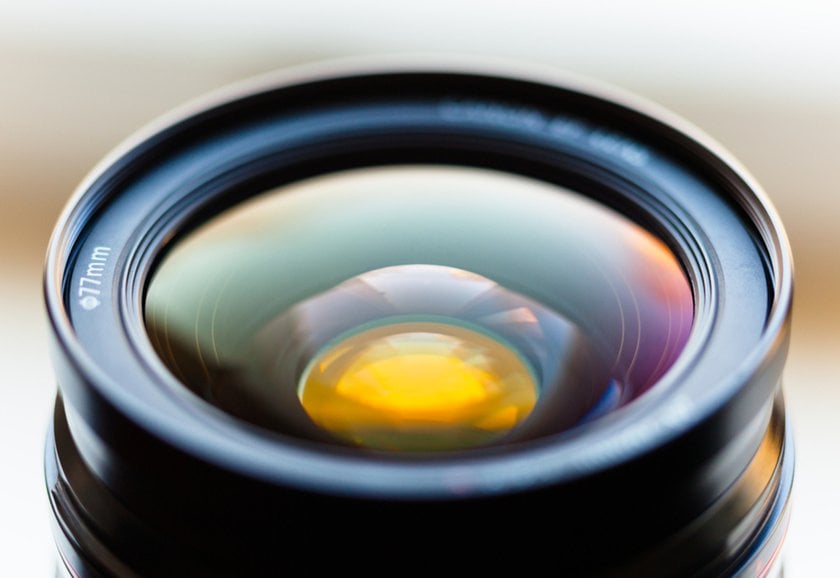
This is the most common type and is deeply rooted in physics. Optical vignetting is a property of the lens itself. It occurs because the light rays that hit the edges of the camera sensor have to travel at a greater angle through the lens elements than the light rays hitting the center. The result? A gradual falloff of light that is often more pronounced at wider apertures (lower f-numbers) because the entrance pupil is larger, forcing the light to travel through the lens at more extreme angles. This is why you often see it more clearly in wide-angle or fast prime lenses.
Pixel Vignette
Sometimes called “natural” vignetting, this isn’t caused by the lens but by the digital sensor itself. Light hitting the sensor’s center hits it head-on, or nearly perpendicular. Yet, light that has to travel to the edges hits the sensor’s microlenses at a more oblique (slanted) angle. This slant means the edge pixels receive slightly less light than the central ones, causing a slight, non-linear darkening. While modern sensor and lens designs try to compensate for this, especially with specific coatings and micro-lens designs, it’s still a subtle factor in many digital cameras.
Mechanical Vignette
Mechanical vignetting occurs when a physical object partially blocks light from reaching your lens. It’s generally easy to spot and usually unintentional — the type most photographers try to avoid unless they’re intentionally using it for a creative effect. Some common causes include:
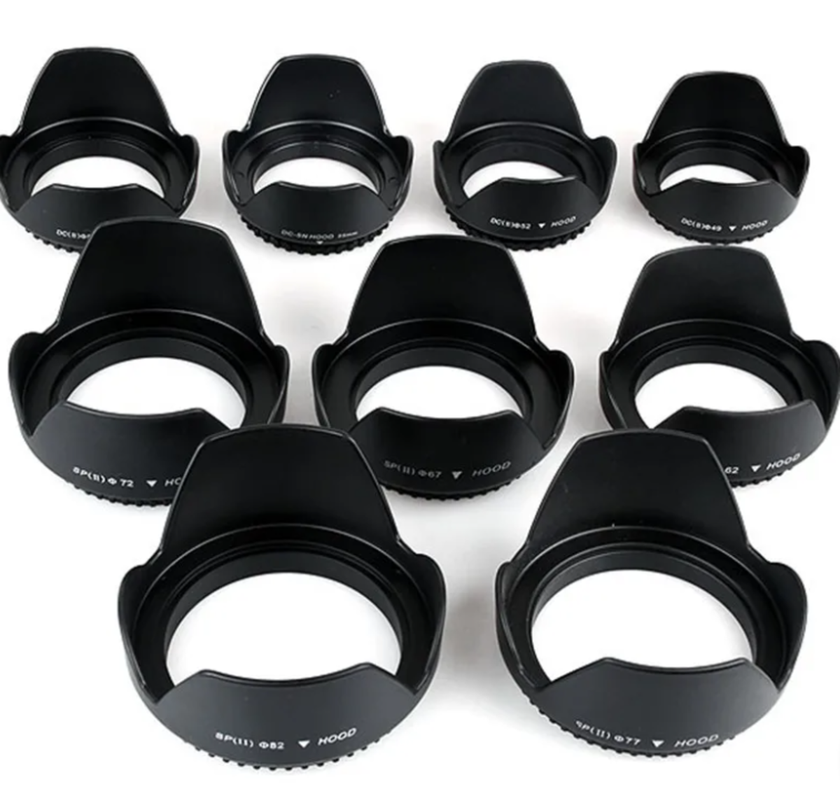
Improperly attached or bulky lens hoods: A lens hood designed for a telephoto lens used on a wide-angle lens, for example, will clearly show its edges in the frame.
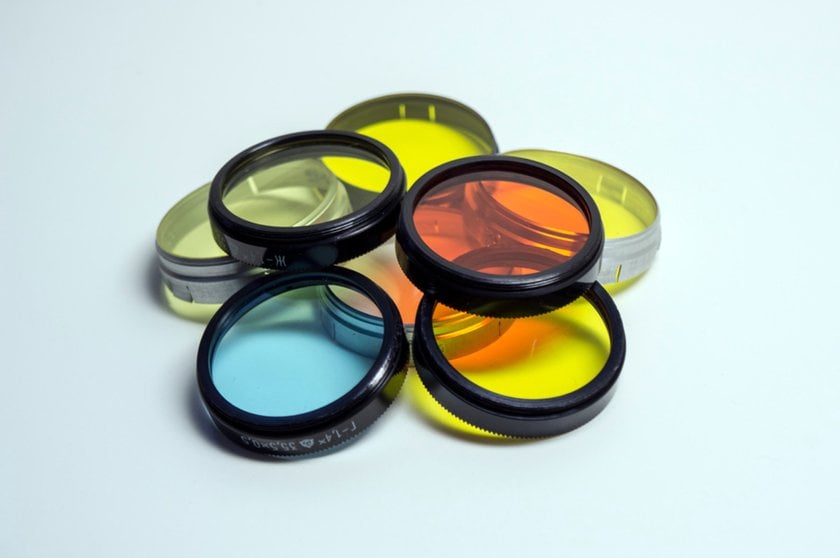
Multiple, thick lens filters: Stacking UV filters, polarizers, or ND filters can create a thick enough barrel at the front of the lens to physically block light from reaching the sensor’s edges.
Oversized filter adapter or step-up ring: The blockage is usually hard-edged and clearly defined when this occurs, unlike the soft, gradual falloff of optical vignetting.
Artificial Vignette
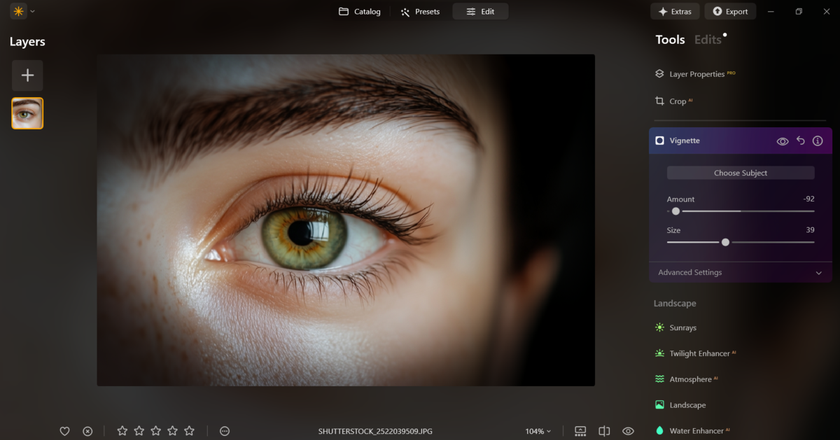
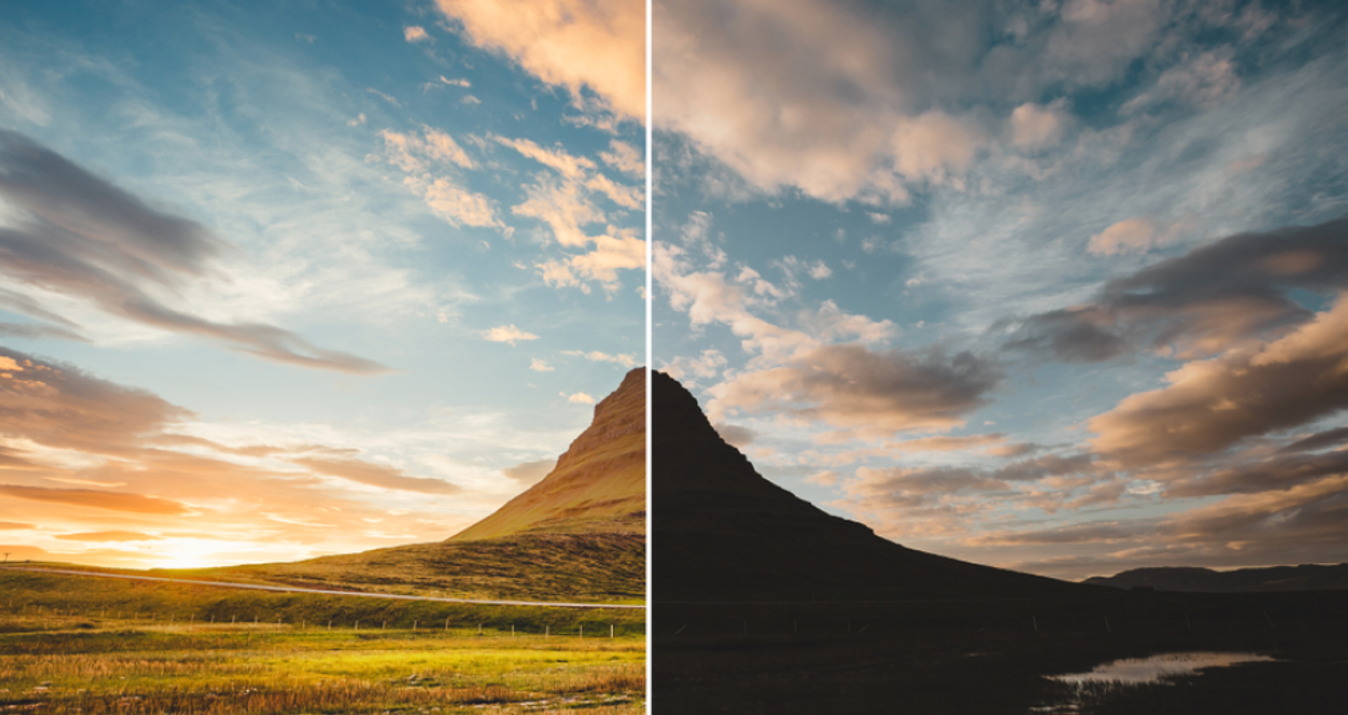
The final type isn’t created in the camera at all; it’s added after the fact in post-processing. This is where the photographer takes full creative control and answers how to make a vignette. This is often the most powerful method because you can adjust the edge’s darkness, size, shape, and feathering (softness) to suit your creative vision perfectly. A quick way to instantly make an image darker on the edges to draw attention to the center is to use a radial mask tool in any modern editing software. This lets us create a perfectly controlled vignette in photography.
Should You Use a Vignette in Your Photos?
Vignetting is a tool; like any tool, it can be used for good or bad. The decision to use it, and how much to use, depends entirely on your creative intent.
When to Use Vignettes
The primary answer to “what is the purpose of vignetting?” is focus.
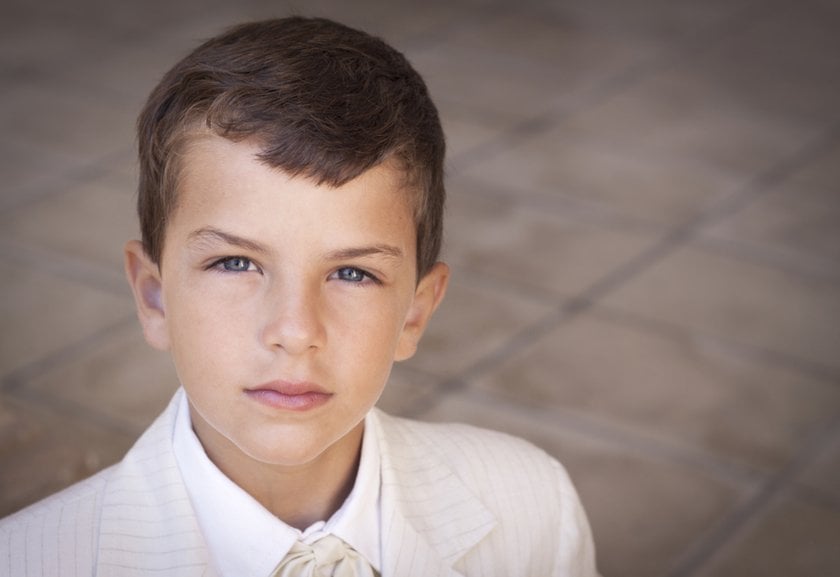
To guide the viewer’s eye: This is the most important reason. By darkening the periphery, you effectively create a spotlight on your main subject. For instance, a portrait of a child can be made incredibly engaging when a soft vignette pulls all attention directly to their eyes. It’s a subtle yet powerful form of compositional control.
To create mood and atmosphere: Vignettes can invoke a nostalgic, moody, or dramatic feeling. They often remind viewers of older lenses or even old photographs, especially when paired with a grainy film effect. This is perfect for dramatic black and white images or emotional street photography.

To mitigate distractions: If the corners of your frame have elements that are too bright, have distracting colors, or are just plain irrelevant (like a glowing patch of sky or a busy corner of a room), a subtle vignette can help to neutralize them.
To enhance the subject’s center-framing: If you’ve deliberately placed your subject in the center, a vignette is a beautiful way to reinforce that choice and make the photo feel more intentional and framed.


When to Avoid Vignettes
Avoid vignettes when your image relies on even lighting, full-edge detail, or precise color accuracy.
Bright, airy, and modern photos: If your goal is a clean, contemporary, or minimalist look (e.g., modern product photography or bright interiors), a vignette will likely feel heavy and dated.

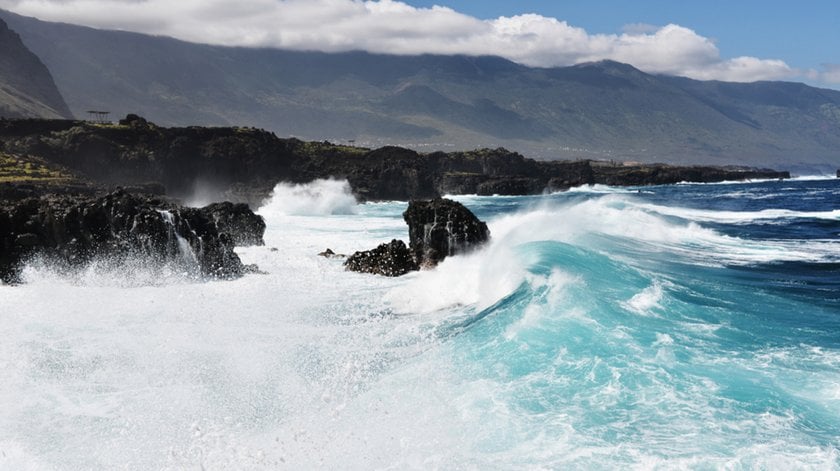
Edge-to-edge details: In landscape photography, where the detail in the corners (like mountains or coastlines) is just as important as the center, a subtle border shading would obscure key information.
High-key photography: Images intentionally overexposed to create a bright, ethereal feel should almost never have a vignette, as it would contradict the light mood.

Color-critical work: Vignetting can affect how the color is perceived. Avoid it for images where accurate color representation is vital (e.g., fashion, certain product shots). Adding a vignette can sometimes also inadvertently reduce the photo vibrance at the edges, which might not be what you want.


Mastering the Vignette Effect: A Practical Vignette Tutorial
Controlling the vignette effect involves both in-camera techniques and post-processing mastery.
In-Camera Techniques
While you can’t add an artificial vignette in-camera, you can influence optical and mechanical types. Knowing this helps you either leverage or eliminate them.
Use lenses at wider apertures: As noted, wide-open apertures are more prone to optical vignetting. Shoot with your lens wide open if you want a natural, subtle vignette. If you want to eliminate it, stop down to a narrower aperture.
Add a lens hood: Lens hoods are meant to keep out unwanted stray light (flares), but as mentioned, a poorly matched or oversized lens hood, or even one on a very wide lens, can cause mechanical vignetting. If you want a slight mechanical vignette, you can sometimes use this to your advantage, though the effect might be harsh.
Choose your filters wisely: Stacking multiple or overly thick filters, especially circular polarising filters, is a surefire way to introduce mechanical vignetting, particularly on wide-angle lenses. If you’re looking for an intense, slightly harsh edge frame, this is a method.


Post-Processing Techniques
This is where the real control comes in. Learning how to add vignette in Photoshop or any other powerful editing software gives you complete freedom.
Using radial filters/masks: Most software (Luminar Neo, Photoshop) has a dedicated “Vignette” slider or a Radial Filter tool. This lets you digitally simulate the look of optical vignetting.
Using a Curves Adjustment Layer (advanced): For specific control, you can use a Curves adjustment layer with a feathered elliptical or circular mask. This allows you to specifically darken the edges while fine-tuning the tonality (not just the brightness) of the darkened area, giving you more nuanced control than a simple slider. You can even find free Photoshop actions for photographers online that automate complex curve adjustments for dramatic vignette effects.


In the end, vignetting meaning comes down to intention. Whether it’s the natural falloff from your lens or something you add in editing, a darkening at the corners uses light to guide the eye and shape the emotion of your photo.
Elevate Your Photography with Our Advanced Software
Discover PricingIn Closing
 Vignetting is one of those little photographic quirks that quietly steal the show. What starts as a small drop in brightness at the frame’s edges can be coaxed into a powerful tool either by the lens itself or in post. Used thoughtfully, it guides the eye, tightens the composition, and gives an image an instant emotional weight. I used to see it as a mistake; now I treat it like a compositional shortcut that helps me shape mood and focus with almost no fuss.
If you’ve ever wondered “what does vignette do?” beyond darkening corners, the answer is simple: it directs attention, adds emotion, and turns light falloff into a storytelling tool. Instead of ignoring it, learn it, practice it, and let it serve your vision.

![Best Camera For Family Photography [Reviewed By Photographer]](http://media.macphun.com/img/uploads/macphun/blog/3921/xipo.png?q=75&w=1348&h=715&resize=cover)
