Using Presets For Consistent Portrait Editing
August 27, 2025
Learn how to use presets for consistent portrait editing. Achieve a unified style across your shoot with matching colors, contrast, and mood.
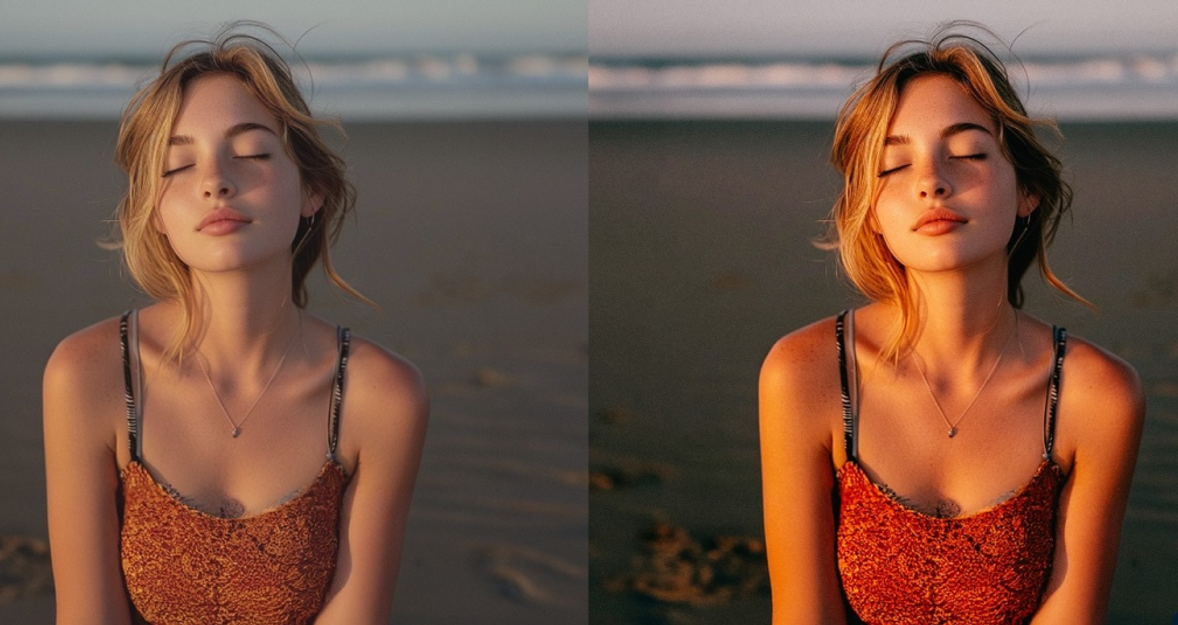
Getting the same polished look across a whole shoot doesn’t have to be hard, and that’s where presets for consistent portrait editing come in. When every portrait in a series shares color temperature, contrast, and mood, viewers stop noticing technical differences and start noticing the person in the frame. Presets are the most reliable way to build that voice quickly, but only if you use them thoughtfully.
What A Preset Actually Does
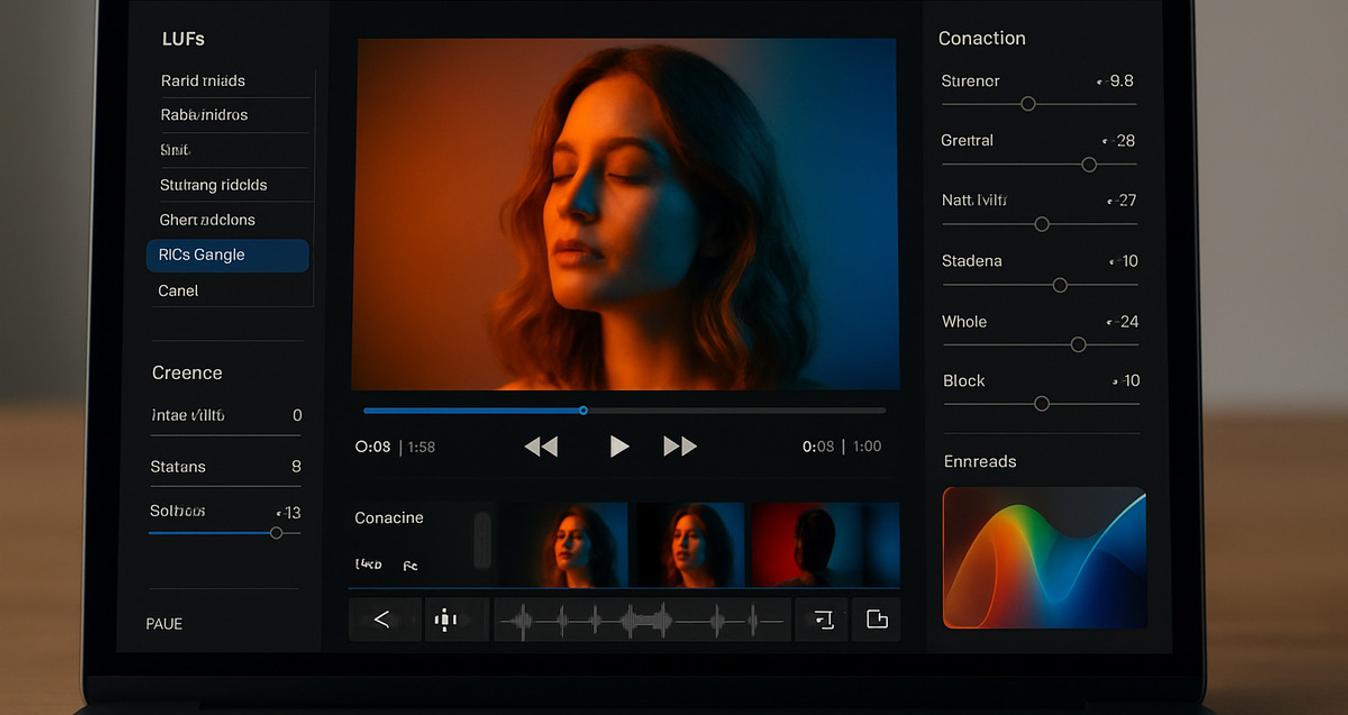
 A preset is a saved combination of edit settings you apply with one click. It alters exposure, contrast, white balance, tone curve, color grading, sharpening, and sometimes local effects (vignette, glow, grain). Think of them as starter recipes: they give you the base so you can finish with small, deliberate tweaks.
Key parts of a preset:
Global exposure and contrast
White balance and tint (this affects skin tones most)
Tone curve and highlight roll-off
Color grading or HSL shifts
Sharpening, noise handling, and optional local effects
Your AI-Powered Photo Editor for MacOS and Windows
Discover Now!Why Presets Help Portrait Work
Presets save time and give repeatable results. When shooting a wedding, campaign, or editorial series, applying the same starting grade across images creates a coherent gallery. That coherence is what makes a portfolio feel like a brand.
Practical benefits:
Faster culling and editing when many images share a look.
Easier client approvals: apply a mood sample across the gallery.
Consistent skin tones with small white-balance tweaks.
Choosing Presets: Tonal Match, Not Fantasy
A preset that flatters one skin type may not flatter another. Choose by how they treat midtones (where skin lives), contrast, and color casts. Test on three representative frames—one highlight-heavy, one neutral, one shadow-heavy—before you batch-apply.
Quick Checklist For Picking Presets
When choosing presets, it’s easy to get distracted by dramatic transformations, but the real test is whether they serve your portraits well. Keep these points in mind as a quick filter when deciding which one to use.
Does it preserve midtone skin detail?
Does it add a color cast you must fight?
Is the contrast soft or punchy, and does that match your intent?
Are local adjustments (vignette, eye sharpening) appropriate?
Popular Portrait Presets: What They Do And When To Use Them
Let’s walk through some of the most useful image presets from the Skylum Marketplace and see when they really shine.
1. New Black
 New Black turns portraits into remembered moments — a near-monochrome look where colors seem to hide behind grayscale masks. Film-style grain, a soft glow, and muted warmth trade photorealism for emotional memory, so skin and light feel softened and a little unreal. Use it for intimate portraits, nostalgic storytelling, or moody edits when you want character and atmosphere over literal color.
2. The Pastel Edit
 Soft contrast, desaturated highlights, and a mild pastel tint define this pack. Use The Pastel Edit when you want airy, gentle portraits — think Lightroom fashion editorials, soft family sessions, or newborns. It’s forgiving with skin, but avoid it for high-contrast scenes.
3. Fujinon Says
 Designed to emulate vintage lens color and micro-contrast, this preset emphasizes clarity and midtone contrast while keeping colors pleasing. Use it for sharp, slightly nostalgic headshots and environmental portraits where lens character matters.
4. Master Mix
 Master Mix is an all-in-one toolkit — 88 carefully refined presets bundled so you don’t have to choose favorites before you start. It’s perfect when you’re exploring a vibe or need a quick starting point for portraits, street shots, or travel photos: plenty of tonal variety and stylistic options to try. Many presets come with select controls reset to zero, intentionally leaving room for your own tweaks so each look becomes your look.
5. Simple Portraits
 These presets invite gentle, cinematic beauty — thoughtfully crafted presets that favor soft hues, textured tones, and emotive shadows. Each preset is tuned to flatter skin, lift natural light, and reveal quiet character in a frame — from warm golden glows to elegant monochrome treatments. Use it when you want gentle, cinematic, and authentic looks—ideal for intimate headshots, family and maternity sessions, lifestyle editorials, or any portrait that benefits from quiet emotion.
6. City Portraits
 It is a ten-preset suite built for elegant, cinematic street portraits. These looks preserve natural skin tones while gently softening imperfections and tuning contrast so your subject sits harmoniously within urban textures and architecture. Use it for on-location shoots — golden hour, neon-lit evenings, or clean daytime frames — when you want poised, filmic portraits that feel at home in the city.
7. Soulful Portraits
 Soulful Portraits — ten polished presets that make professional-looking portrait edits fast and effortless. Each preset is tuned to enhance skin, refine detail, and add layered character so images gain depth and mood without overworking. Versatile across styles and lighting, this pack adapts to different moods and subjects, giving your portraits a consistently high-quality, emotive finish. Use these presets when you want fast, polished, emotionally rich portrait edits.

Popular Kits
An all-in-one kit is a ready-made, genre-specific kit that bundles everything you need to shoot and finish a particular type of photo — portraits, city scenes, travel, etc. It typically includes curated presets and LUTs, texture and film-emulation stacks, local/global adjustment templates, masking presets, and clear step-by-step instructions, plus camera-ready shooting tips. The goal is to give you a fast, repeatable workflow: choose a starting look, apply matched adjustments, and fine-tune — so you get consistent, professional results without rebuilding edits from scratch.
1. French Voyage Kit
 Subtle film tones, soft vignettes, and travel-friendly color palettes. It includes a curated set of travel-friendly presets and matching LUTs that dial in subtle film tones and slightly faded color palettes. Use this kit for travel portraits or lifestyle sessions that need a cohesive, slightly vintage travel mood.
2. Cinematic Effects Kit
 A compact toolkit that delivers instant filmic looks: cinematic presets & LUTs, texture stacks, vignettes/aspect guides, and layered masks for precise light and depth control. You can use it when you want portraiture with film-like mood and storytelling — editorial, moody headshots, engagement, or fashion work that benefits from drama and atmosphere.
3. Environmental Portraiture Kit
 This kit includes templates/presets for different styles, plus light-flare overlays and artistic film-noise overlays. Use it to create environmental portraits — images shot in a subject’s home, workplace, or usual surroundings that reveal their life, character, and inner world.
4. Road Movie Kit
 It includes a professional editing guide, travel presets, color LUTs, dust & scratch overlays, and original film-frame overlays. Perfect for everyday edits or for experimenting like a pro—quickly shape mood, color, and texture to suit any scene. Use it to capture the thrill of the road: sunlit highways, motel nights, roadside portraits, and wide-open landscapes that read like scenes from a film.
5. Urban Jungle Kit
 A street-focused toolbox that helps you turn everyday urban scenes into cinematic, eye-catching frames. It bundles gritty presets and contrasty LUTs, texture stacks, light-leak and flare overlays. Use this kit for street photography that aims to elevate the mundane — alleyways, storefronts, neon nights, candid portraits, and architectural details where texture and atmosphere tell the story.
How To Combine Presets And When To Use LUTs
Presets give you the base; LUTs are final color transformations. Apply your RAW preset first, fix exposure and skin, then apply a LUT for stylized grading. If you want consistent, film-like color across cameras and displays, consider checking curated LUT packs that pair with your presets — a good source to explore is high-quality image LUTs.
Simple rule:
Base preset: correct exposure, WB, skin
Manual edits: local cleanup, eyes, texture
LUT: final color push for mood and consistency
Workflow: Build Your Personal Preset Kit
Buying good presets is the start. Build your own kit by selecting one or two core variants (high-key and moody). Save small-adjustment presets that only change WB or midtones so you can quickly adapt to different sessions.
Naming conventions that save time:
Portrait_Base_Warm
Portrait_HighKey_Bright
Portrait_Moody_Shallow
Final Tips And Troubleshooting
Here are some quick, reliable fixes to keep your edits consistent:
Test presets on three frames before batch-applying.
If skin turns orange: lower orange saturation by -5 to -15 and nudge WB cooler.
If highlights clip: reduce global contrast or lift highlights by small amounts.
For dull eyes: dodge iris and increase local texture/clarity slightly.
With these small adjustments, you’ll avoid the most common pitfalls and keep your portraits looking polished and consistent.
The Definitive Solution for Picture-Perfect Portraits
DISCOVER TODAY!In Closing
 Presets are tools — not rules. The kits above each bring a particular mood and set of strengths: some give airy pastels, others add cinematic punch, and some provide sky and background tools that make outdoor portraits sing. Use them deliberately: pick a tonal match, test on representative frames, then tweak only where it counts (skin and eyes). With a small library of well-named presets and a predictable export routine, you’ll produce cohesive, professional portrait galleries fast — and they’ll look like yours, not like a template catalog.