Silhouette Photos
Last Updated on June 25, 2025

Want to create moody, dramatic photos? Silhouette photography is your go-to trick.
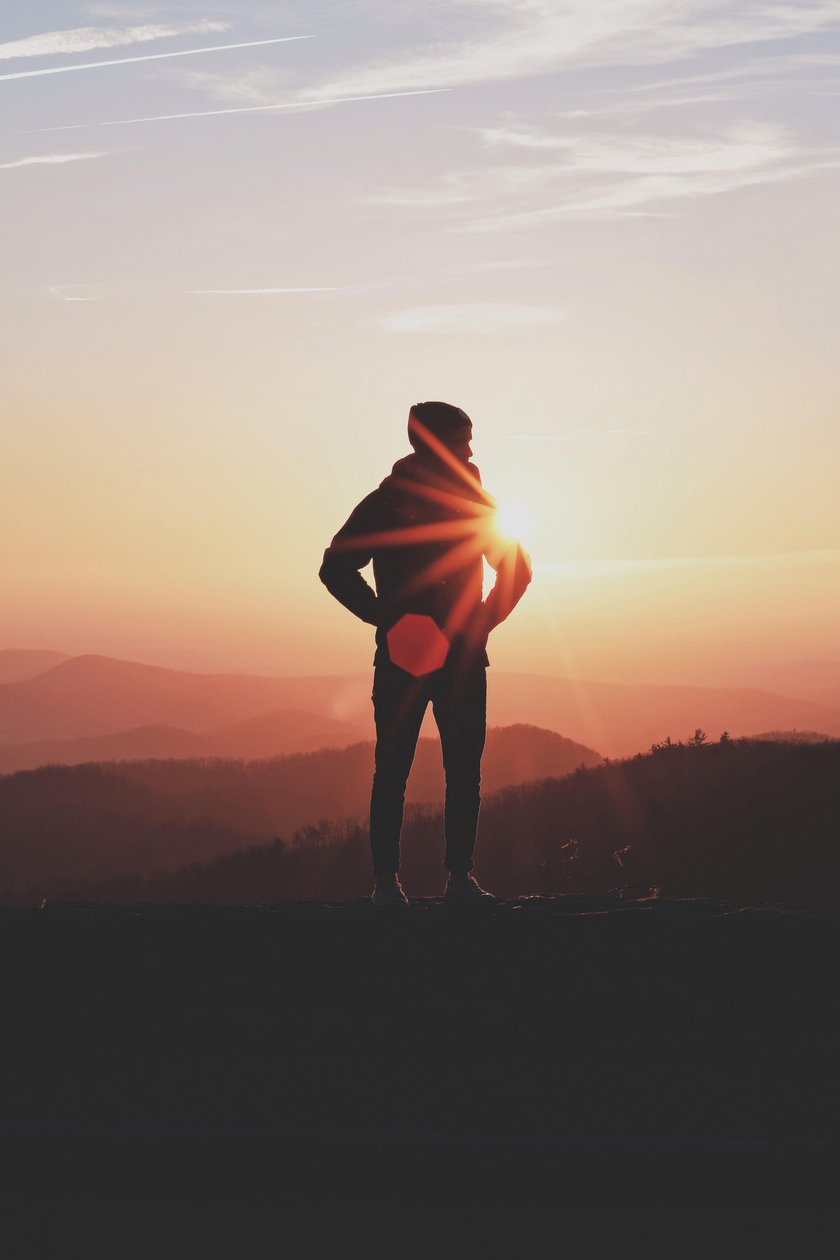
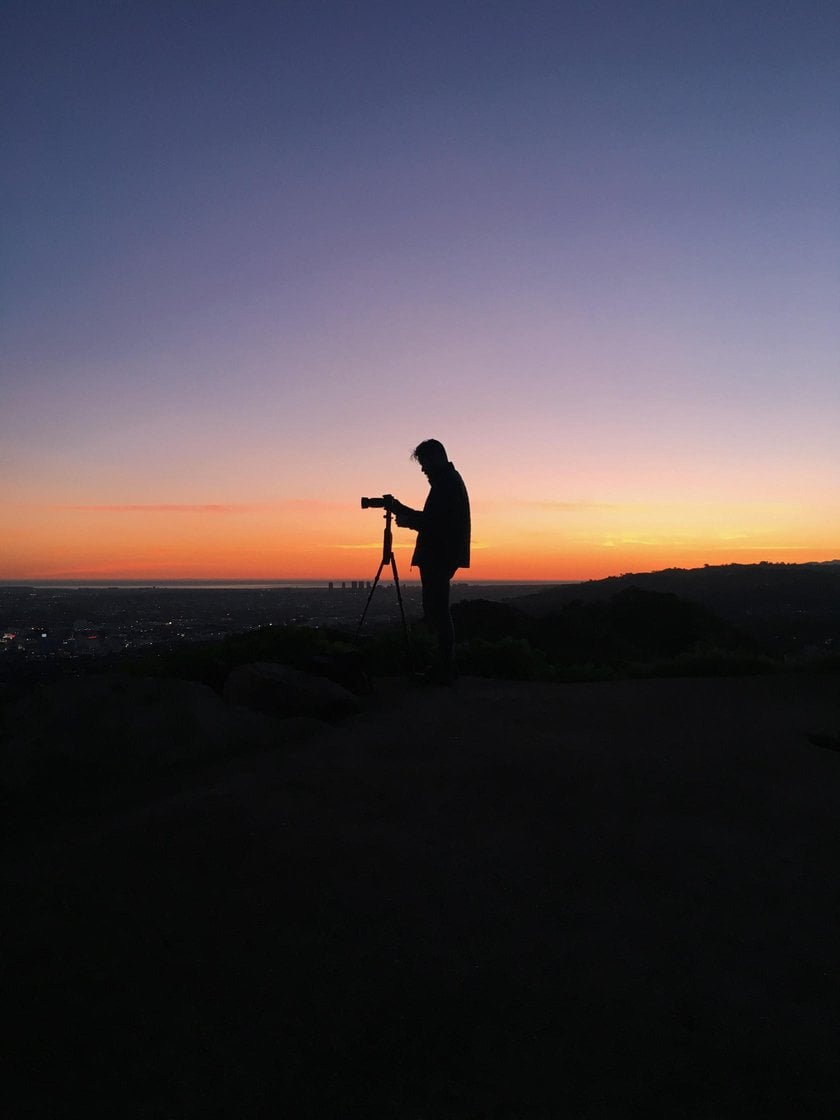
Ever clicked a photograph where the subject is completely black, but the background exudes beauty? That’s the magic of silhouette photography. It’s a very simple technique, but if done properly, it makes a mundane scene into one that is dramatic and heartbreaking. Whether it’s a human, an object, or even a tree at sundown, silhouettes enable you to show and not tell every detail. In the following guide, we’ll explore how to photograph those shadowy, dramatic shapes and how and why they’re so engaging in visual storytelling.
What is Silhouette Photography?

So what’s the scoop about photography silhouette? It’s all about shooting a subject—maybe a person, a tree, or even a building—as a dark, bold shape against a tremendously bright background. The subject becomes almost pitch-black, but the background, like a sunrise or a light-colored window, is lit up from behind. It’s like drawing with shadows, where the outline does all the talking. You lose details like colors or textures, but that’s the point—it’s about the vibe, the form, the story in the shape.
Your AI-Powered Photo Editor for MacOS and Windows
Discover Now!A basic camera or even your phone can do the trick. Plus, it’s kind to beginners since the dark subject hides little mistakes. If you want to polish your shots later, check out Luminar vs Lightroom to see which editing tool fits your style.
Creating Stunning Silhouette Shots
To nail this kind of shot, you’ve gotta get two things down pat: lighting and timing. These are the heart and soul of a great silhouette, and they’re what make your image pop. Let’s break it down.
The Right Lighting
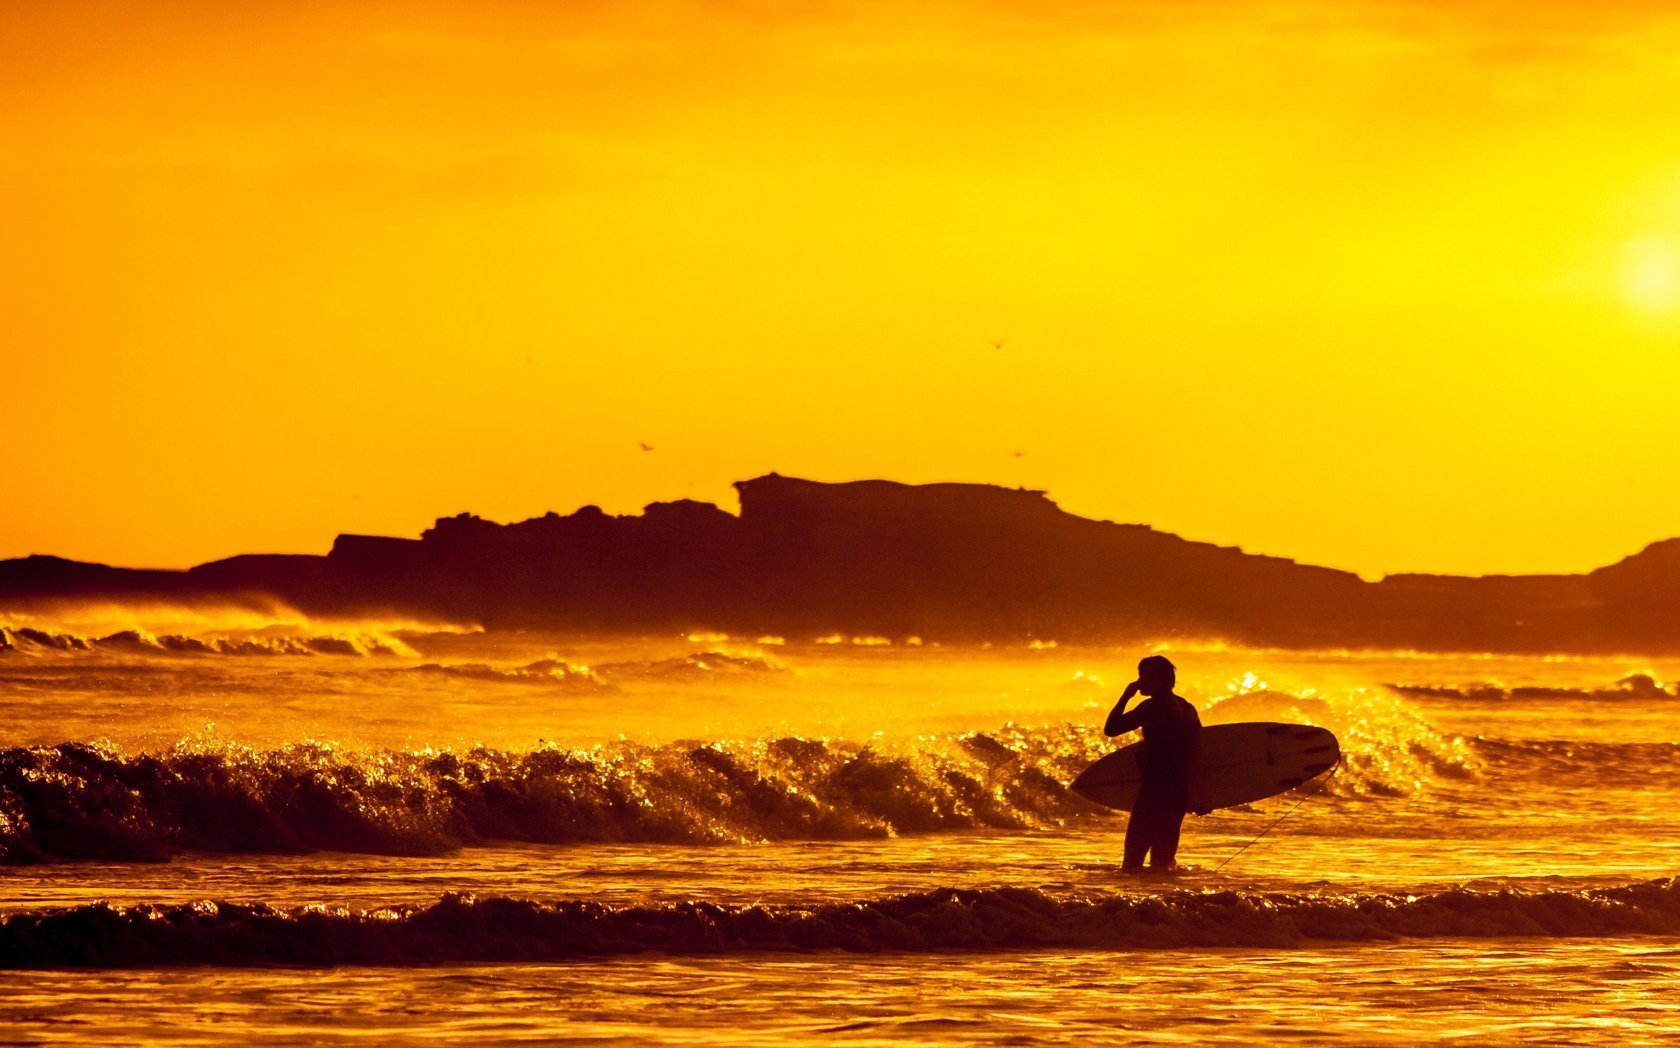
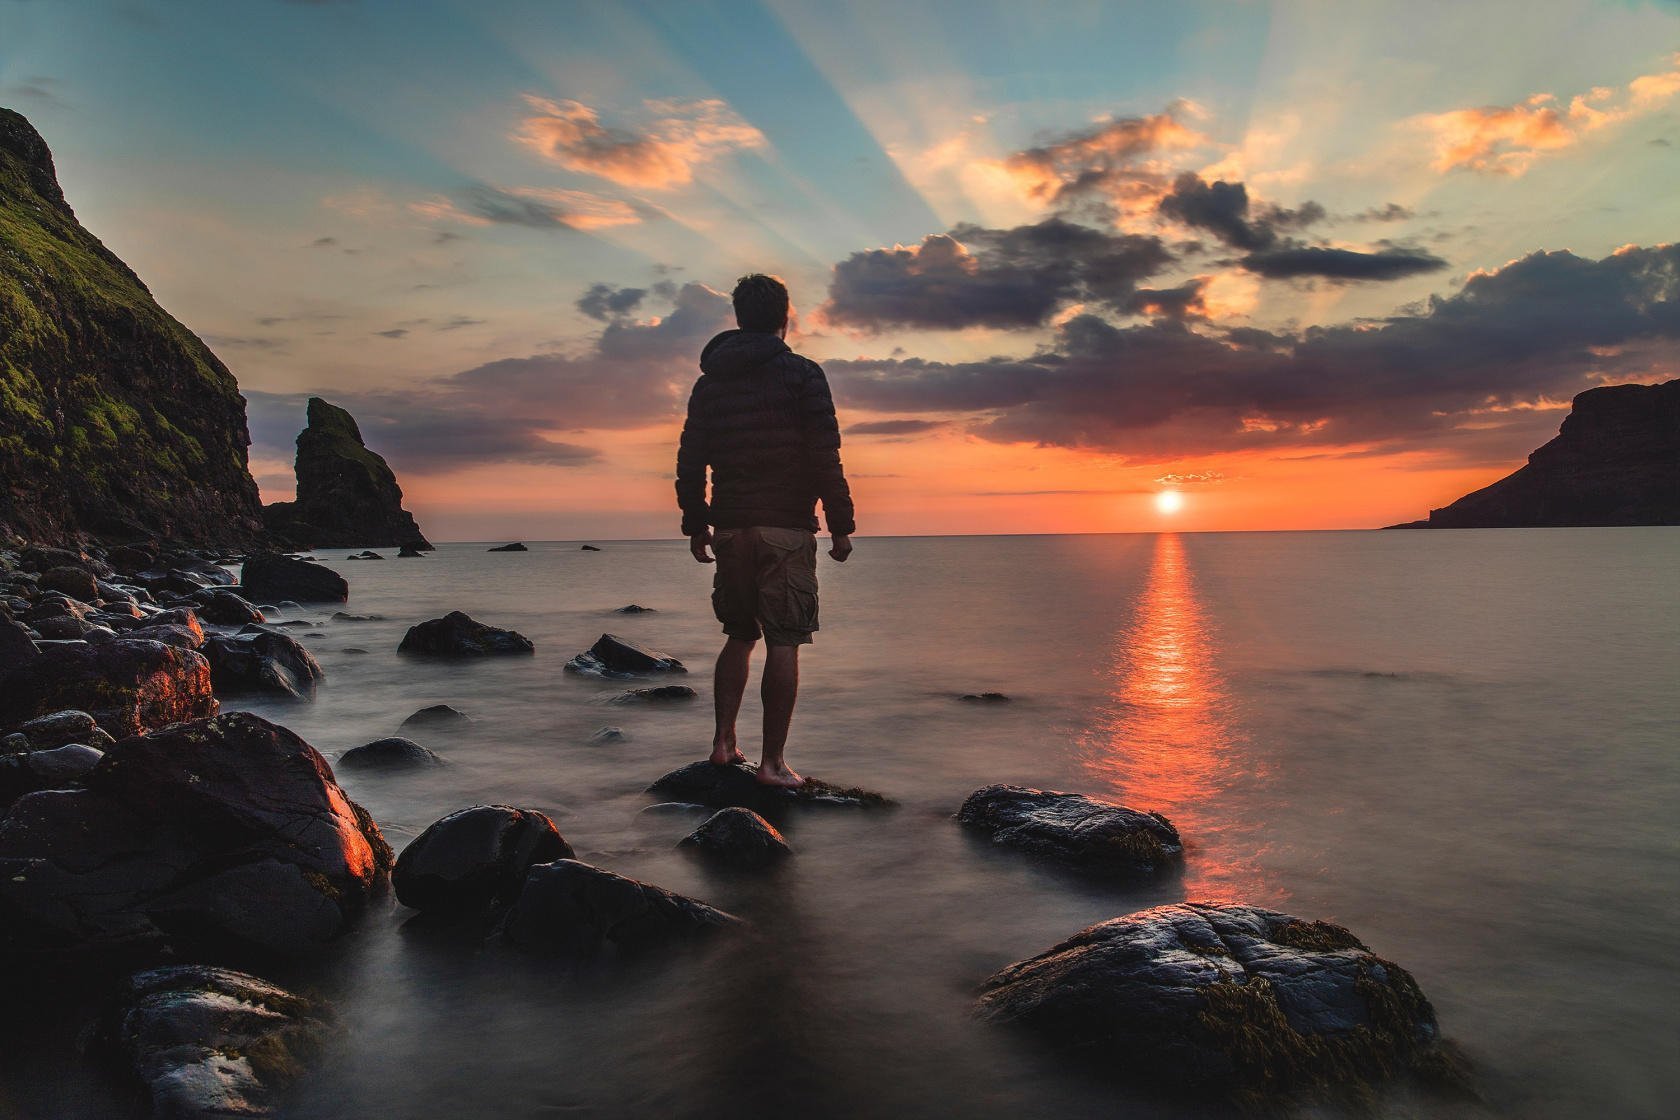
Lighting is everything in a silhouette shot. You need a bright light source behind your subject to create that inky contrast. Sunsets and sunrises are my go-to because they’re gorgeous and give you those warm, glowing tones. But you can get creative—think bright windows, stage lights, or even a full moon. Just make sure the light’s coming from behind your subject, drowning out anything in front. If you’re tweaking your shots later, the Brighten Images tool can help you dial in the perfect light balance to make your silhouette sing.
Perfect Timing
Timing is a big deal in this kind of photography. The golden hour—that soft, dreamy time right after sunrise or just before sunset—is where the magic happens. The light’s warm, intense, and perfect for creating contrast. But you’ve only got a short window, so you gotta plan. Check the weather, scout your spot, and get there early. If you miss a golden hour, don’t sweat it—cloudy skies with a bright horizon or even artificial lights can still work. It’s all about being ready when the light’s just right.
How to Take Silhouette Photos
Wanna shoot your silhouette photos? Here’s a no-nonsense guide to get you started. These steps are simple enough for newbies but packed with tips to help you level up.
1. Select the Location
Picking the right spot is half the battle. You want somewhere with a clear view of your light source—like a hill for a sunset or a wide-open field for a sunrise. Keep the background clean; cluttered stuff like power lines or crowds can steal the show. A lone tree or a person on a beach is perfect because it’s simple and lets the silhouette shine. If you’re editing later, AI Background Remover can zap any distractions for a crisp, clean look.
Also, think about how the location affects your subject’s shape. If you’re shooting near buildings or tall grass, your subject might blend into the background. Step back and scan the whole scene through your viewfinder before shooting. Move around if needed—sometimes just shifting a few feet left or right makes a huge difference in getting that perfect, standout silhouette.
2. Shoot Against the Source of Light
Get your subject right between your camera and the light source. That’s what creates the bold contrast for a silhouette photo. Think of a person standing in front of a blazing sunset or a bright window. The light needs to be strong enough to wash out the foreground. If exposure is causing you a headache, the article about how to choose the best photo editor offers excellent software options to simplify the process.
Again, try turning off your flash or any front-facing light. You don’t want extra light filling in your subject—that defeats the purpose. Tap to focus on the brightest part of the background and let your subject fall into shadow. It might take a few tries, but once you get the hang of it, the results will speak for themselves.
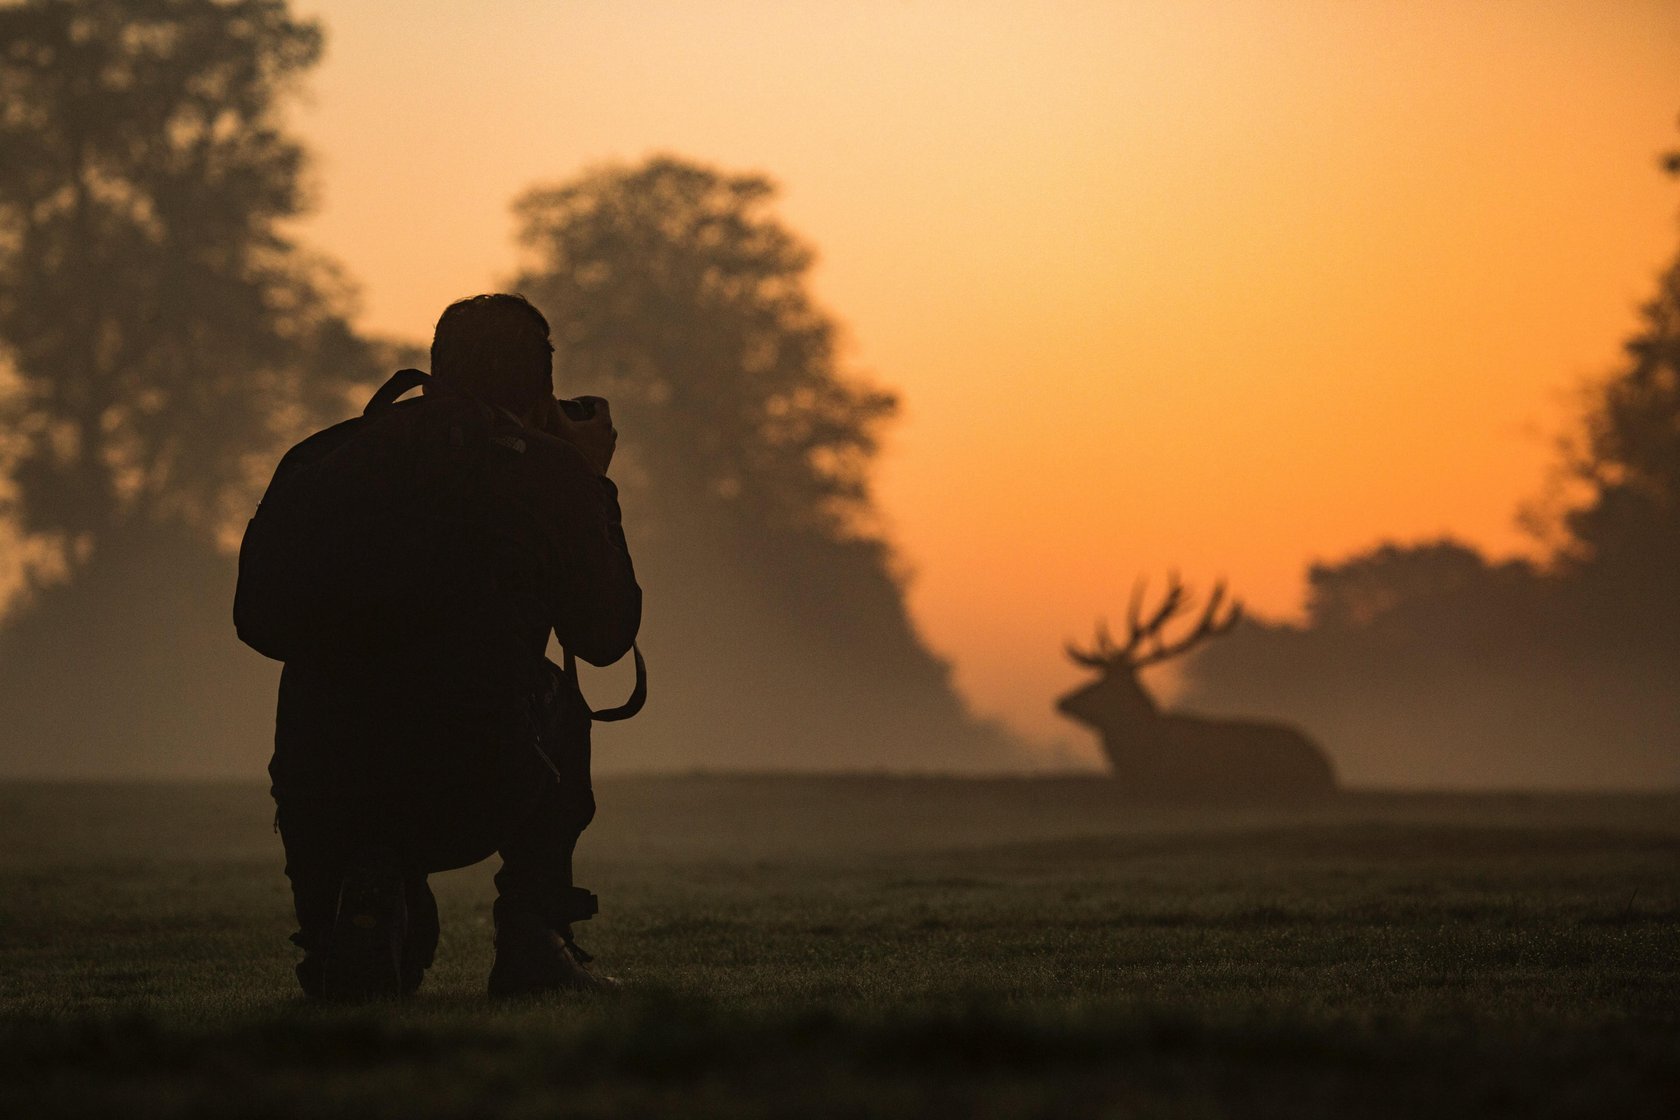
3. Take Photos from a Low Angle
Shooting low adds some serious drama to your silhouette pictures. Crouch down or even lie on the ground to make your subject look huge and epic against the bright sky. It’s awesome for people or animals—imagine a dog leaping for a frisbee, shot from below. It feels heroic. In editing, you can play with overlays for pictures to add cool textures or effects that boost the mood.
Just be mindful of your background—when shooting low, the horizon can shift and clutter your frame. Try to keep it clean so your subject pops clearly. If there are distractions, you can always remove them later.
4. Set Exposure Manually
Auto-exposure is a silhouette killer—it’ll try to light up your subject and ruin the contrast. Go manual and expose for the background, not the subject. Use a low ISO, like 100 or 200, and a fast shutter speed to keep the sky bright and the subject dark. No manual mode? A phone with a good app can work. For editing, image editing software like Luminar Neo makes tweaking exposure a breeze.
If you’re using a smartphone, tap the lightest spot on the screen (probably the sky) to lock exposure and focus there. Then slide the exposure down until your subject is a dark shape. It might not succeed at first, but after some practice, it’s very simple. Don’t worry about getting it exactly right in-camera—post-editing can iron out the result.
5. Emphasize Silhouettes in Post-Editing
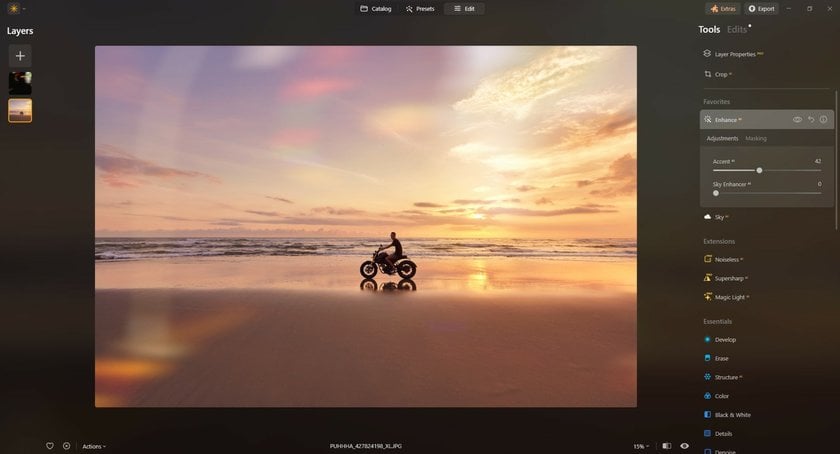
Editing is where your silhouette goes from good to wow. If you’re using Luminar Neo, try these tricks:
Crank-up contrast: This sharpens the silhouette’s edges against the background.
Darken shadows: Make sure your subject’s a solid black shape with no sneaky details.
Boost background colors: Pump up the sky’s vibrancy—think deep purples or fiery oranges—to make the silhouette pop.
Try AI tools: AI photo editor can auto-tweak lighting or clean up distractions fast.
Use presets: Grab Lightroom photo presets for dramatic looks that save you time.
Exclusive Tools of Endless Possibilities in One AI Editor
Explore Now!These tweaks can turn a decent shot into something you’d frame on your wall.
Composition Tips to Take Shadow Pictures

Composition is what makes a silhouette picture stand out. It’s about setting up your shot so it grabs people’s attention and tells a story. Here’s how to make your silhouettes unforgettable.
Framing Your Subject for Striking Silhouette Shots
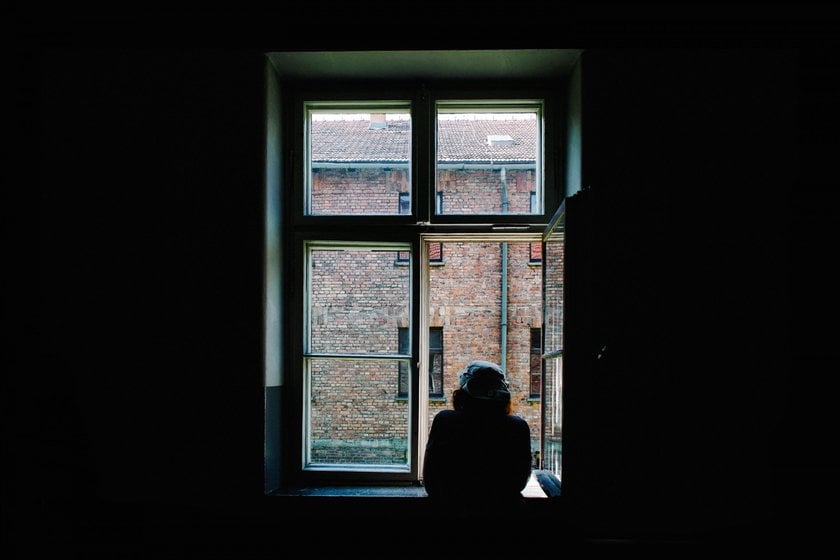
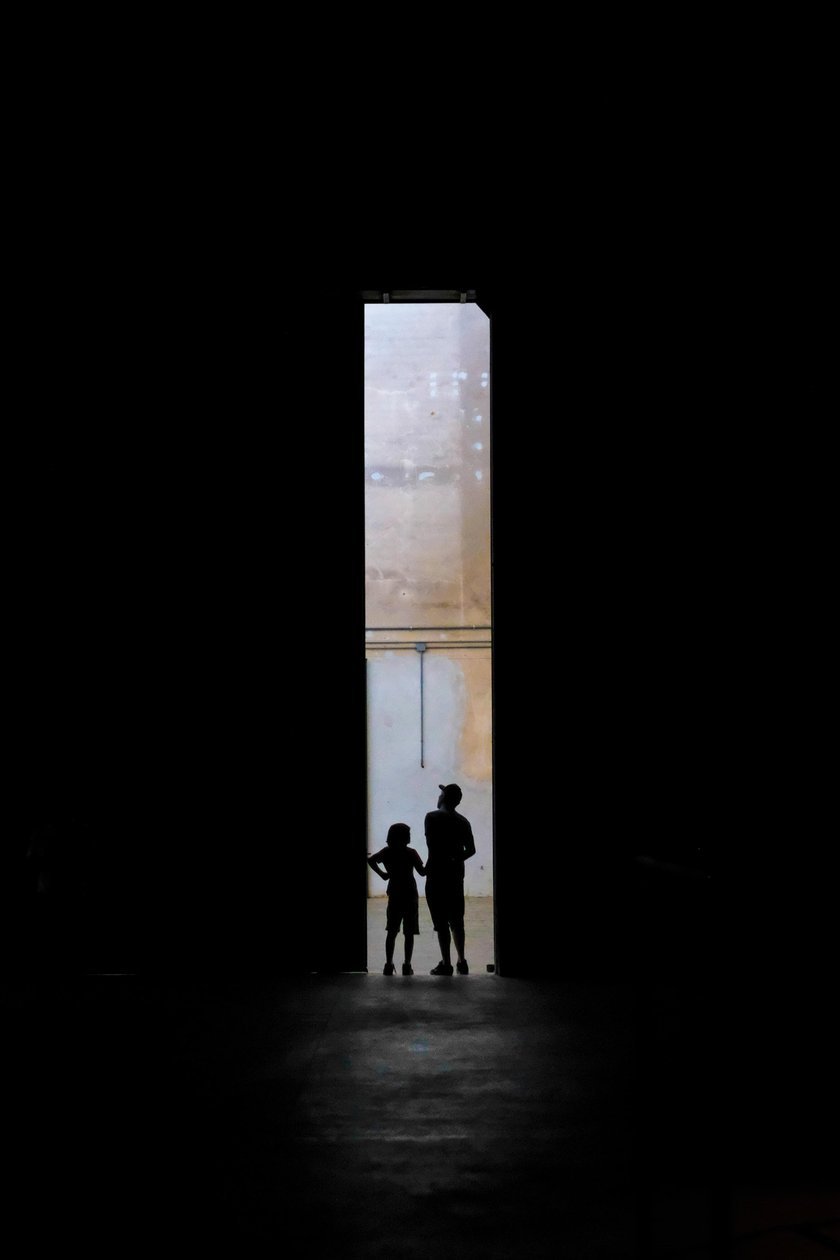
Framing is a game-changer in silhouette shots. Use stuff like tree branches, doorways, or even a window to create a natural border around your subject. It pulls the viewer’s eye right to the shape and adds a little context. Like, shooting a person under an archway can make the image feel intimate. Just keep the frame simple so it doesn’t compete with the silhouette, and make sure the light source stays clear.
How to Emphasize Shapes

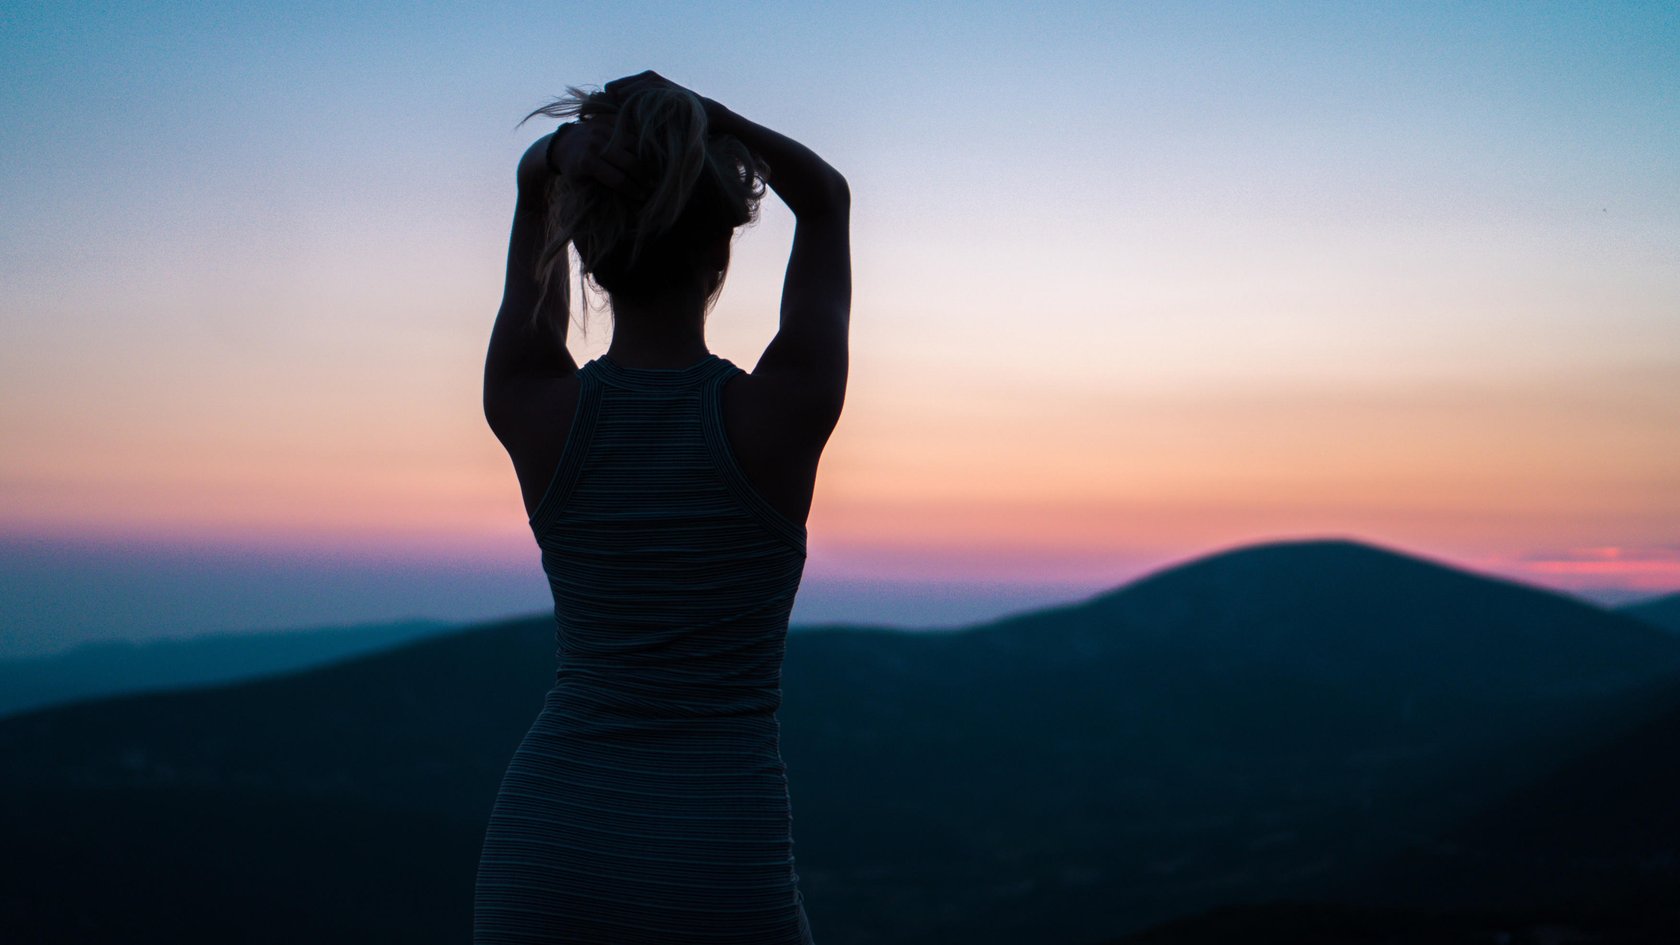
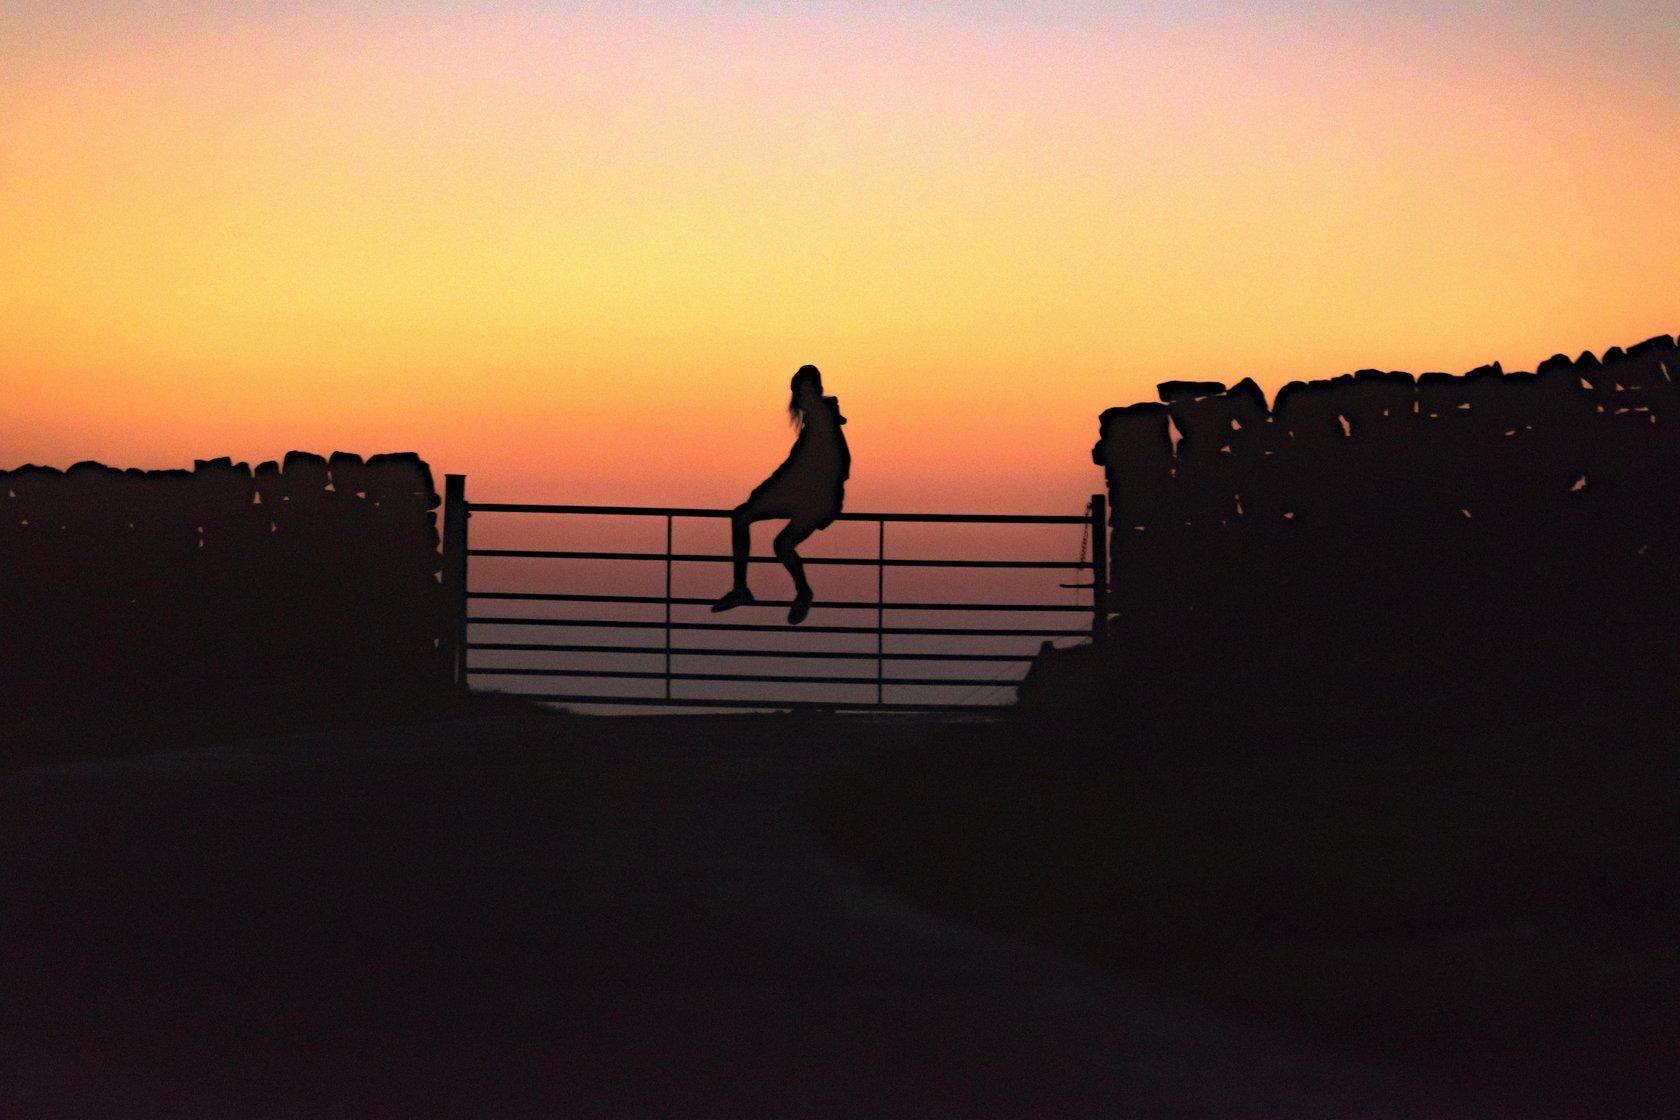
Silhouette photos are all about shape, so pick subjects with clear, bold outlines. A person doing something dynamic—like jumping or twirling—beats a stiff pose any day. Things like bikes, dogs, or cool buildings work great too, since their shapes are easy to recognize. Play with negative space, leaving empty areas around the subject to make the shape pop. A lone figure against a huge sky can feel quiet and powerful like they’re the only one in the world.
Creating Depth and Interest in Silhouette Compositions

To give your silhouette shots some depth, layer things in your frame. Put your main subject up front, something like a tree or a fence in the middle, and the bright sky or light source in the back. It makes the image feel more three-dimensional like you could step into it. Reflections are another fun trick—shooting near water to catch the silhouette’s mirror image can double the wow factor. Picture a couple holding hands, their silhouettes reflected in a still lake at sunset. It’s pure magic.
You can also weave in storytelling. Think about the mood you’re going for—maybe adventure, peace, or love—and build your shot around that. A silhouette of a kid with a balloon against a sunrise screams hope and wonder. Try weird angles, like shooting through tall grass or leaves, to add texture and make the viewer linger.
Mastering Silhouette Photography
Getting good at silhouette photography is all about jumping in and playing around. Start simple—grab a friend and shoot them against a sunset, or try a tree at dusk. Mess with angles, fiddle with settings and try different compositions. The cool thing about silhouettes is you don’t need perfect conditions or a fancy camera to make something awesome.
Every shot teaches you a bit more about light, shapes, and how to capture a moment. So go chase that golden hour, snap some silhouette pictures, and let your creativity run wild. You’ll be amazed at the stories you can tell with just a shadow and some light.