How To Take Photos For Real Estate - Our Tips And Tricks In 2025
Last Updated on January 16, 2025
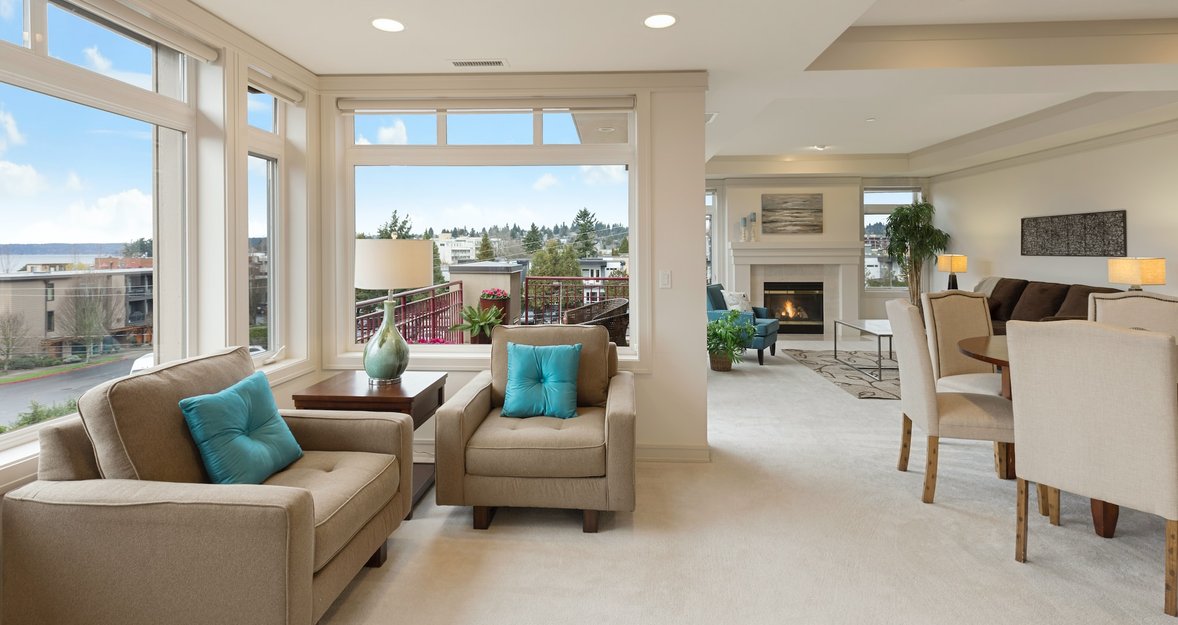
Getting great real estate photos isn’t rocket science, but there are definitely a few things that will make the shoot go more smoothly and the shots shine.
Why is taking real estate photos a must-have part of ad preparation? Real estate photography can bring a steady income because real estate agents always need quality photographs for their listings. Having impressive photos is a huge part of a successful deal. That’s why learning real estate photography tips of the trade is rewarding.
Anyone can make beautiful photos quickly and easily. It’s just a matter of learning the technology and then practicing a lot. We’ve got you covered on the first part. The process of real estate photography doesn’t limit itself to the photo shoot: there are many details to keep in mind from first entering the home through editing the photos and sending them to your clients. So below you will learn how to take great real estate photos. As a bonus, we also talk about Luminar Neo, an AI-powered software that allows you to create professional images using selective color photography. This is an editing technique that allows you to adjust individual tones and is an important tool for subtle color correction. So, let's get started!
What Is Real Estate Photography?
On the realtor side, real estate photography is a future addition to the brief description in a real estate advertisement. That is, it is the main instrument of the real estate business that attracts attention. And because a realtor does not know the main real estate photography tips and techniques, she or he needs a competent specialist.
On the part of the photographer, it is not only an opportunity to increase the number of his customers but also to enrich his portfolio. And also it is a chance to try yourself in such an area. In general, real estate photography is a qualitative treated series of photos, which show the exterior and interior of the house. This type of photography has long been a real estate photography business with its own rules.
Real Estate Photography Tips
It's finally time to tell you about some basic tips for real estate photography. There are different kinds of real estate photography, from shoots of commercial properties like restaurants and clubs to photography of private homes. Each needs its own approach. Since apartments and residential houses are the most common subjects of real estate photography, this article will tell you all about shooting them.
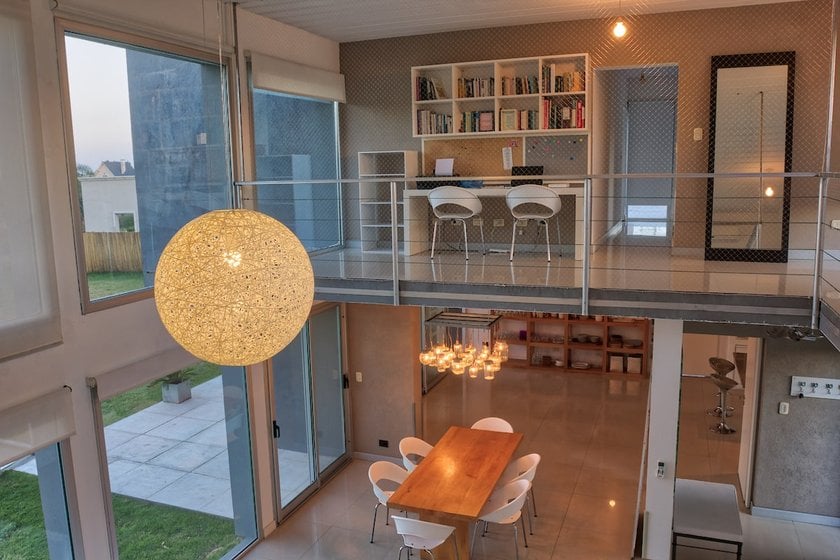 Photo by Nico Sircas
Prepare your equipment
A photographer’s reputation can suffer if they come unprepared. Therefore, he must know not only how to take photos for real estate, but also what he will exactly need in the photography process. Make sure that your batteries are charged, your lenses cleaned, and your memory cards formatted. When preparing your photography equipment, be sure to bring a wide-angle lens. This lens allows you to capture a larger area for your scene, which means your picture will be more interesting. And make sure that your tripod and other gear are ready and packed. Preferably, think about all these details the day before the shoot. Also, think ahead about the logistics: How will you get to the property? How will you contact the real estate agent? When do you have to leave your home? There are also small things that you may need after gaining a little bit of experience: other gear, umbrellas, and snacks. These are basic real estate photography rules to help find more customers among real estate agents.
Take a walk
Before diving straight into the shooting, take a walk around the property to really understand what you’re dealing with. You must explore this area as a real realtor. Don’t skip this step in hopes of getting right to the point, as this walk will save you time in the long run. Mentally note how many photos you need, which camera angles will work best, and the overall amount of work that you’ll need to do.
Look at the style of the house and estimate what kind of people would like to live there and what features they will find most appealing. Notice the illumination, the plants, the art on the wall. Do they all contribute to the overall style? Make sure nothing looks out of place. Even if you can fix almost anything in good real estate photography software, be sure that your starting point is the best it can be.
Number of photos
You can take as many photos as you like, but remember that in the final product the number of photos is limited. During your walk, make a checklist of how many photos will be needed for each room for the final delivery. This will help you decide on the shooting angles. Bathrooms, balconies, and small bedrooms can each get one photo, while the living room or a spacious kitchen with great custom features will require two or even three photos. Remember that real estate photographers capture the essence of the house; they’re not in-depth designers doing research. Too many photos isn’t good. Of course, don’t leave out any room, as a surprise bedroom might not be what buyers want to see when they first visit the house.
Real estate photographer experiences
You should also be aware of ethical concerns for real estate photographers. You can ask experienced photographers for help or join online communities to find more resources. Here are some tips from experienced professionals.
Get a contract
Just like with any other job, a signed contract guarantees that both sides have reached an agreement and assume certain responsibilities. Beginner real estate photographers sometimes find it embarrassing or unnecessary to sign a contract; however, this should be common practice, as you’re providing a service and receiving money for it.
In your contract, there should be clear deadlines for receiving payment for yourself and delivering photos to your clients. It’s always better to be paid in advance for your service, but if you’re a beginner you can request a prepayment of 50% or work out any other system that gives you a certain security. Untrustworthy real estate agents may tell you that you won’t get paid until the property is sold. But your job is to take good photos and not to sell property, so always request money for your diligently done job.
Prepare the workspace
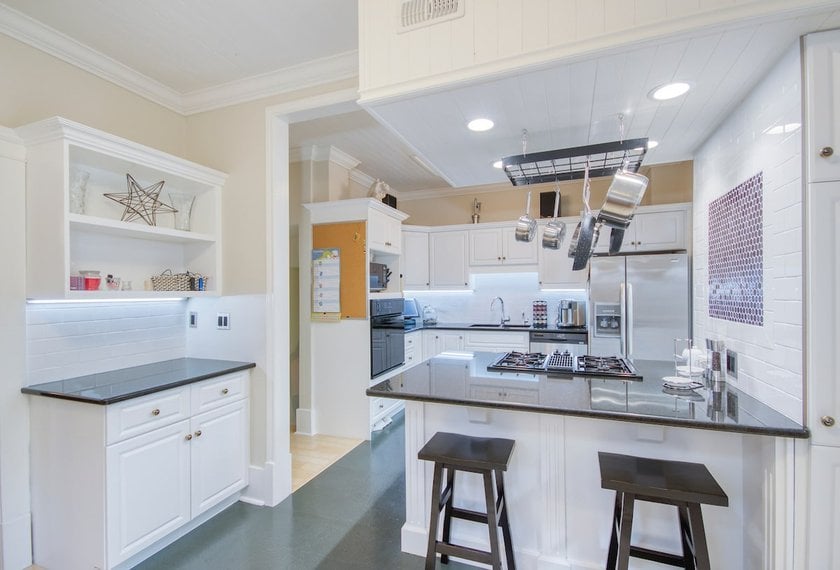
State in your contract what needs to be done before you arrive. It’s not hard to rearrange the flowers or move some cutlery out of the way. But remember that you’re not a member of the cleaning staff. The property needs to be wiped clean, mopped, and vacuumed. Notice if the glass surfaces, windows, and mirrors are clear. If you see that a room is absolutely not ready, don’t hesitate to tell the owner or real estate agent. To avoid unpleasant moments, you can list all of the details in the contract. For example, state that the fridge needs to be clean from magnets, papers, and children’s drawings, the counters need to be clean, and the kitchen utensils hidden.
Minimize editing
Going the extra mile to create the perfect shot can save time in the long run. After mastering great editing software like Luminar or Aurora HDR, you may feel like moving a hamper out of the way or fixing the lighting isn’t that important since you can quickly fix it in the program later. However, going out your way to move an object takes a few seconds, while editing it out might take you a few minutes. If you have a lot of photographs in a shoot, these minutes will multiply, potentially taking away an hour of your time.
Real estate photography
Here are some tips on shooting real estate photography.
Interior and exterior
If you’re invited to shoot a house, start from the exterior. What exactly is exterior real estate photography? Take a photo of the garden and the backyard and get an overall picture of the property. If the neighborhood is high-class or has some great views, you can even take a few drone photos to highlight the area (with permission from the neighbors). Swimming pools, patios, gardens, and children’s play areas are all important so that future owners can get a feel for the property. The interior is just as important. A view will not be complete without high-quality interior photography. Don’t miss any rooms and make sure that your photos are in order: it would be weird to start with the attic, jump to the basement, and then show one of the en-suite bathrooms.
Use a suitable lens
You have already understood that a wide-angle lens is one of the main assistants of a real estate photographer. The correct lens will help a real estate photographer get more out of the photoshoot. For interior photoshoots, a wide-angle lens is preferred. This way you can get more of the scene, avoiding taking multiple photos of one room to highlight all the space and features. The room will also look bigger and more spacious with a wide-angle lens, which is always an advantage. Other important gear includes a tripod since it can guarantee that your photos are straight and can be a big help, especially for HDR real estate photography.
Shoot in HDR
One of the most crucial real estate photography tips is to shoot in HDR. HDR stands for high dynamic range, a method that aims to add more “dynamic range” to photographs. Dynamic range is the ratio of light to dark. HDR involves taking three or more photos at different exposures: too light, normal, too dark. You can then combine those three images with the help of photo editing software and highlight the best parts of each.The result is something that should look more like what your eyes see rather than what your camera sees. We recommended using HDR for landscapes, as it brings out all the details of the sky and the land. It’s also great for low-light and backlit scenes. And of course, HDR is really good for house interiors, as it balances the light and dark, brightening up the view from the windows and making the interior look just like your eyes see it.
Get rid of flash shadows
If you don’t want to shoot in HDR and are using flash instead, make sure to avoid flash shadows. Flash shadows are annoying, since they happen when you least expect them and you almost never notice them on location. Getting rid of them is important to make your photos really great. Always look for them behind ceiling fans and light fixtures. They can also pop up behind couches, pillows, desks, plants, tables, and chairs. There are at least two ways to get rid of them: produce very soft light by bouncing off a wall or ceiling behind the camera. A second way, albeit more complicated, is to use three points of light. For example, these can be a window and two flashes, one on either side of the camera. Of course, you can also edit them out later if you notice them too late.
Editing HDR real estate photography
Natural results
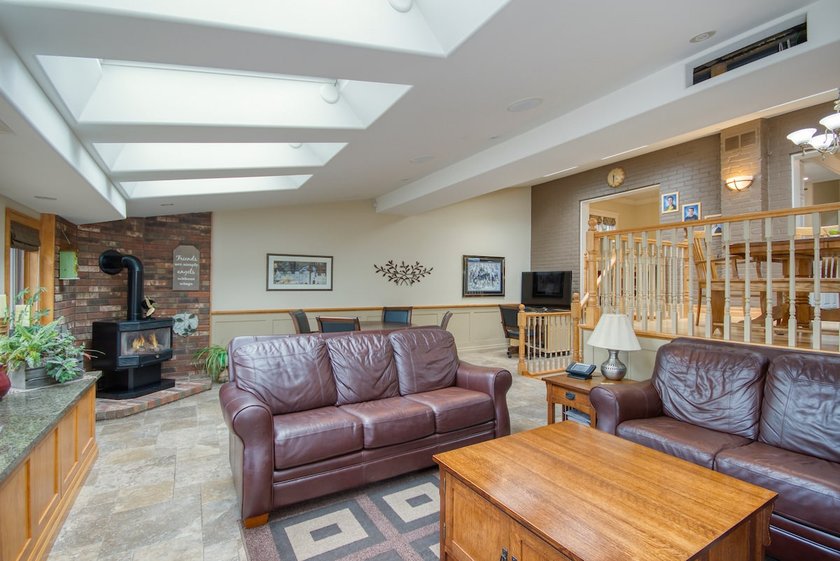 Since your goal is to make appealing photographs of the property, paying attention to natural results is key. A real estate agent will seem untrustworthy if their photos are highly edited or have unnatural colors. This will also make the property seem unattractive. Using HDR in real estate photography often gives you great results, but you should also pay attention to colors and contrast so as not to overdo it. Get used to shooting in RAW, since it’s a format that allows you to extract the maximum data to work with in your editing software.
Correct vertical lines
There are certain challenges to shooting interiors, one of them being the distortion of vertical lines. Any list of real estate photography tips will mention this. Pay attention to the room and see the lines of the corners, doors, mirrors, windows, and tall furniture. They should be straight in your photos. If tall lines appear bowed or leaning backward, it’s probably caused by lens distortion. Luckily, this can be quickly fixed in the editing software of your choice.
Fix lighting
Another important real estate photo tip is using the correct lighting. Light is quite important for any photo shoot, especially for real estate photography. Depending on when you took your photos, during daylight or in the golden hour, there are different points to remember. Decide beforehand whether to keep the lights on or off in the house. There are downsides to each option, but it all depends on the preferences of the real estate agent. A house with lights on looks like there are people living there; it’s inviting and cozy. However, varying light temperatures will appear in your photos, and you’ll need to balance it out in your HDR editing software. If you decide to turn the lights off, you’ll get natural light and an even color temperature that doesn’t need much editing. But the effect will be less cozy and inviting, giving a cold feeling. Be careful with this lighting and make sure you have the right camera settings, especially shutter speed. This means that in low-lighting conditions, slow shutter speeds are needed. On the contrary, in bright daylight, a fast shutter speed is enough. This will affect the clarity and brightness of your photo.
Choose your software
Great editing software is the most helpful assistant for real estate photographers. Think about your workflow and the features that you need most. Maybe it’s the ability to do batch processing, or work in a certain format, or have HDR-oriented features.
Luminar Neo, for example, is universal photo editing software that lets you easily edit any photos. It has many helpful filters such as Accent AI, Relight AI, and Color correction tools. And it’s easy to use for both beginners and advanced users.
Luminar Neo is particularly good for HDR real estate photography, making HDR editing simple and quick. It has sliders and Presets that let you get great results in just one click. If you’re not ready to buy, you can always take advantage of the free trial version and see if it suits your needs.
Start Building Your Real Estate Photography Portfolio
After reading this article you will easily answer the question of how to take pictures for real estate. You will have to take photos with no trouble. And the result will be great real estate that everyone will want to buy. You have learned about real estate photography mistakes and the best techniques. Then it is time to get down to work. You need a tripod, a camera, a good quality lens, your hands, some time, and ideally, perfect weather. Start taking photos and add them to your portfolio!
Pricing Your Real Estate Photography
The question of pricing depends on several factors. First, the amount of work and equipment. Secondly, the experience of the photographer himself. Third is the readiness of the company to pay. Of course, a contract is signed with the photographer and the amount is discussed in advance.
Final Words
From this article, you learned the main real estate photography techniques, as well as what aspects make up your business. The best real estate photo comes from the photographer's knowledge and equipment. It is he who will be able to conduct post-processing photos so as to highlight the best features of objects.
FAQ
Why Is Real Estate Photography Important?
Such pictures help the future buyer to decide on the purchase.
How Do I Become A Real Estate Photographer?
After studying the theory and real estate photography tricks, as well as buying the necessary equipment.
How Much Should I Charge For Real Estate Photography?
On average, it costs $100 to $300 per set. But real estate photography pricing varies depending on several of the factors described above.
Can I Use Drones For Real Estate Photography?
You must use a drone during aerial photography if possible. Drone photography allows you to take real estate images from the top and different angles.
How Can I Market My Real Estate Photography Services?
You can post your real estate photography services on job search sites or just on social networks, and then realtors will find you. Be careful not to get caught by scammers, they have always been on the real estate market.
Can I Sell My Real Estate Photos To Stock Photo Websites?
Yes. But they have to be perfect to be of interest.
Happy shooting from the Skylum team.


![10 Best AI Image Upscalers Of 2025 [Free & Paid]](http://media.macphun.com/img/uploads/macphun/blog/2451/1_10BestAIImageUpscalersFreePaidISkylum.jpg?q=75&w=1348&h=715&resize=cover)

