How To Shoot iPhone RAW Photo
May 27, 2025
If you think your iPhone pictures are good, wait until you try an iPhone RAW photo—it’s a whole new world.
If you’ve ever snapped a photo and thought, “This could look way better,” you’re not alone. Even the best smartphone cameras sometimes miss the mark—especially when the lighting isn’t great or the colors look a little off.
That’s where RAW photography comes in. If you’re using an iPhone, learning how to shoot uncompressed format on it is one of the smartest ways to improve your image quality and editing power. But don’t worry—it’s not as technical or complicated as it sounds. In this guide, you’ll learn what RAW mode is, how to turn it on, when to use it, and how to edit these shots like a pro (even if you’re not one). Let’s get into it.
What is RAW on iPhone Camera? Let’s Keep It Simple
 Before you enter this mode, let’s first understand what RAW is on the iPhone camera and why you should care.
A RAW file is basically an unprocessed photo. When you take a picture with your phone in normal mode, the phone does a bunch of work behind the scenes—adjusting brightness, color, contrast, and compressing the image to save space. That’s why your photos usually look “finished” straight away.
RAW, on the other hand, skips the finishing part. It saves all the uncompressed data from your camera sensor. This means you get a bigger file and way more control when editing later.
Learn more: How to Open RAW Files on Windows, Mac, and Android?
A lot of people ask, “What does RAW mean on iPhone camera?” when you’re actually using it?
In real life, this means you have full control of your photo. You can brighten shadows, fix blown-out skies, or reveal color details your phone might have hidden.
You’ll especially notice the benefits when:
Shooting in tricky lighting (like sunsets or dimly lit rooms)
Photographing landscapes with lots of texture
Taking product shots where true color matters
Editing your shots later for Instagram, work, or fun
Can You Take RAW Photos on iPhone?
 Yes, you absolutely can! But not every iPhone model supports it.
Only if you have one of the following models:
iPhone 12 Pro / Pro Max
iPhone 13 Pro / Pro Max
iPhone 14 Pro / Pro Max
iPhone 15 Pro / Pro Max
iPhone 16 Pro / Pro Max
These models support Apple ProRAW, Apple’s version of RAW. If you have one of these devices and are running iOS 14.3 or later, you’re good to go.
Where to Find the iPhone Camera RAW Setting
 Once you’ve confirmed your phone can shoot it, the next step is turning it on.
Here’s how to find the iPhone camera RAW setting:
Open your Settings app.
Scroll down and tap Camera.
Tap Formats.
Under the “Photo Capture” section, toggle on Apple ProRAW.
That’s it! When you open the Camera app, you’ll see a small “RAW” button at the top. You can tap that to toggle mode on or off.
However, there are times when shooting in RAW just isn’t necessary—like when you’re taking quick snaps or saving storage space.
Here’s how to turn off RAW on iPhone:
Open the Camera app.
Tap the RAW button so it’s grayed out.
Or go to Settings > Camera > Formats and switch off Apple ProRAW.
Turning off RAW helps you save storage and makes handling photos easier when you don’t need advanced editing and are trying to free up space on your phone.
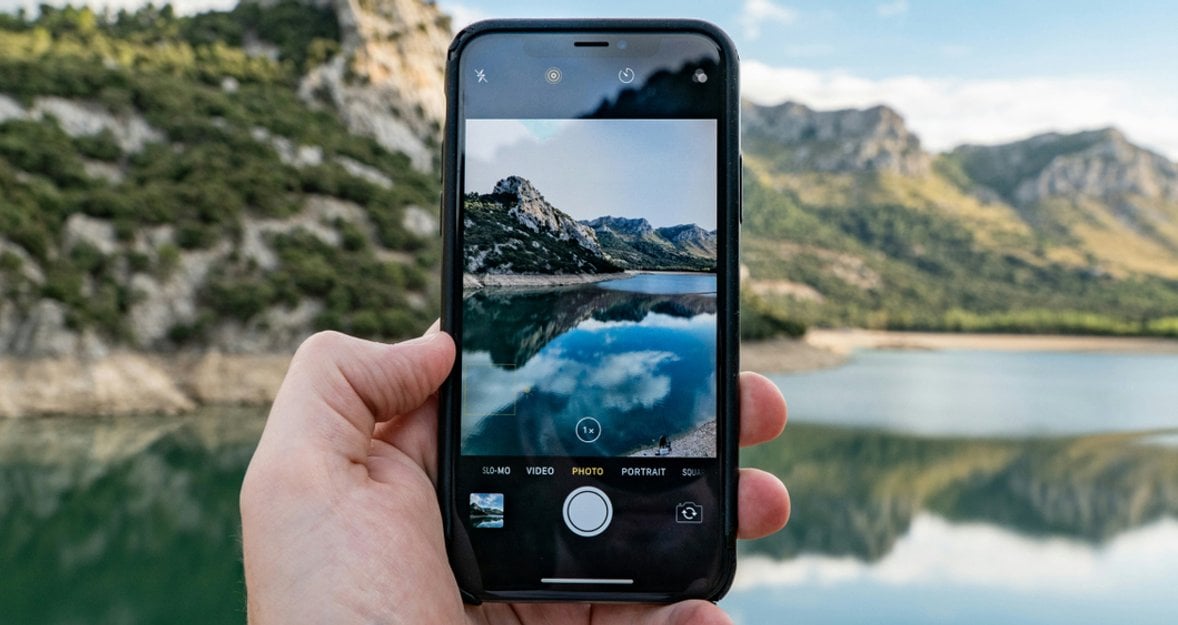
How to Take RAW Photos on iPhone Correctly

Use the main wide lens, not the ultra-wide or telephoto—RAW only works on the primary lens.
Avoid Portrait Mode, Night Mode, or Live Photos—it doesn’t support those.
Tap to focus on your subject before snapping the picture.
Keep your hand steady—original images take longer to process, so any movement might blur the shot.
The Photo Editing App Your iPhone Needs
 Once you know how to capture RAW images on iPhone, you’ll want to tweak it—whether to bring out colors, fix shadows, or just get it to match your vision. For that, Luminar Mobile is the best photo editing app for iPhone. Not every mobile app supports RAW, but Luminar Mobile does—and does it well. It’s one of the few apps to view and edit unprocessed pictures without a computer.
You can easily load your files into the app, adjust them using AI or manual tools, and save them without losing quality. The app is simple to use and quick, making it great for both beginners and experienced photographers.
Let AI Enhance Image Quality for You
If you’re not sure where to start with editing or just want quick results, try using AI tools to boost your photo automatically. Upload your photograph, click the enhance button, and let the AI handle the rest—no skills needed.
AI enhance image features by Luminar can do a lot with a single tap. It adjusts contrast, color, sharpness, and detail to keep your image natural-looking but much more eye-catching. It’s perfect for beginners who want great results fast. You won’t need to mess with sliders or complex tools—just let the AI do the work. It’s a fast, stress-free way to upgrade any RAW photo.
Why a Basic Editor Won’t Cut It for RAW Photos
A standard editor won’t always cut it when working with uncompressed files. You’ll need a powerful RAW photo editor to get the most from your shots.
RAW editors let you adjust things like:
White balance
Sharpness
Shadow/highlight balance
Color grading
These options let you correct and enhance your image without quality loss.
Editing doesn’t have to mean spending hours messing with sliders. This step-by-step guide on how to edit RAW photos is a great place to start. It shows how to make smart edits that improve your image without overdoing it.
Final Thoughts
Mastering RAW photography isn’t about being a pro. It’s about giving yourself options once you understand how to shoot RAW on iPhone, the way you take and edit photographs changes for the better.
You’ll be able to fix bad lighting, make colors pop, and keep all the tiny details that make a shot special. Whether you’re capturing a quiet landscape or a busy street scene, this format gives you more freedom to create the image you want. So go ahead—turn on RAW mode, take your time, and see just how good your iPhone photos can be.