How To Edit Drone Photos - Essential Editing Tips And Tricks
July 15, 2025
Learn how to edit drone photos like a pro with step-by-step tips, AI tools, and expert techniques using Luminar Neo.
Drone photography is an amazing option to capture the world from an unusual angle, opening up breathtaking perspectives and creating impressive shots. However, creating high-quality pictures delivering the scenery and immersing the atmosphere is even more important. In that case, post-processing plays a significant role. Proper editing allows you to improve the colors, correct exposure, and contrast flaws or highlight needed details.
This guide presents a step-by-step procedure for creating such photos, covering essential enhancement and the best software to streamline your workflow. We'll explore how AI-powered tools like Luminar Neo can simplify and elevate your editing process. Let's get started!
Establish the Right Camera Settings
 In photography, whether it's a camera, mobile, or drone—the most crucial element is the main outcome of the raw pictures. Accordingly, setting the correct shooting settings is important to ensure you get high-quality results. Even the most powerful editing tools won't be able to fix a shot with incorrect exposure or loss of detail. Here are a few key settings that will help you get quality photos from a drone.
1. Shoot in RAW
RAW format saves maximum information about the frame, allowing you to flexibly adjust colors, exposure, and details without losing quality. There are certain apps like DJI GO or DJI GO 4 app. Download the apps, go to settings, and select RAW or JPEG + RAW (in case you want both versions of one photo).
Your AI-Powered Photo Editor for MacOS and Windows
Discover Now!Here is a crucial tip: Make sure you have a high-capacity memory card and enough storage on your computer, as RAW files take up significantly more space than JPEGs, sometimes 2-6 times heavier.
2. Use Manual Shooting Settings
Though auto mode can differ between drone models, it is important to remember that shooting at auto mode with dark lighting in clouds, at night, or in other difficult weather conditions can give unpredictable results. Using manual settings for a photoshoot offers greater control and allows photographers to achieve more professional results.
Let's start with:
ISO
Auto mode can push ISO too high which might create unwanted grains. Here are some recommended numbers you can rely on:
Bright daylight: ISO 100 (best quality, minimal noise)
Cloudy conditions / golden hour: ISO 100–200
Low light (sunset/twilight): ISO 200–400 (increase only if necessary)
Night photography: ISO 400–800 (higher ISO introduces noise, so use cautiously)
Shutter Speed
Depending on the drone speed (shorter for shooting while moving, longer for static shots).
For Moving Shots: When the drone is in motion, set a shorter shutter speed (e.g., 1/1000s or 1/500s). This adjustment helps freeze fast action and get sharp images without motion blur. This is particularly useful for high-speed flights to capture fast-moving subjects like cars or wildlife.
For Static Shots: For still subjects or slower movements (like a calm landscape), set a longer shutter speed (e.g., 1/60s or 1/30s). These adjustments can provide better exposure, and add more light to the photo, especially in lower-light conditions.
White Balance
Select manually depending on the shooting conditions to avoid unexpected color casts.
Here are some specific suggestions: Manual (Custom K) – Best for consistency. Adjust Kelvin (K) values based on conditions:
Sunny: ~5500K
Cloudy: ~6000K–6500K
Sunset/Sunrise: ~7000K–7500K (warmer tones)
Indoor/Tungsten: ~3000K–4000K (cooler tones)
Activate AEB (Auto Exposure Bracketing)
AEB mode takes several shots with different exposures (usually 3-5 frames). Later, you can combine them in the editor to get the perfect balance of highlights and shadows.
By setting up your camera correctly, you will create high-quality images that will be easier to process. And here is one more friendly tip: try different settings yourself, and see how they work out and which footage with which settings work out perfectly for you. Then you have your perfect formula.
For more tips and settings, here is Drone Photography for Beginners.
3. Select an Editing Program
Choosing the right software can ease up the process of editing for you. While many programs offer great tools, Luminar Neo stands out as a powerful, AI-driven solution combining seamless use with professional capabilities.
In the next sections, we’ll walk you through exactly how to edit your drone photos in Luminar Neo—step by step. From enhancing landscapes to removing distractions and exporting polished results, everything you need is built right in.
Luminar Neo for Professional Drone Photo Editing: Step-by-Step
Step 1: Start with Landscape Composition and Panoramas
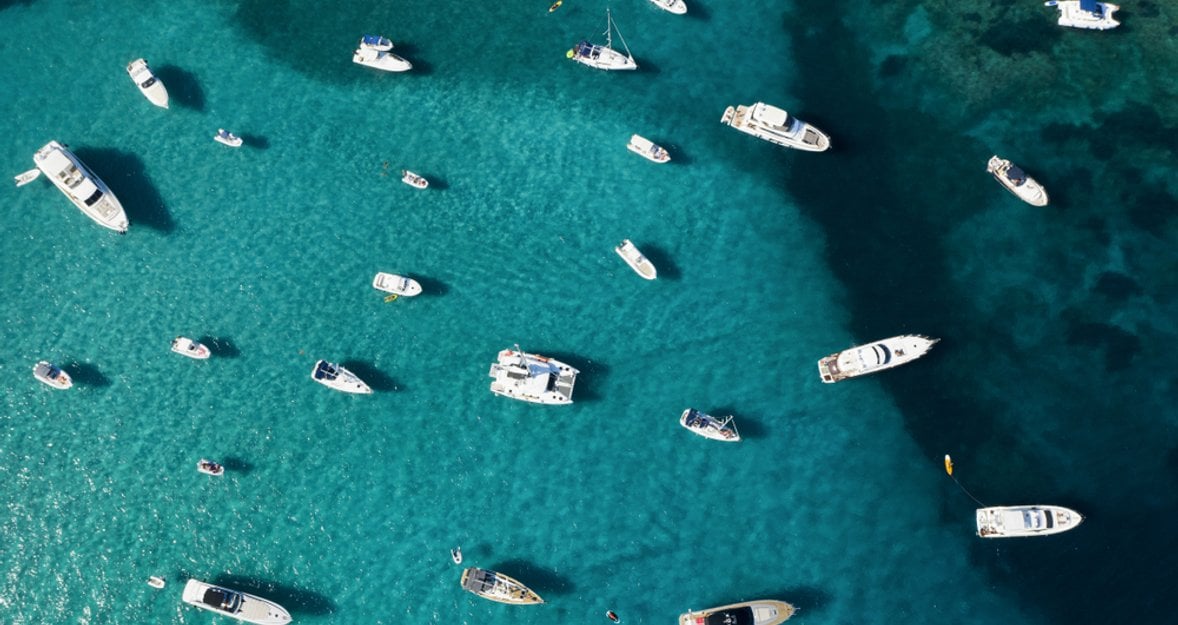
 Drone photography often begins with wide, sweeping views, which means the editing process should start by setting a strong foundation. If you're editing landscape photos captured by a drone, it’s worth beginning with overall framing and composition.
For expansive views, try using Luminar Neo’s photo panorama stitcher. It automatically combines multiple shots into one seamless panorama, preserving detail and perspective. This is especially useful when working with aerial sequences that aim to capture large natural scenes—mountains, coastlines, or cityscapes—in a single, impactful frame.
Once your panorama or single image is in place, you’re ready to move into basic corrections and color enhancement.
Step 2: Basic Corrections and Colour adjustments
 After uploading your drone photos in Luminar Neo, the first thing to do is correct technical flaws and enhance overall image quality. With the AI-powered tools, the workflow is designed to be seamless and effective while maintaining a natural look.
Start by correcting Lens and Optical Distortions. In the Lens & Geometry panel, enabling Lens Distortion Correction can help adjust certain unpleasant distortions common in drone photography. By activating Remove Chromatic Aberration, the color fringing and high-contrast edges can be easily adjusted and minimized.
The next step is to Balance Exposure and contrast using the Exposure and Contrast tools to create a well-balanced image. Using the Shadows and Highlights panel maintains better control over underexposed and overexposed areas and ensures better light and dark tone distribution.
Refining Colors using Temperature & Tint tools can help achieve a more accurate white balance, while small adjustments to Vibrance and Saturation enhance colors without making them appear unnatural.
Using the HSL Panel for Precision
The HSL (Hue, Saturation, Luminance) panel provides the ability to make selective color refinements. Adjustments in this panel can:
Deepen blue tones in the sky for a more dynamic effect.
Enhance the greens in landscapes for a richer appearance.
Subtly shift or reduce unwanted color casts.
Applying Selective Adjustments with AI
Mask AI can be used for more specific refinements like automatically detecting objects for targeted adjustments to elements like the sky or foreground. The Gradient Tool can also be helpful when working with exposure and color in specific areas of the image.
A Helpful Tip: Exploring different editing approaches can offer insight into what works best for a particular image. Try editing one photo in two or three ways to see how they differ. Don't be afraid to experiment with the settings, though make sure you don’t overdo it. Remember to aim to improve the photo while still looking naturally beautiful.
Bring your photo correction to the next level with Luminar Neo.
Step 3: Removing Unnecessary Objects
 Even the most breathtaking drone shots can sometimes include unwanted distractions that distract from the overall composition. Removing these elements can make a significant difference, helping the viewer focus on the true essence of the scene.
Luminar Neo offers a range of features designed to simplify object removal while preserving the natural look of the image. The Erase Tool works well for small distractions, like dust spots or stray branches, while AI Remove intelligently detects and eliminates larger objects without disturbing the surrounding details. For more precise refinements, the Clone & Stamp tool allows textures to be carefully blended for a seamless result.
Step 4: Final Touchings and Export
 Before saving the final image, a few additional refinements can further enhance quality:
Noise Reduction & Sharpening – Drone images, especially those taken in low light, can benefit from slight noise reduction while maintaining detail.
Batch Editing – When working with multiple shots from the same session, Luminar Neo’s batch processing feature can help maintain consistency and streamline workflow.
With these final settings in place, the image is ready for export. The final result will be a polished, high-quality drone photograph prepared to be shared or printed by selecting the appropriate format and optimizing the details. Depending on the usage, the pictures can be saved in the following formats: PNG or JPEG.
Exclusive Tools of Endless Possibilities in One AI Editor
Explore Now!In Luminar Neo, the export process is designed to be efficient and intuitive. After finalizing edits, navigating to the Export tab provides options to adjust:
Quality – Keeping it between 80-100% ensures high image fidelity.
Resolution – 300 ppi is recommended for print, while 72 ppi is sufficient for web use.
Color Space – sRGB is optimal for digital display, while AdobeRGB or ProPhotoRGB is better suited for professional editing and printing.
Bottom Line
 When editing your drone pictures, the most important thing to remember is that the main goal is to enhance the image and make it more realistic. Try using different combinations of settings both in shooting and in editing tools to find your perfect formula and deliver the mood through the picture you were aiming to capture in the first place.
Experiment, develop your style, and don't be afraid to try new techniques. And for the most ardent enthusiasts, we recommend exploring the latest in the world of drones, including the features and improvements that will help make the shooting process more efficient and enjoyable.