How Big Is 4x6 Photo (CM & MM, Pixels, Inches)
October 16, 2025

Printing a 4×6 is simple once you understand the dimensions. This guide explains 4x6 photo size across inches, centimetres, millimetres, and pixels, so you can order lab prints, choose the right frame, or prep files for sharing.
We’ll translate the size into clean pixel counts at common PPI settings, show how bleed and safe areas affect edges, and give quick tips to keep faces and text inside the frame. You will also get to see the behavior of the 3:2 aspect ratio in cropping and a simple way of getting the camera to print. At the end, you will be able to ship what to export and why.
4×6 in Inches, CM, and MM — Clear Numbers
 So, how big is a 4x6 picture? In inches, it’s 4 by 6. In metric form, this is 10.16×15.24 cm or 101.6×152.4mm. It has a 3:2 aspect ratio, similar to many camera and phone sensors, just in the native photo mode. Printers with a 4×6, which promise to be borderless, can actually cut a sliver on the edges, and therefore remember to keep vital information a few millimeters away.
If you’re preparing a file and need to confirm width, height, and resolution, this quick guide on how to measure photo size walks through checking pixel and document dimensions. For lab orders, round labels like “10×15 cm” usually refer to the same print, allowing for tiny manufacturing tolerances. In short, these are the actual dimensions of a 4x6, and knowing them helps you crop accurately and avoid clipped corners in frames or albums.
Your AI-Powered Photo Editor for MacOS and Windows
Discover Now!Is 4×6 the Standard Print? Where You’ll See It
 Yes — is 4x6 standard photo size for everyday prints at minilabs, kiosks, and online services. It goes with the conventional family album, school photo, postcard, proof collection, and the vast majority of off-the-shelf frame collections. To reduce the need for custom mats, stores will label similar frames as either 4×6 (US) or 10×15 cm (EU), allowing you to drop in a print without needing custom mats.
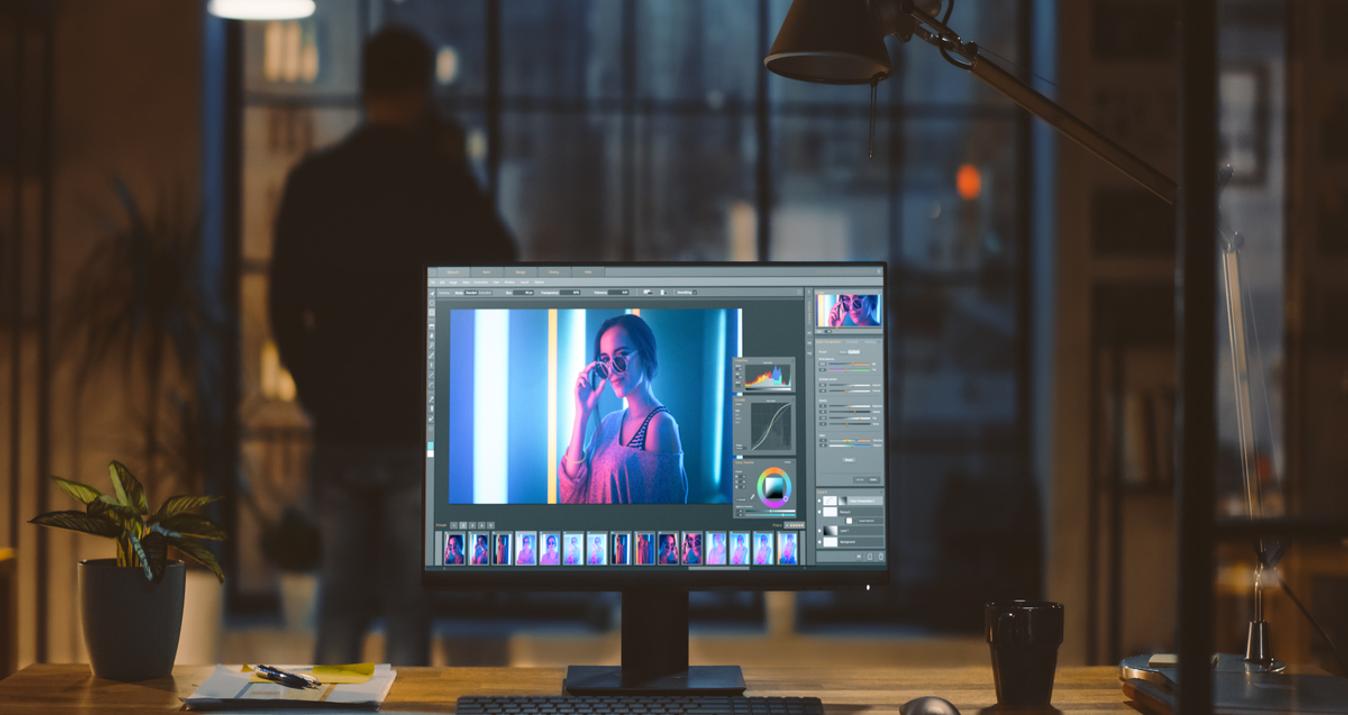
Photographers like this size because the 3:2 shape mirrors common camera output, which means minimal cropping and predictable composition for both horizontal and vertical shots. If you’re editing before printing, crop to 3:2, check that faces sit inside a safe margin, and export in sRGB for consistent color — modern editors such as Luminar NEO make that setup quick with simple crop overlays and export presets.
Pixel Dimensions for 4×6 — 300/240/200/72 PPI
![]() A 4×6 print keeps a 3:2 shape, so pixel counts scale in that ratio. For sharp results held in the hand, many labs suggest 300 PPI; for wall viewing, lower PPI can still look fine because you stand farther away. If your file is larger, crop to the right aspect first, then resize down — upscaling usually isn’t needed for phone and camera shots made in the last few years. When you must trim precisely, a quick tool like photo cutter online helps you lock exact pixel targets after cropping.
A 4×6 print keeps a 3:2 shape, so pixel counts scale in that ratio. For sharp results held in the hand, many labs suggest 300 PPI; for wall viewing, lower PPI can still look fine because you stand farther away. If your file is larger, crop to the right aspect first, then resize down — upscaling usually isn’t needed for phone and camera shots made in the last few years. When you must trim precisely, a quick tool like photo cutter online helps you lock exact pixel targets after cropping.
Target PPI | Width × Height (px) |
300 | 1200 × 1800 |
240 | 960 × 1440 |
200 | 800 × 1200 |
150 | 600 × 900 |
100 | 400 × 600 |
72 | 288 × 432 |
Export in sRGB for consistent color at consumer labs. If your camera shoots 4:3 or 16:9, expect a side trim when you crop to 3:2; keep faces and captions a little in from the edges before you resize.
Bleed, Safe Area, and Cropping — Avoid Losing Edges
 Borderless printers usually expand the image slightly and trim at the edges. That tiny overprint is called bleed. To preserve captions and details, leave a few millimeters of margin around the edges. This also answers what does a 4x6 picture look like when it comes back from the lab: the overall shape matches 3:2, but anything touching the border risks being shaved.
Place eyes a little above center for portraits, and avoid running text tight to corners. If you want a white border, set it in your editor rather than relying on lab margins; that way, the print arrives with clean, even spacing.
Framing and Composition Tips for 4×6
The 3:2 shape suits a wide range of scenes — from travel horizontals to tight portraits — but it rewards a bit of breathing room. Keep eyes a touch above centre, leave space near the edges for lab trimming, and watch verticals, so frames sit straight in albums. If you shot 4:3 on a phone, plan a slight side crop and nudge the subject inward before printing.
To ensure repeatable performance, crop overlays and grids should be utilized in Luminar Neo. Then, export at the desired pixels to prevent loss of sharpening and detail. Considerations to make during composition. When creating a piece of art, consider how the piece will be encircled by a border or a mat: bold leading lines, smooth horizons, and bare corners are what make 4×6 prints appear neatly framed.
Social Media: Fit 4×6 Shots into Covers and Profiles
 A 4×6 image is 3:2, while Facebook covers are much wider. To avoid cutting off heads or captions, prepare a dedicated cover version with safe margins and, if needed, gentle padding above and below.
A purpose-built tool, such as Facebook cover photo size editor, lets you set the correct canvas, place the photo, and preview how it looks on desktop and mobile before you post. Avoid placing logos and faces at the top edge, as this can cause interface overlap issues on certain screens.
For profile images, square is the target. Start from your 3:2 file, center the subject, and add a little extra canvas if tight crops feel cramped; soft background color sampled from the photo keeps it cohesive.
Export a sharp, sRGB JPG sized close to the platform’s recommendation to avoid extra compression — this step is quick with the tips on how to make Facebook profile picture fit. If you’re posting both a cover and a profile on the same day, create separate versions, so each composition stays clean in its own aspect.
Quick Workflow: From Camera to Perfect 4×6 Print
 When you have the opportunity to shoot at a 3:2 aspect, then look at the focus and exposure on a larger screen, and then you can crop. Load the file, crop it to 3:2, and ensure there are a couple of millimeters of overall margin around faces and text to prevent lab trimming from cutting them. Then, pixel size: the close-view-print should have around 1200×1800 pixels (300 pixel per inch); casual viewing can be done with much fewer numbers.
Soft capture sharpening, spot removal, and conversion to sRGB ensure the colors appear the same across consumer labs. Suppose you need precise dimensions after cropping, trim to target pixels with the photo cutter online. Finish with a soft proof on a bright screen, export a high-quality JPG, and name the file with the size (e.g., “img_4x6_300ppi.jpg”) so you can find it fast when ordering.
FAQ
Can I print with a white border?
Yes — add the border in your editor before exporting. This gives you even spacing on all sides and prevents unpredictable lab margins.
What PPI should I choose?
300 PPI looks crisp when viewed up close. For photos viewed at arm’s length or on a wall, 240–200 PPI still looks good since you're standing farther away.
Why did the lab trim a sliver off my image?
Borderless printers overprint and trim the edges to avoid white lines. Leave a small safe margin inside the frame so faces, dates, and captions stay intact.
Can phone photos print well at 4×6?
Yes. Recent phones have plenty of pixels. Crop to 3:2, keep important details away from the edges, export in sRGB, and you’re set.


