Food Levitation Photography: Breaking The Gravity Barrier
February 22, 2024

Want to learn how to create stunning food shots that look amazing and make the viewer want to? Then stay tuned because that's exactly what we're talking about today on our blog!
Food is something without which it is impossible to imagine our life. And beautiful food is something without which it is impossible to imagine enjoying life. The food industry spends huge amounts of money yearly on promoting and advertising its products. Cafes, restaurants, supermarkets, small grocery stores, factories, home appliance manufacturers, and even non-food businesses use photos of attractive dishes and individual foods to advertise. If you dream of becoming a food photographer — all of them are your potential customers. Good food is about home, coziness, traditions, family moments, and good time with friends. Imagine how to convey the desired atmosphere with an ordinary dish easily.
Today, we will talk about falling food photography as the art of a beautiful picture and how to do levitation photography, basic techniques, props, light, and the secrets of post-processing. You'll find practical tips and inspiring ideas to help you master the art of levitation food photography.
Exploring the Magic of Levitation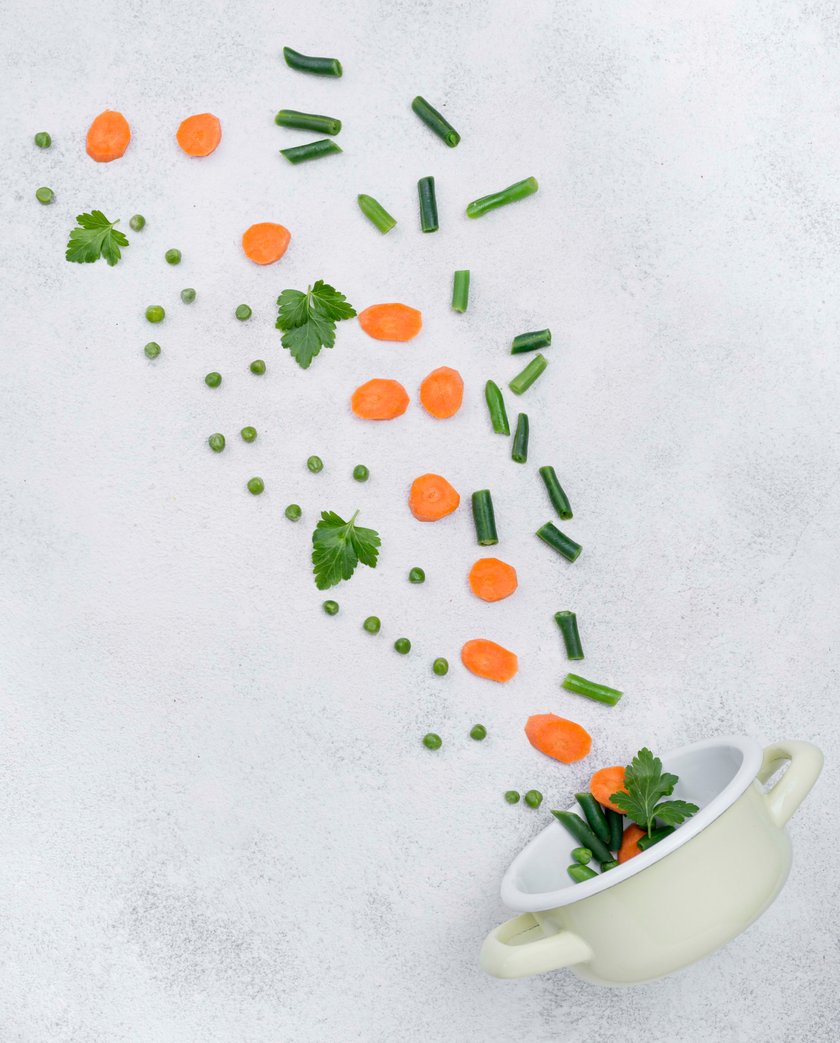
The first thing you will need is to use the right tools. Let's take a look at the following examples:
Supports and Props
Clear rods, wires, ropes, or even toothpicks are often used to suspend food in the air. These supports must be strategically placed and hidden to create the illusion of levitation. To create a perfect composition, use additional appropriate props, such as small plates, cups, or other suitable dishes. It will also add context to the flying food.
Strong Surface
A sturdy table counter or other stable surface is essential to support the weight of the food and the entire support structure. It will stabilize the composition and ensure safe conditions during the photo session.
Camera and Tripod
A high-quality camera with manual settings lets you control exposure, focus, and shutter speed better. However, you can save money on expensive equipment. In the following sections, we will give some tips on improving a photo with the help of a simple photo editor. A tripod will help you keep your framing stable and consistent, especially if you need multiple shots for composite images. A remote shutter release or self-timer can help minimize camera shake while shooting, ensuring sharp results.
Lighting Equipment
We have identified the key factor that should help us highlight the food that flies. Natural light diffused through curtains or windows can provide soft and even lighting. Artificial lighting sources such as studio lights or continuous LED panels offer control over intensity and direction. Experiment with the location of light sources to illuminate all the necessary elements most profitably. Avoid harsh direct lighting, which can create unpleasant shadows and glare. Instead, opt for soft, diffused lighting that makes smooth, even lighting. Also, study the food photography lighting setup so that all settings are easy for you and do not take much time.
Exclusive Tools of Endless Possibilities in One AI Editor
EXPLORE NOW!The Art of Composition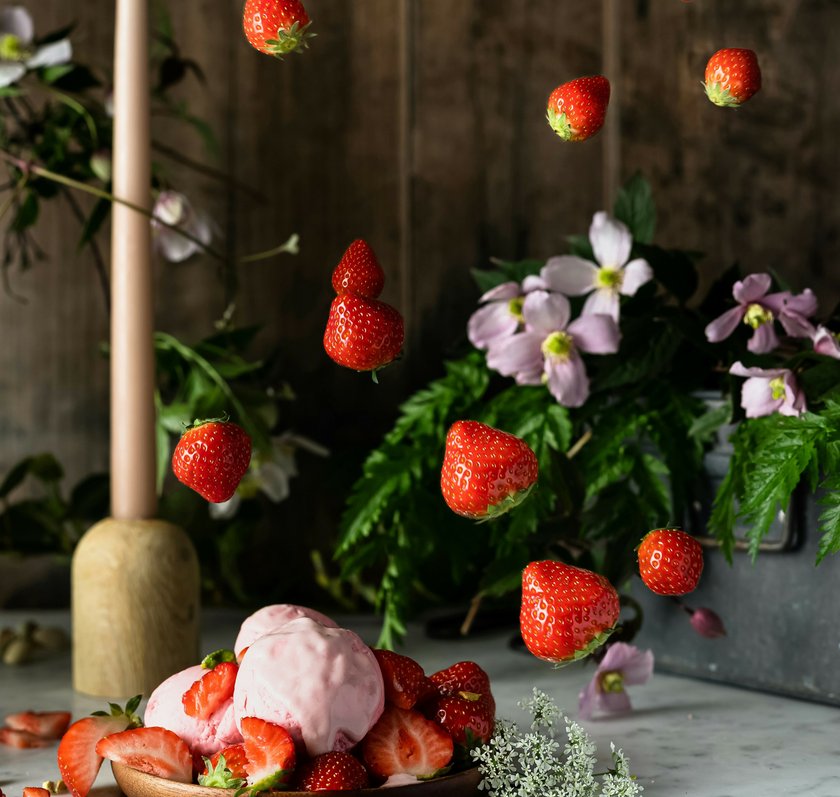
So, you have stocked up on everything you need from the previous section and are ready to start. The next step is to create the composition itself. Carefully consider the placement of elements in the frame to create visually dynamic compositions that attract the viewer's attention and evoke a sense of wonder and intrigue.
It's important to balance the elements to create a sense of harmony and cohesion in your levitation food photography. Whether placing multiple floating food items or using props and background elements, achieving visual balance helps ensure integrity and a well-structured composition.
In addition, using color, texture, and negative space can greatly enhance the impact of food images rising into the air. Bright colors can add visual interest and contrast, while contrasting textures can create depth and dimension. When used effectively, negative space can help accentuate levitating food and develop a sense of focus and clarity.
Post-processing of Levitation Photography Objects
Photo editors like Luminar Neo or Lightroom will allow you to fine-tune images, adjust colors, contrast, and sharpness, and seamlessly blend multiple exposures. It is especially useful for perfecting the levitation effect and creating a polished finish. The best food photo editor is the one that has all the necessary functions to realize your idea. Using Luminar Neo as an example, we show you several useful tools to help you quickly and efficiently turn your image into a ready-made advertising product.
The first thing you need is image stacking software from Luminar Neo. With it, you can easily emphasize the smallest details of food in the image, adding focus to the elements you want to highlight. The second useful tool is based on AI and works magic in improving the composition of the food photo. AI Photo Composition will automatically choose the best framing for each shot, but you'll still be able to control the result. You can describe how it works for a long time, but once you try it, you won't want to do without this tool anymore.
If, despite all your efforts to make a clear photo, you have a not-quite-sharp image and are looking for a solution on how to make a photo less blurry, check out the full selection of AI tools from Luminar Neo.
Advanced yet easy-to-use photo editor
Get Luminar Neo NowPractical Tips for Success
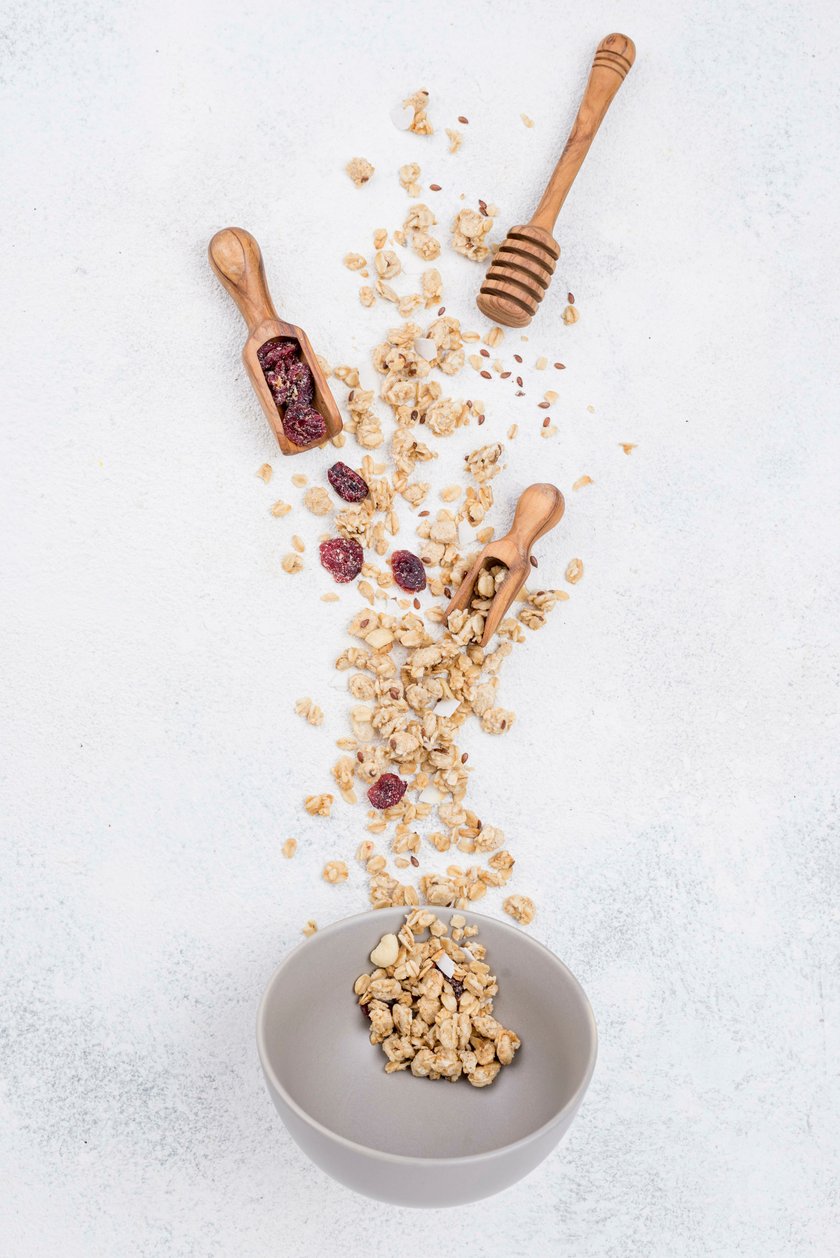
Getting started in levitating food photography can be both exciting and challenging. Therefore, we have prepared for you some practical tips to help you get started and succeed in this exciting genre:
Choose the Appropriate Food Products
Suppose we are discussing something other than professionalism and meeting the client's requirements, namely about the beginning of activity in this area. In that case, choosing visually attractive products with an interesting shape and texture is better. It will help you learn to see profitable combinations and get results that exceed your expectations. Light objects such as fruits, vegetables, and baked goods are ideal for levitation photography as they are easier to suspend in the air. Over time, experiment with more complex dishes such as burgers, pizza, desserts, etc.
Experiment with the Levitation Technique
There are quite a few levitation techniques. These include using transparent rods or wires to hang food, manipulating perspective to create the illusion of levitation, or even using editing software to combine multiple images. Try them individually or in combination for the best results.
Use Props and Backgrounds Wisely
Your props and background should emphasize the theme of food rising into the air. Choose only items that add context and interest to the scene without overshadowing the main focus. Consider using simple and understated backdrops to focus on the food rather than what's behind it.
Embrace Experimentation and Creativity
Always try to think outside the box and try something new. Explore different ideas, techniques, and compositions to discover your unique style and vision. Look for your levitation photography ideas in the works of other photographers; think about how you would implement this or that idea and experiment with it. Remember to have fun, be patient, and enjoy the process of creating magical images of food that rise into the air.
Bottom Line
Food levitation photography offers an exciting and creative approach to capturing culinary masterpieces. You can defy gravity and transform ordinary foods into extraordinary art through careful experimentation, creativity, and attention to detail.
We hope you learned more about how to do levitation photography from this short journey. This exciting art will allow you to unleash your imagination and realize the craziest ideas. Remember the different techniques, the importance of props, background, and light, and the useful features of Luminar Neo to help you create your masterpieces. Be patient and unleash your creativity to unlock the full potential of food photography.


